Best Practices for Editing Free 3D Models
In the world of 3D design, the availability of free 3D models has opened up a plethora of opportunities for both amateur and professional designers. However, editing these models to fit your specific needs can often be a daunting task. In this article, we will explore best practices for editing free 3D models, ensuring that you can transform these assets into your next masterpiece.
Understanding 3D Models
Before diving into editing techniques, it’s crucial to understand what 3D models are and how they function. A 3D model is a digital representation of a physical object, created using various software tools. These models can be composed of different geometries (vertices, edges, and faces) and textures.
Types of 3D Models
- Polygonal Models: These are made up of polygons and are the most common type used in games and animation.
- NURBS Models: Non-Uniform Rational B-Splines are used for creating smooth curves and surfaces.
- Subdivision Surface Models: These models are defined by a base mesh and allow for smoother surfaces through subdivision.
Step-by-Step Guide to Editing Free 3D Models
Editing free 3D models involves several steps, from downloading the model to final adjustments. Here’s a comprehensive guide to help you navigate the process.
Step 1: Downloading the Right Model
Start by choosing a model that fits your project’s needs. Websites like Free 3D Models: Your Ultimate Resource for 3D Design offer a vast selection of free assets. Ensure that the model is compatible with your editing software.
Step 2: Importing the Model
Once you have downloaded the model, import it into your chosen 3D editing software. Common programs include Blender, Autodesk Maya, and 3ds Max. Here’s how to do it in Blender:
- Open Blender and select File > Import.
- Choose the format of your model (e.g., .obj, .fbx).
- Locate your downloaded model and click Import.
Step 3: Cleaning Up the Model
Free models often come with unnecessary elements that can clutter your workspace. Use the following checklist to clean up the model:
- Remove any unused materials.
- Delete hidden faces or vertices.
- Check for non-manifold edges.
Step 4: Modifying the Geometry
Now it’s time to modify the model’s geometry. This can include scaling, rotating, or reshaping components to better fit your design. Here’s a quick guide on how to scale a model in Blender:
- Select the model.
- Press S to scale.
- Drag your mouse to adjust the size or enter a specific value.
Step 5: Texturing and Materials
Textures can significantly enhance the visual appeal of your model. When editing textures, follow these best practices:
- Use high-resolution textures for better detail.
- Make sure UV mapping is correctly applied.
- Experiment with different shaders to achieve the desired look.
Step 6: Rendering the Model
After making your edits, it’s essential to render your 3D model to see how it looks in a virtual environment. Use the rendering tools in your software to create a high-quality image or animation of your model.
Common Mistakes to Avoid
Even experienced designers can fall into traps while editing. Here are some common mistakes and how to avoid them:
- Ignoring Scale: Always check the scale of your model to ensure it fits within the intended environment.
- Poor Topology: Maintain a clean topology to avoid rendering issues.
- Overcomplicating the Model: Keep designs simple and functional, especially for games.
Tools and Resources for 3D Model Editing
Utilizing the right tools can make a significant difference in your editing efficiency. Here’s a table highlighting some popular 3D editing software:
| Software | Best For | Price |
|---|---|---|
| Blender | General-purpose 3D modeling | Free |
| Autodesk Maya | Animation and rigging | Subscription-based |
| 3ds Max | Architectural visualization | Subscription-based |
Conclusion
Editing free 3D models can be a rewarding experience when approached correctly. By following these best practices and utilizing the right tools, you can enhance your skills and create stunning designs. Remember, practice makes perfect, so keep experimenting and pushing your creative boundaries.
For more insights on finding and utilizing free 3D assets, check out our article Free 3D Models: Your Ultimate Resource for 3D Design.
Razer
RAZER BlackWidow V4 Pro Wired RGB Keyboard White Refurbished
KOORUI
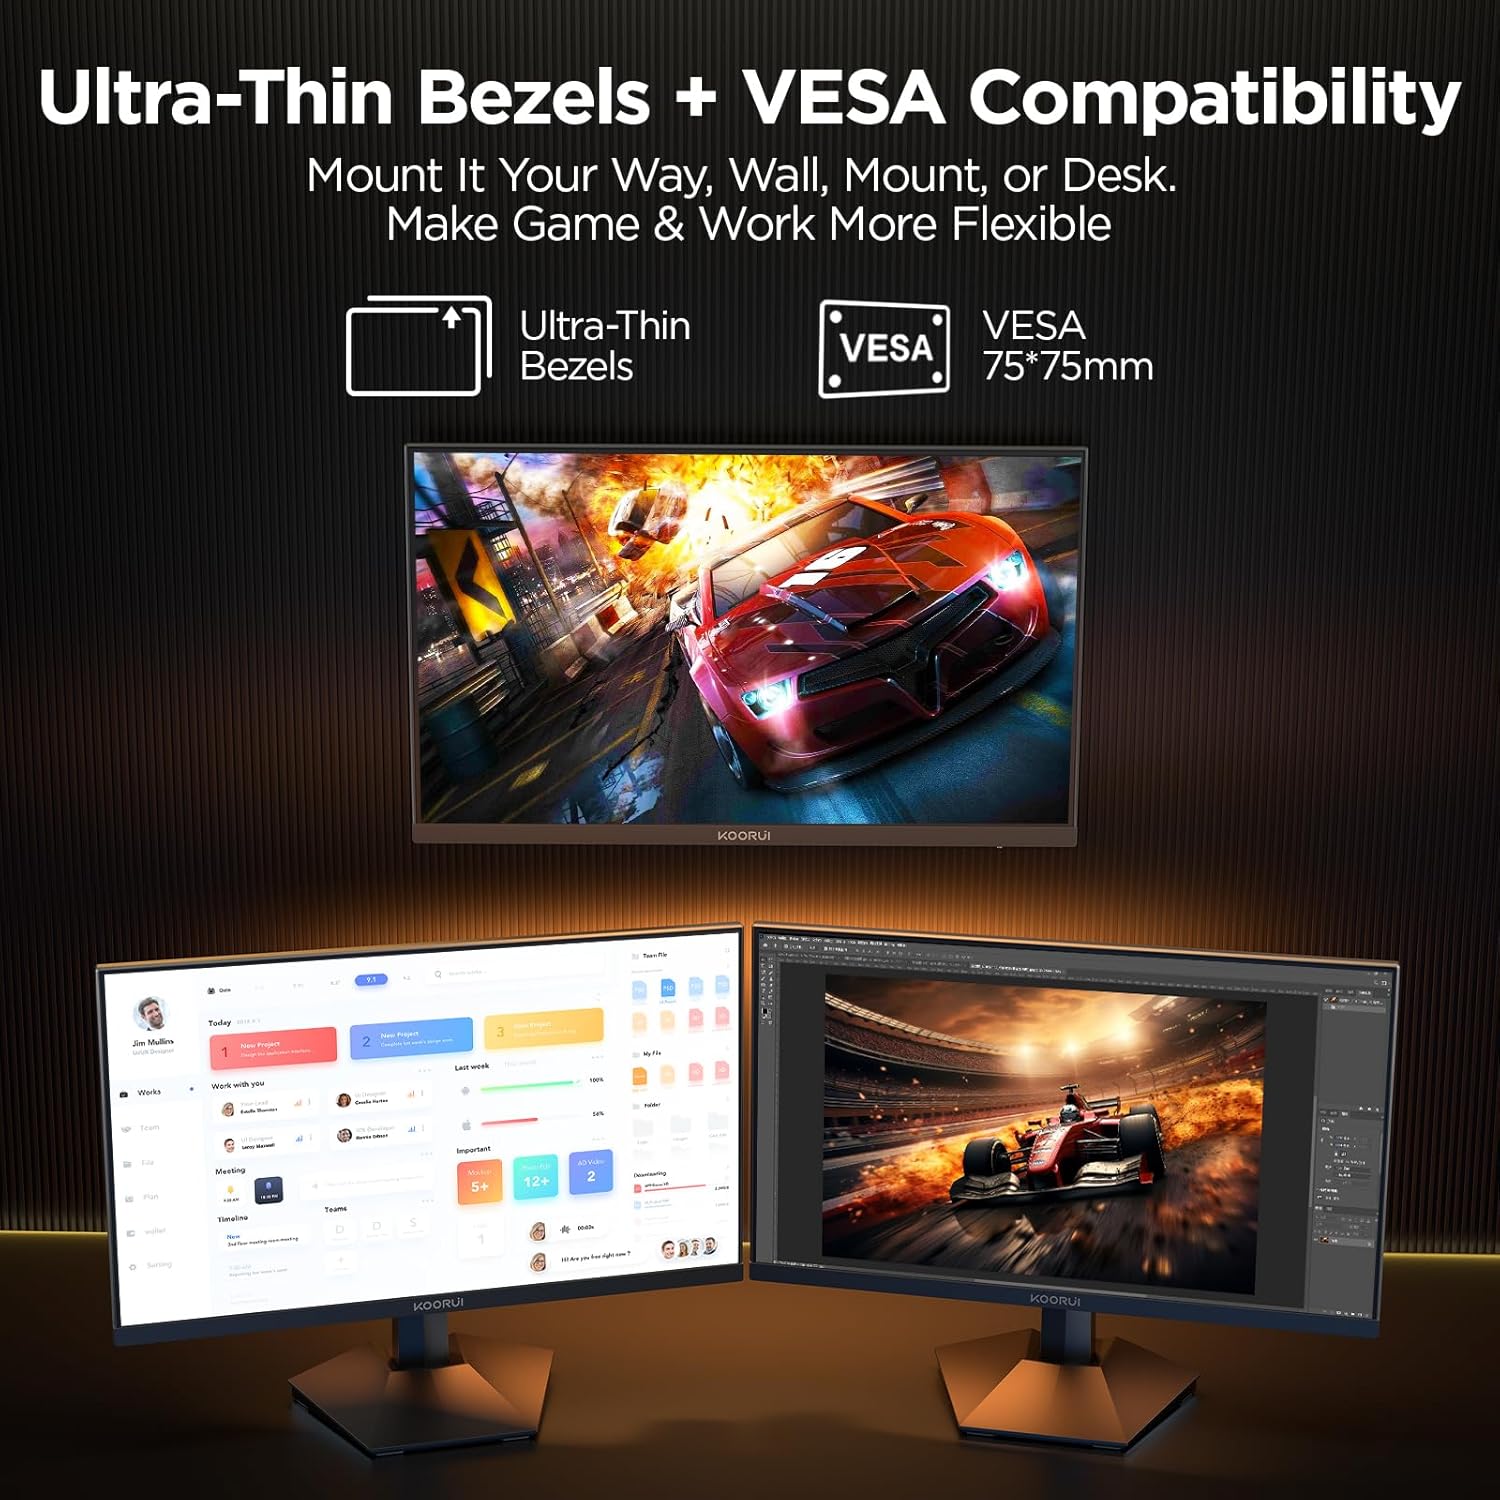
KOORUI 24.5 Inch Gaming Monitor 200Hz, 1ms, FHD(1920 * 1080p) IPS Display, HDR400, 90% DCI-P3 Color Gamut with Adaptive Sync, HDMI & DP Port, Black, G2511P
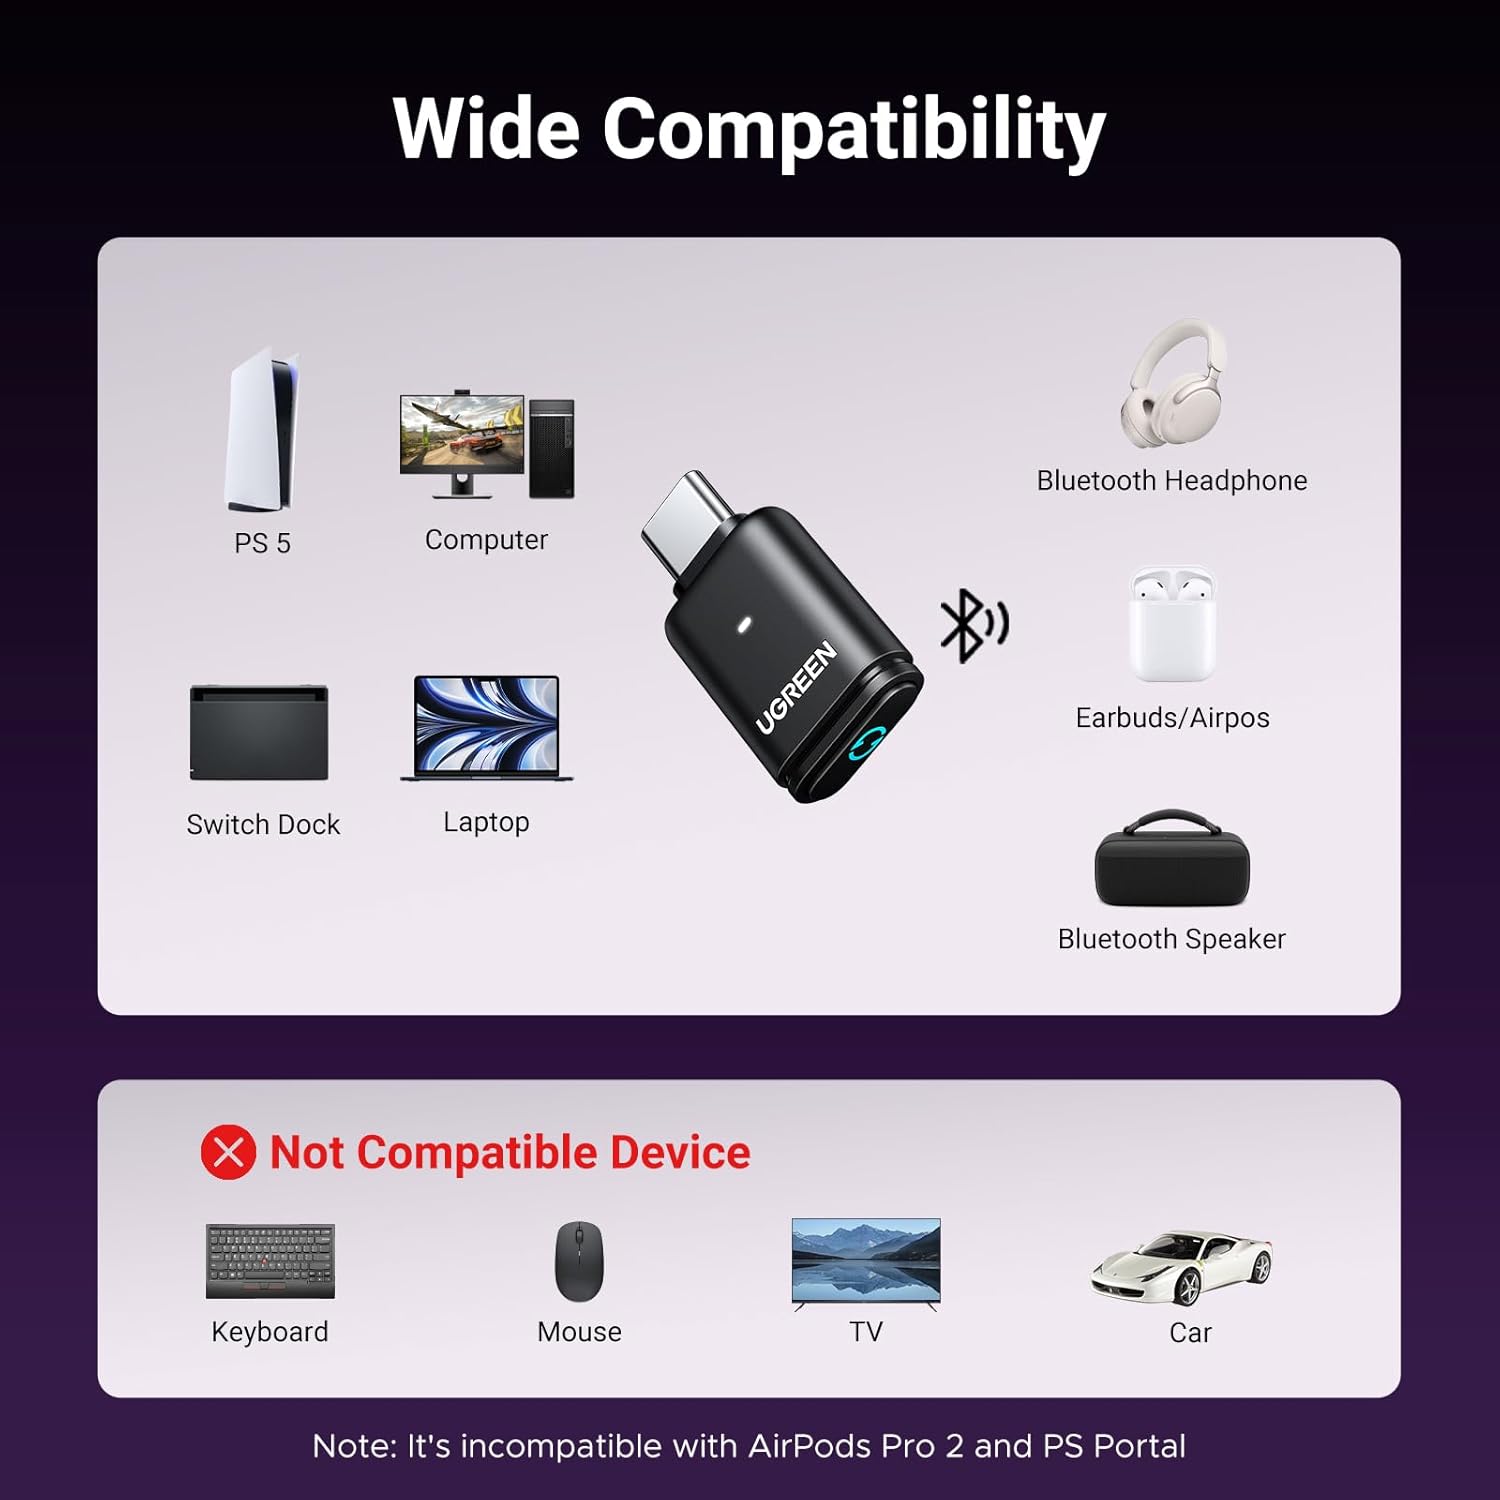
UGREEN USB-C Bluetooth Adapter for PS5
UGREEN USB-C Bluetooth Adapter for PS5, Bluetooth 5.3 Audio Adapter with APTX Low Latency & aptX-Adaptive, Wireless Audio Transmitter to Connect Wireless Headphones & Earbuds
Canon PG-275
Canon PG-275 / CL-276 Genuine Ink Value Pack (2 Cartridges), Compatible with TS3520/3522/4722/3720/3722, TR4720

Sound Healing 432 Hz
song transports the listener to a relaxed state of mindfulness and inner peace.

Panvola
Panvola Debugging Definition Computer Programmer Gifts Student Teacher Coder Boyfriend Girlfriend IT Vacuum Insulated Tumbler Tech Support Travel Mug Stainless Steel With Straw Removable Lid (30 oz)