

How to Code Game Mechanics in C#
There’s something really satisfying about pressing a key and watching your character dash across the screen, jump over a gap, or swing a sword. That moment when your code creates motion, logic, or cause-and-effect it’s magic. And with C#, those mechanics are not just possible, they’re surprisingly approachable.
When I started building my first real game project, I focused too much on graphics. It looked nice but it didn’t actually do much. That’s when I committed to learning how gameplay mechanics really work in Unity with C#. Once I did, the whole project came to life.
If you’ve gone through the core programming concepts for C# game developers, you already understand the tools. Now let’s put those tools to work.
Movement: the foundation of interactivity
Almost every game starts with player movement. Whether your character is floating through space or walking on land, movement responds to controls.
Here’s a basic example:
public float speed = 5f;

void Update()
{
    float direction = Input.GetAxis("Horizontal");
    transform.Translate(Vector3.right * direction * speed * Time.deltaTime);
}
This small block of code will move your player left or right based on keyboard input. Combine it with jumping (Input.GetButtonDown("Jump")) or gravity via Unity’s Rigidbody component, and suddenly, you’ve got believable motion.
Tip: Always use Time.deltaTime when moving objects. It makes movement smooth on any device, no matter the frame rate.
Health and damage: tracking the player’s status
People love consequences in games—miss a move, take a hit, get low on health. It adds tension and meaning to every action.
public int health = 100;

public void TakeDamage(int amount)
{
    health -= amount;

    if (health <= 0)
    {
        Die();
    }
}
Attach this to your enemy or player. When something like a bullet or trap triggers TakeDamage(), your mechanic fires instantly. It’s a clean way to manage vulnerability without messy UI scripts.
You can visually update health with a slider, play sound or animation when hit, and respawn the player or show a game over screen when health runs out. C# makes the logic for all of those additions super flexible.
Shooting and attacking: giving players agency
Games that let you interact with enemies feel more engaging. Whether it’s firing a weapon or casting a spell, the logic is similar.
Here’s a basic shooting mechanic:
public GameObject projectilePrefab;
public Transform firePoint;

void Update()
{
    if (Input.GetButtonDown("Fire1"))
    {
        Instantiate(projectilePrefab, firePoint.position, firePoint.rotation);
    }
}
This script spawns a projectile prefab every time you click or press a button. Add velocity in the bullet’s script, and it will move across the screen or hit an enemy.
Once I had this running, I felt like my game actually had a “flow”—not just a pretty scene, but actions, counters, and feedback.
Scoring and objectives: keeping the player invested
A simple score system can do wonders for motivation. Players love seeing points accumulate. It gives them feedback and encourages exploration or performance.
public int score = 0;

public void AddScore(int points)
{
    score += points;
    Debug.Log("Score: " + score);
}
Call AddScore() whenever the player collects an item, defeats an enemy, or completes a task. You can connect it to a UI text element and build scaling rewards based on that score.
One of my favorite experiments was creating a combo system: If you defeat enemies fast enough, your score multiplier increases. It made the game feel instantly more dynamic.
Enemies and AI: creating challenges with simple logic
Enemy behaviors don’t need to be complicated. Start basic: patrol between two points, follow the player when close, attack if in range.
public Transform player;
public float detectionRange = 5f;

void Update()
{
    float distance = Vector3.Distance(transform.position, player.position);

    if (distance < detectionRange)
    {
        FollowPlayer();
    }
}
This simple logic already gives life to a world that once felt static. With time, you can add state machines, animations, and cooldowns. But start small, and build behavior gradually.
Feedback systems: make actions feel rewarding
Every time your player does something important, give them feedback. That’s what makes a mechanic “feel” good.
Examples:
- Play a sound when an enemy is hit
- Flash the screen when the player is damaged
- Shake the camera on explosion
- Slow time briefly after a difficult move
These additions elevate even the simplest mechanics. The logic stays the same in C#, but the result feels so much more polished.
When I added a screen shake to one of my 2D games, friends immediately said “this feels way better.” Same mechanics—just more sensory feedback.
Modular systems: build once, use everywhere
The beauty of C# in Unity is that once you code a system properly, you can reuse it easily:
- One movement script can be attached to different character types
- A single enemy class can be extended for bosses or AI variations
- UI elements can update whether you have 10 points or 10,000
This idea of creating reusable components is what lets your game scale without chaos. My earlier projects were a mess of “copy-paste” code. But with modularity, you update one system and every instance benefits.
Final thoughts
Game mechanics are where everything becomes real. It’s not just scenery or assets, it’s interactivity—it’s gameplay. C# gives you the structure to build logical, scalable, and fun systems with clarity.
Don’t rush to perfect visuals early on. Focus on behavior—on things that move, respond, score, change. That’s where your game will stand out, and that’s where real creativity lives.
Now that your mechanics are alive, let’s make sure performance doesn’t hold you back. Discover how to make your game run smoother and faster in Optimize Game Performance With C# in Unity.
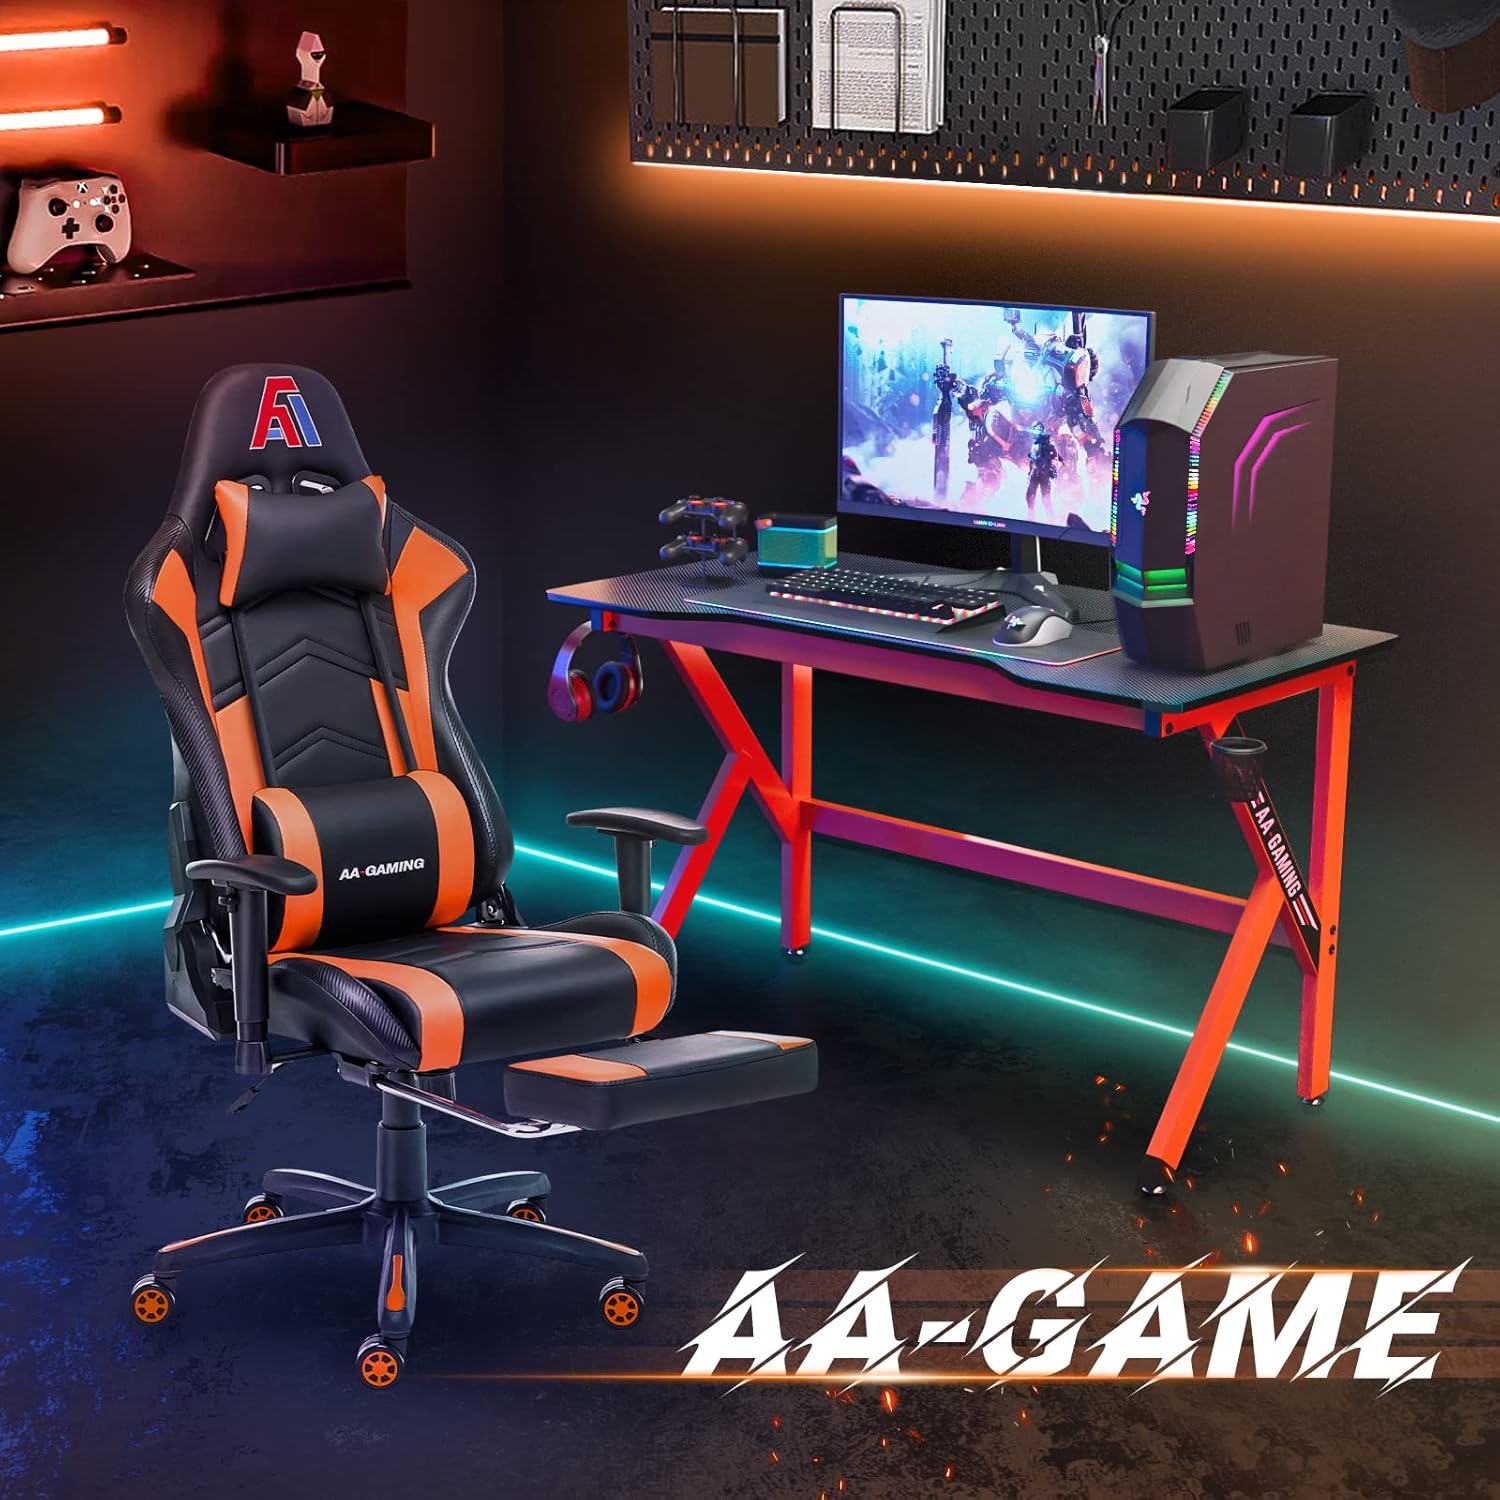
AA Products High Back Ergonomic Gaming Chair
AA Products Gaming Chair Ergonomic High Back Computer Racing Chair Adjustable Office Chair with Footrest, Lumbar Support Swivel Chair - BlackOrange
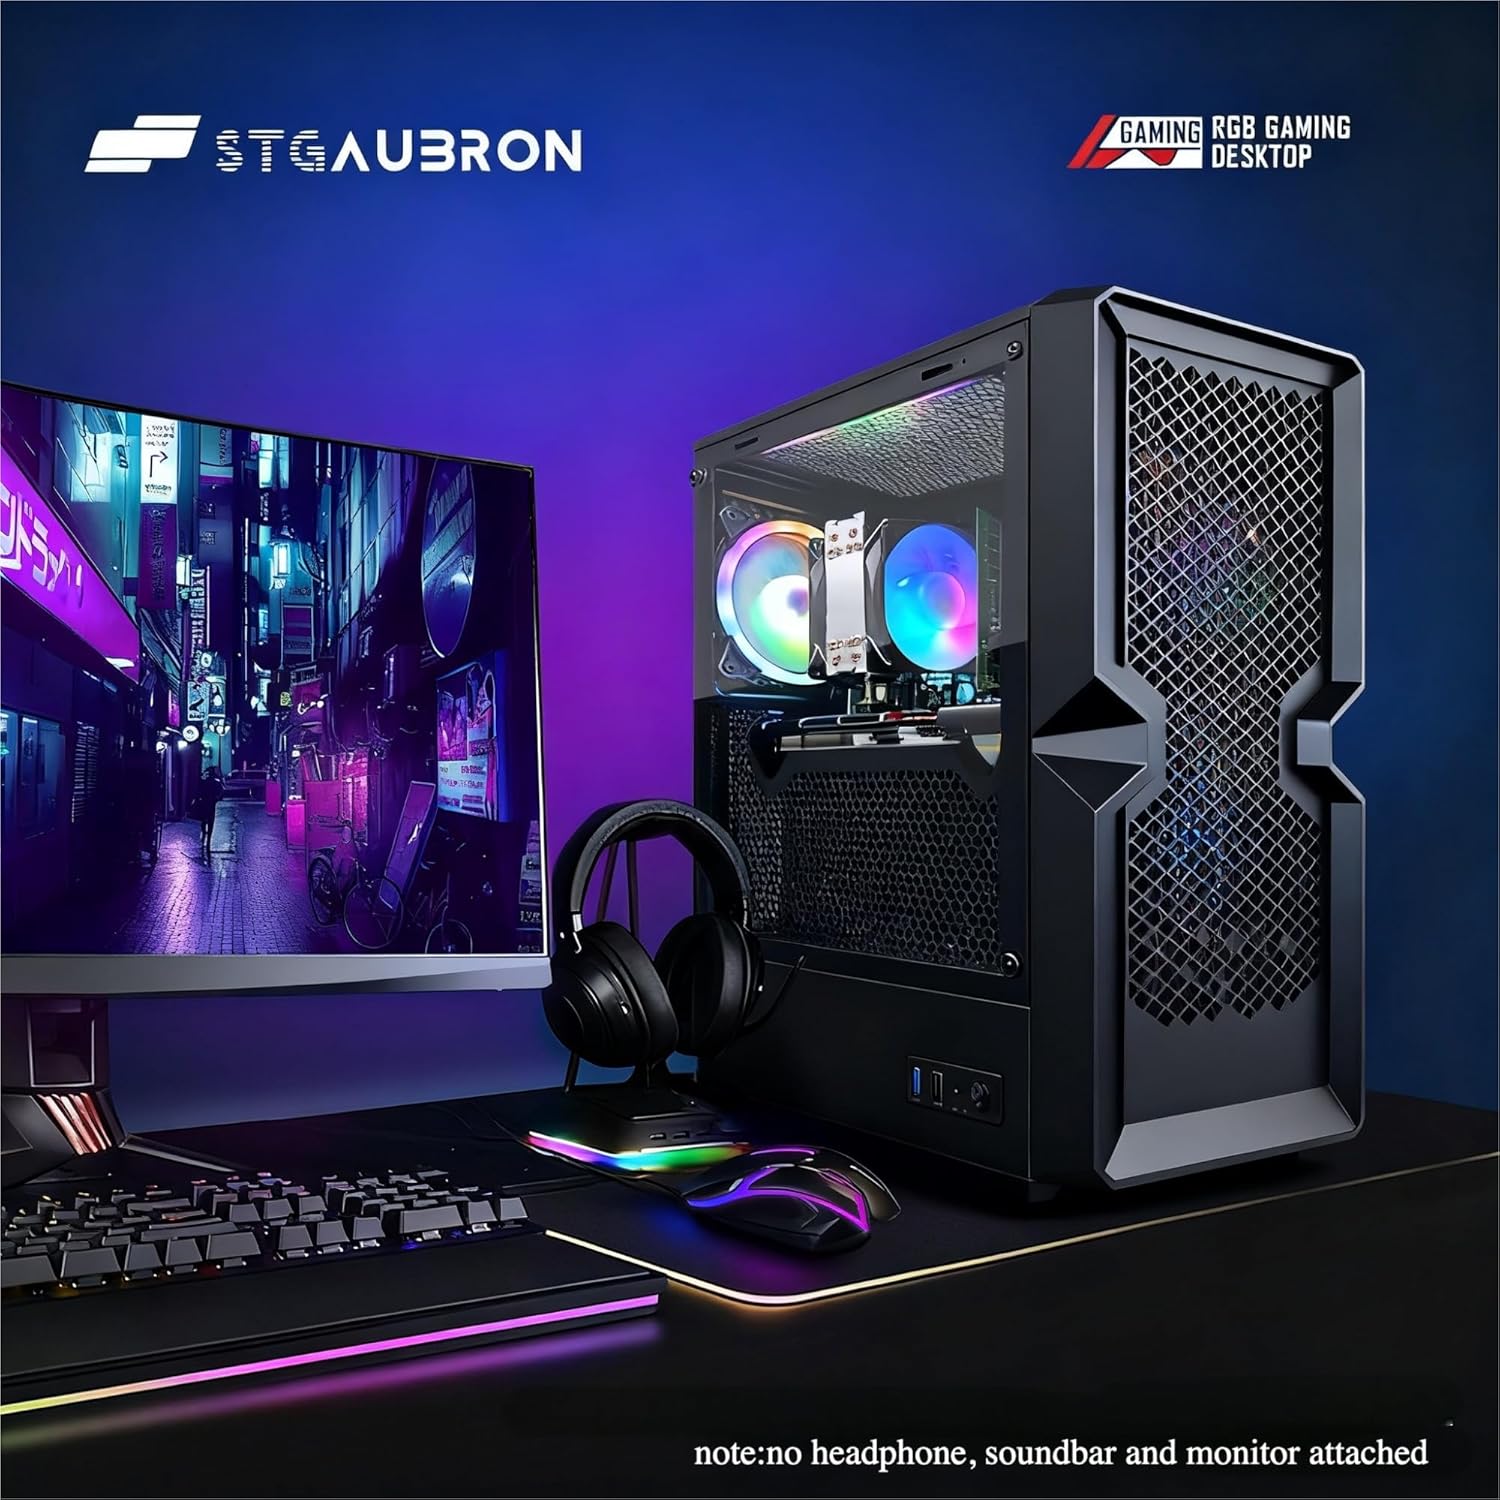
STGAubron Gaming PC Desktop
STGAubron Gaming PC Desktop Computer, Intel Core i5 up to 3.6G, Radeon RX 590 8G, 16GB RAM, 1TB SSD, 600M WiFi, BT 5.0, RGB Fan x3, Windows 11 Home

Scotch Thermal Laminating Pouches
Scotch Thermal Laminating Pouches, for Use with Thermal Laminators, 8.9 x 11.4 Inches, Letter Size Sheets, 100-Pack
Make Your First 2D Game in Unity
Want to build your first game but don’t know where to start? This beginner-friendly guide shows you how to create SampleGame2D — a fun Flappy Bird–style project — step by step in Unity. Inside you’ll learn: