
How to Create Your Own 2D Sprites: A Beginner’s Guide
Creating your own 2D sprites can be an incredibly rewarding part of game development. Sprites are the visual representations of characters, objects, and environments in 2D games. Whether you’re a hobbyist or aspiring game developer, learning how to create compelling sprites can enhance the gameplay experience.
Understanding 2D Sprites
Before diving into the creation process, it’s important to understand what a 2D sprite is. A sprite is essentially a two-dimensional image or animation that is integrated into a larger scene, often used in video games to depict characters, projectiles, and other visual effects.
Tools and Software for Sprite Creation
There are numerous tools and software available for creating 2D sprites. Some popular options include:
- Aseprite: A powerful pixel art tool that is perfect for sprite creation.
- Adobe Photoshop: A versatile graphic design tool that many artists use for sprite creation.
- GIMP: A free and open-source alternative to Photoshop that is great for pixel art.
- Inkscape: A vector graphic editor ideal for creating scalable sprites.
- Piskel: A free online sprite editor that is user-friendly and accessible.
Step-by-Step Guide to Creating 2D Sprites
Step 1: Define Your Concept
Before you start creating your sprite, it’s essential to have a clear concept. Ask yourself the following questions:
- What type of character or object are you creating?
- What style do you want to achieve (realistic, cartoonish, pixel art)?
- What emotions or actions should the sprite convey?
Sketching your ideas on paper can help solidify your vision before moving to digital tools.
Step 2: Choose Your Canvas Size
The size of your sprite will depend on where it will be used in your game. Common sizes include:
| Sprite Size | Common Use |
|---|---|
| 16×16 pixels | Classic 2D games |
| 32×32 pixels | Mobile games |
| 64×64 pixels | Modern indie games |
| 128×128 pixels | High-definition games |
Step 3: Create the Base Shape
Using your chosen software, start by creating the basic shape of your sprite. Use solid colors to block out the silhouette before adding details. Focus on the following:
- Basic form and proportions
- Color palette selection
- Overall silhouette
Step 4: Add Details and Textures
Once the base shape is complete, begin adding details. This includes facial features, clothing, and any accessories. Here’s how to add texture:
- Use shading to create depth.
- Incorporate patterns or designs into clothing.
- Keep colors consistent with your chosen palette.
Step 5: Animate Your Sprite (Optional)
If your sprite requires animation (like walking or jumping), you’ll need to create multiple frames. Consider using:
- Keyframes to define the start and end of each action.
- In-between frames to smooth the animation.
- Tools like Aseprite or Piskel for easy animation creation.
Exporting Your Sprites
After finalizing your sprite design, it’s time to export it. Common formats include PNG and GIF. PNG is preferred for its transparency capabilities, making it easy to integrate into different backgrounds.
Best Practices for Sprite Creation
- Keep your color palette limited to enhance cohesion.
- Regularly zoom out to see how your sprite looks at a distance.
- Collect feedback from peers or fellow developers.
Resources for Further Learning
As you continue to develop your sprite creation skills, consider exploring additional resources:
- Free 2D Sprites for Game Development – A collection of free resources to help you get started.
- YouTube tutorials on pixel art and sprite animation.
- Online forums and communities, such as DeviantArt and ArtStation, for sharing your work and getting feedback.
Conclusion
Creating your own 2D sprites is an achievable goal that can significantly enhance your game development journey. By following this guide, you’ll have a solid foundation to start crafting unique and engaging sprites. Remember, practice makes perfect, so keep experimenting and refining your skills. Happy sprite making!
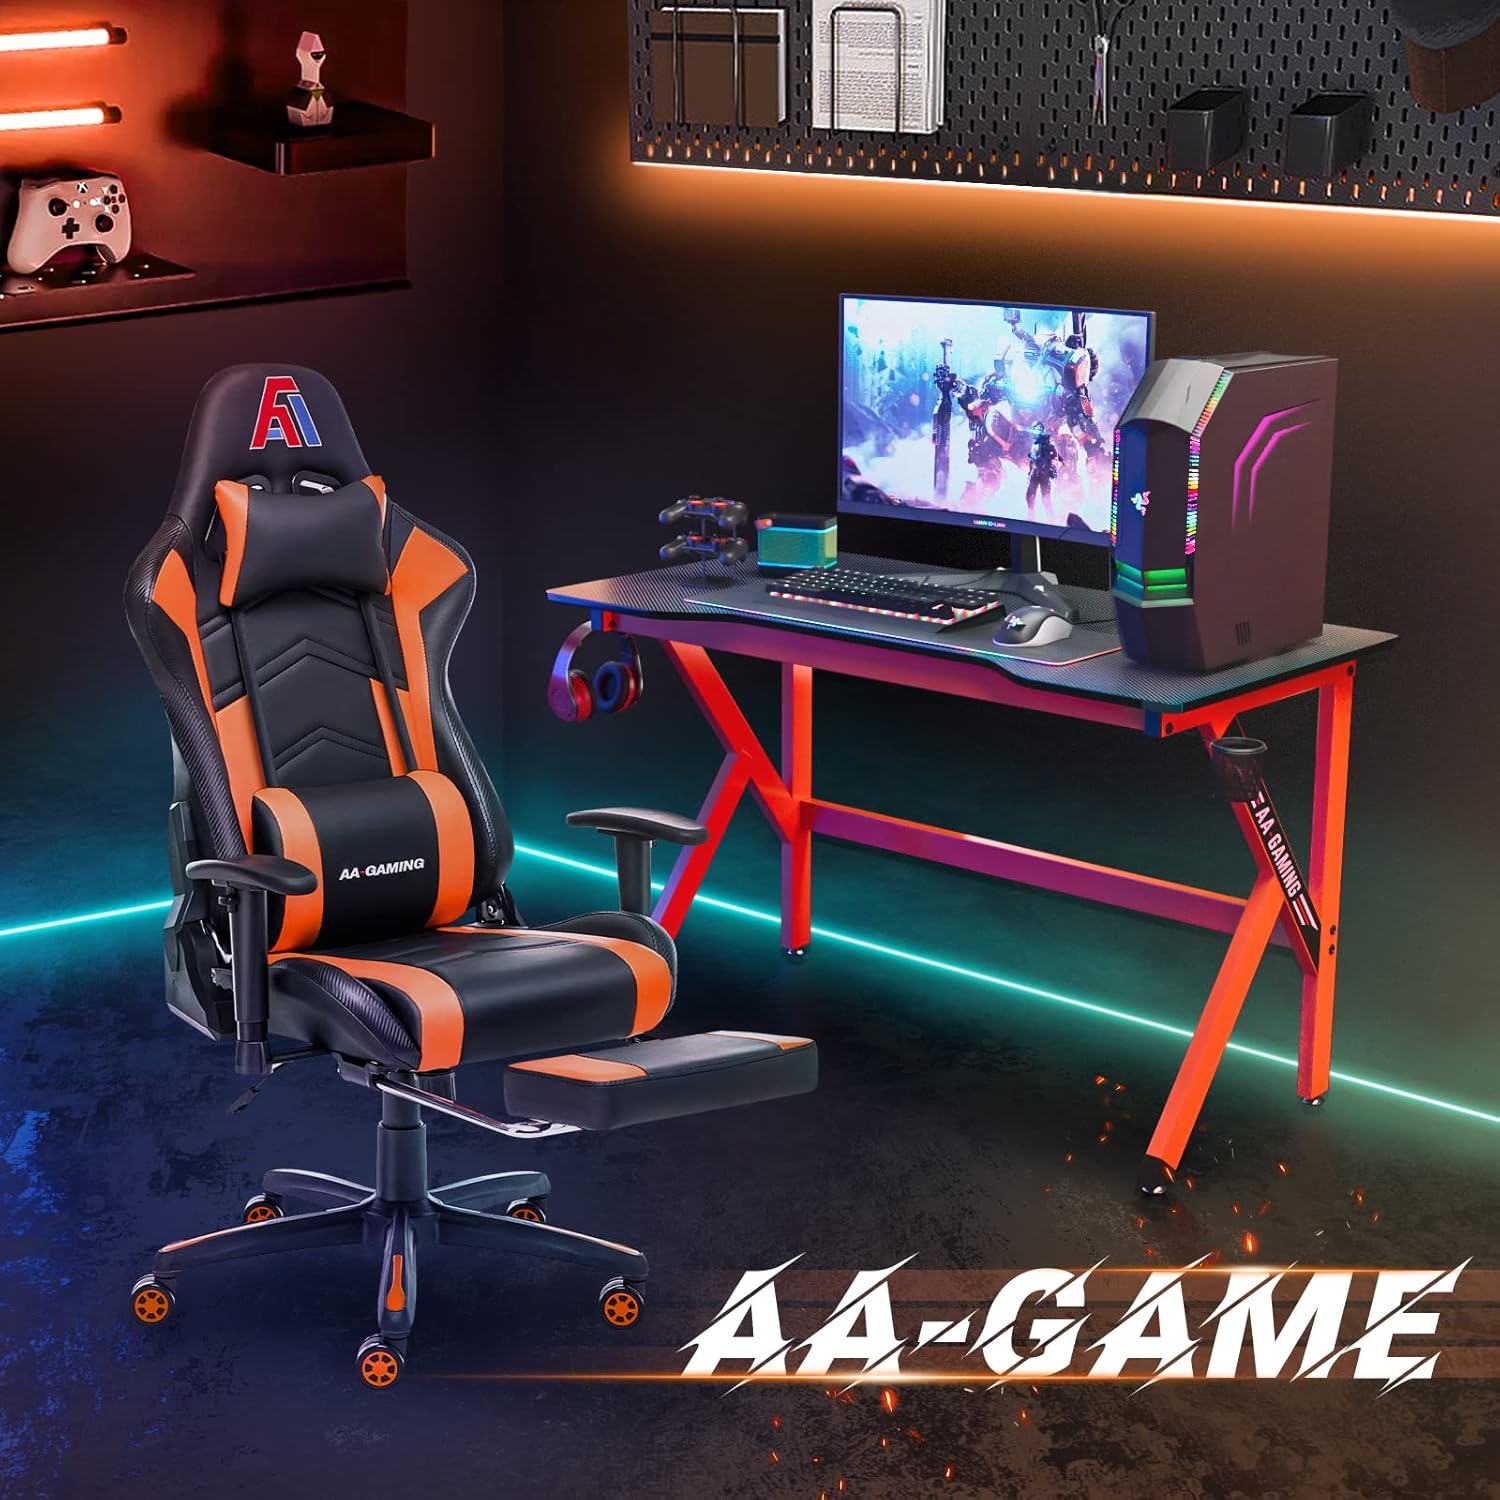
AA Products High Back Ergonomic Gaming Chair
AA Products Gaming Chair Ergonomic High Back Computer Racing Chair Adjustable Office Chair with Footrest, Lumbar Support Swivel Chair - BlackOrange

Beats-Studio Pro Cancelling Headphones
Beats Studio Pro - Wireless Bluetooth Noise Cancelling Headphones with USB-C Charging Cable (20 cm) - Jet Black
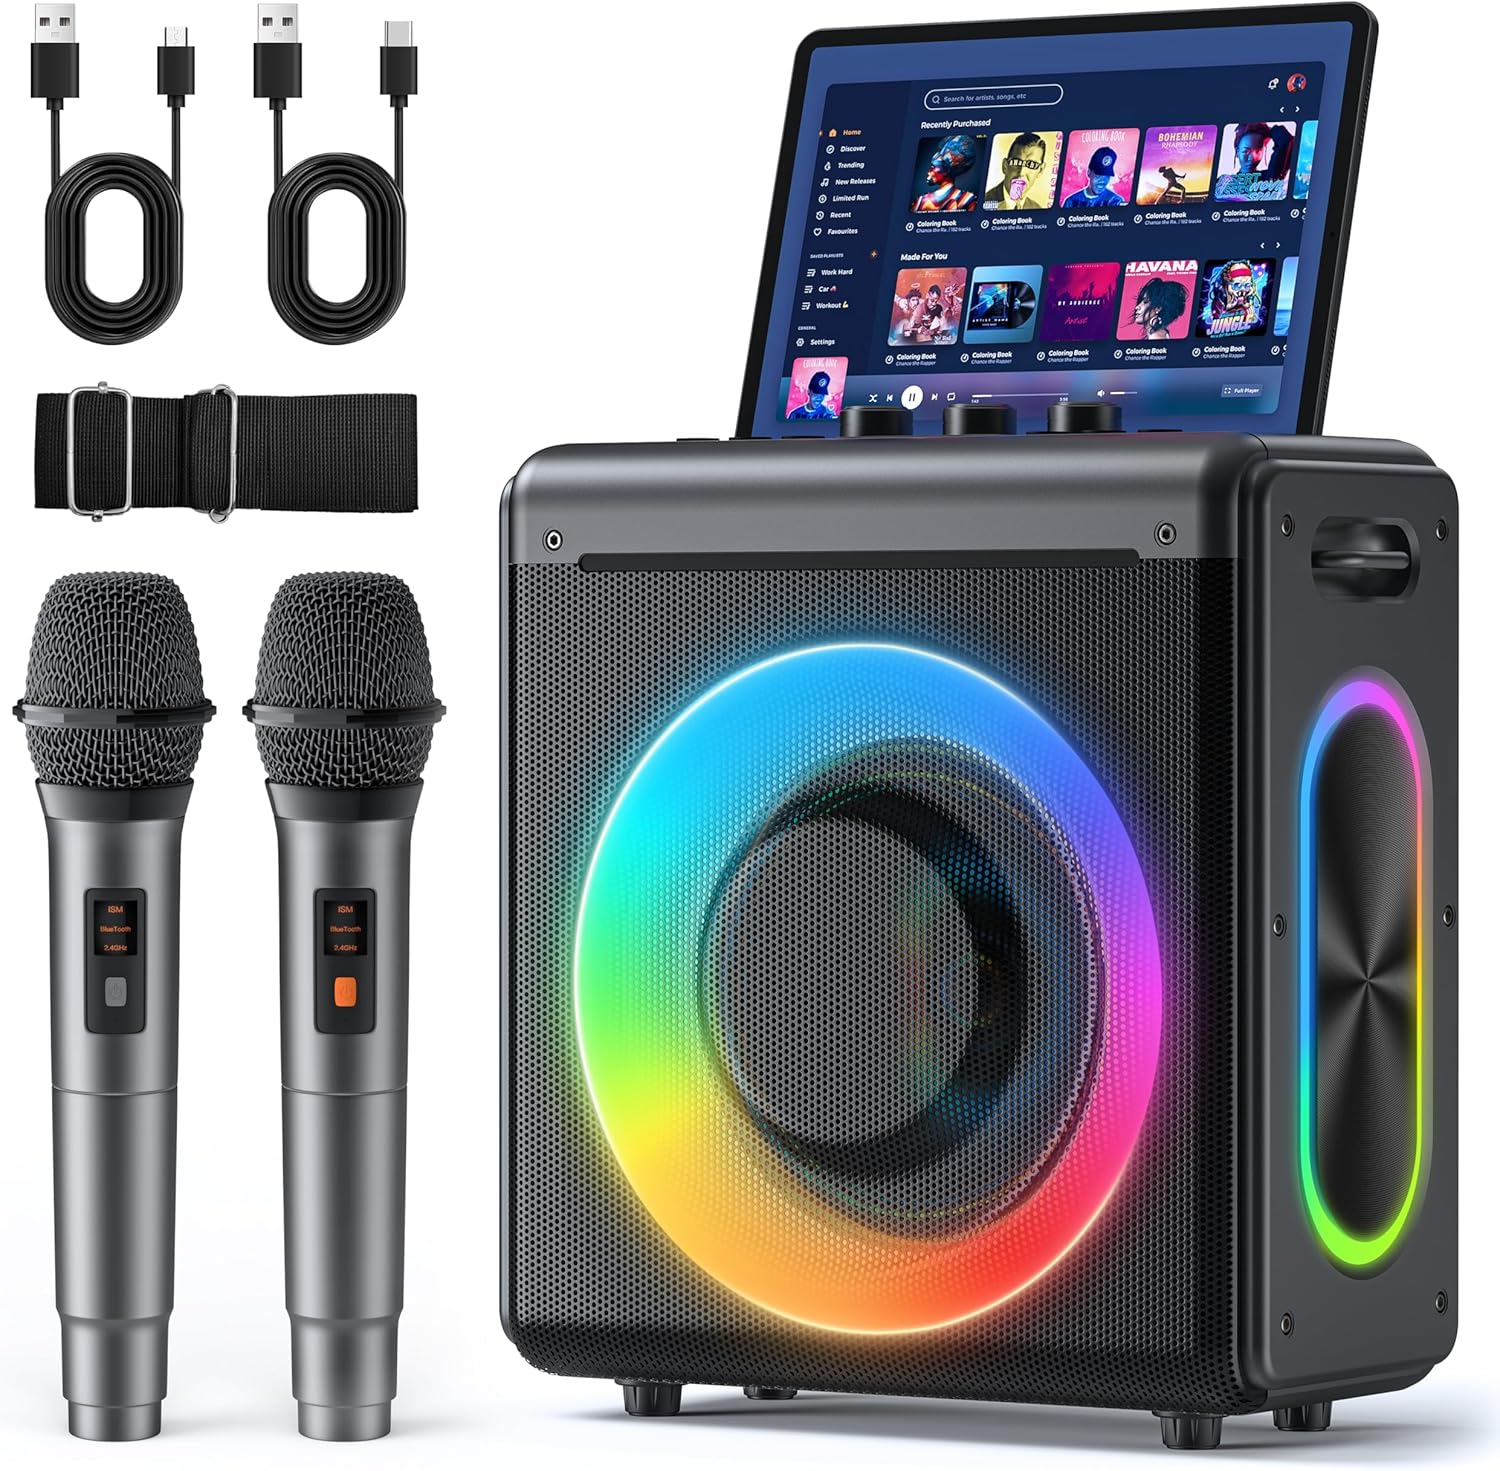
Karaoke Machine
Karaoke Machine with 2 Wireless Rechargeable Microphones: Portable Bluetooth Speaker for Adults & Kids - PA System with Lights Supports TWS/TF Card/USB/AUX for Home Party
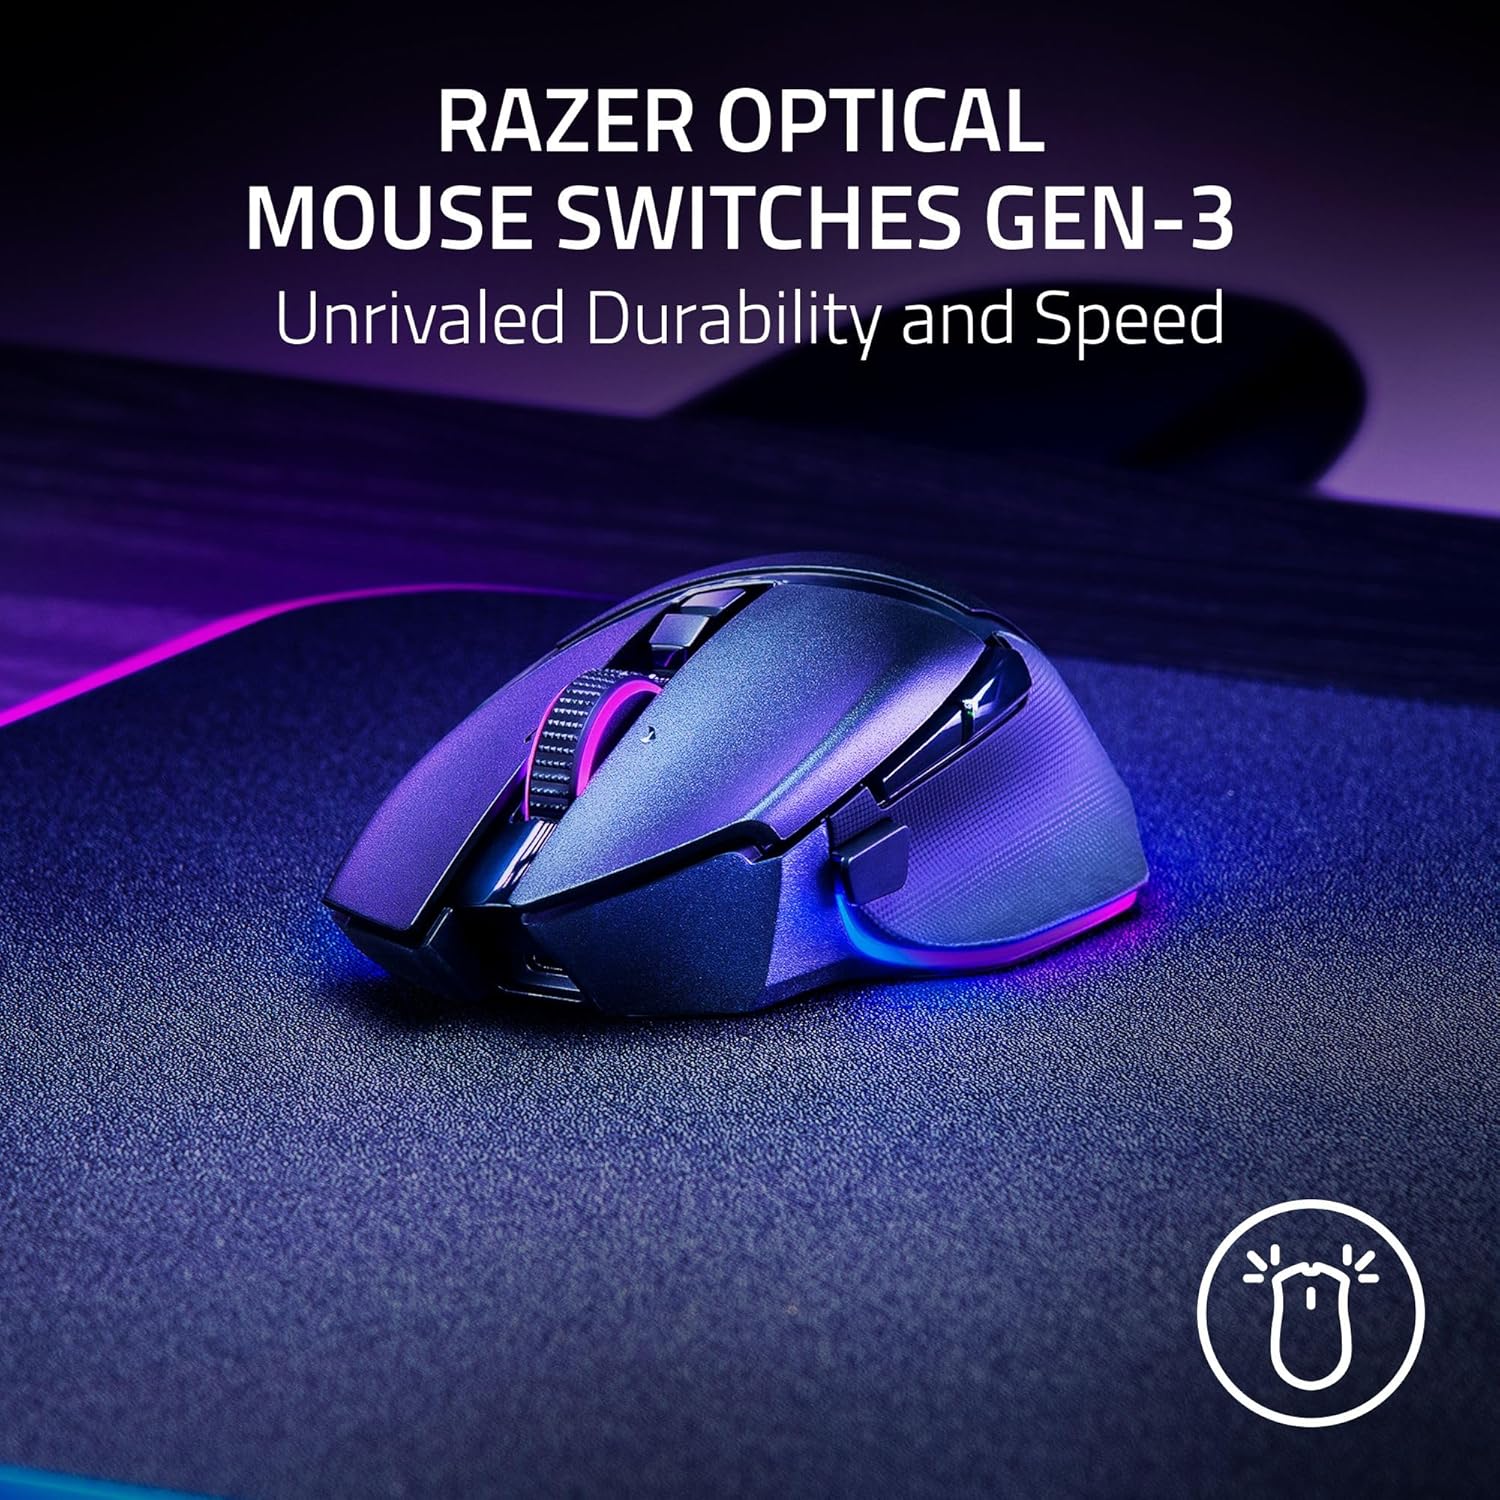
Razer
Razer Basilisk V3 Pro 35K Wireless Gaming Mouse: HyperScroll Tilt Wheel - 35K DPI Optical Sensor Gen 2-13 Customizable Controls - Chroma RGB - Optical Switches Gen 3 - Up to 140 Hr Battery - Black