
How to Make a 2D Game in Unity: Your Starter Guide
Have you ever dreamt of bringing your imaginative worlds to life, creating interactive stories, or designing the next indie hit? The realm of game development might seem daunting, but it’s more accessible than ever, especially when you’re starting with 2D Game Unity. Learning or practicing game creation at home is not just a valuable skill; it’s an incredibly inspiring journey that blends creativity with technical prowess. This guide is tailored to kickstart your journey into game development for beginners, proving that with the right tools and mindset, you can build your own digital masterpiece.
Materials & Supplies
Before you dive into crafting your first game, let’s gather your essential arsenal. You don’t need a supercomputer, but a reliable setup is key:
- Computer: A modern PC or Mac capable of running Unity smoothly. Most laptops from the last 5 years will suffice.
- Game Engine: Unity is our star today! It’s free for personal use and offers robust tools for both 2D and 3D development. For alternatives, Godot Engine is an excellent open-source choice.
- Code Editor: Visual Studio Code (free) or Visual Studio Community (free) are popular choices, integrated seamlessly with Unity for C# scripting.
- Graphics Software: For creating your sprites and backgrounds. GIMP (free), Krita (free), or Adobe Photoshop (paid) are excellent options.
- Audio Tools: Audacity (free) for sound editing, or access to free sound effect libraries like Freesound.org.
- Optional but Recommended: A Mechanical Gaming Keyboard can enhance your coding experience with tactile feedback and improved ergonomics during long development sessions.
Each tool serves a distinct purpose, from the game engine that assembles your world to the code editor that breathes life into your characters.
Timing / Development Schedule
Creating a game, even a simple 2D one, requires a realistic schedule. Here’s a general timeline to help you plan:
- Concept & Planning (1-3 days): Brainstorm your game idea, define core mechanics, and sketch out levels. This “prep time” is crucial.
- Asset Creation (3-7 days): Design your characters, backgrounds, and UI elements.
- Coding & Implementation (1-2 weeks): The “coding phase” where you bring everything to life in Unity, scripting player movement, enemy AI, and game logic.
- Testing & Debugging (3-5 days): Iteratively playtest your game, identify bugs, and refine mechanics.
- Refinement & Publishing (1-2 days): Polish graphics, sounds, and prepare for sharing.
For a beginner’s first project, aim for a total of 2-4 weeks. Think of it like building a LEGO set: you wouldn’t rush the instructions, and game development benefits from a similar methodical approach.
Step-by-Step Instructions
Let’s get your hands dirty! Here’s a simplified path to developing your first 2D game in Unity:
- Install Unity Hub & Unity Editor: Download from Unity’s official website.
- Create a New 2D Project: Open Unity Hub, select “New Project,” and choose a 2D template.
- Import Assets: Drag and drop your sprite sheets and audio files into the Project window.
- Set Up Your Scene: Drag your background sprite into the Scene view. Create a Player GameObject and attach its sprite.
- Add Physics & Colliders: For your player and environmental elements, add Rigidbody2D and various Collider2D components.
- Write Player Movement Script (C#): Create a new C# script, attach it to your Player GameObject, and write code for movement inputs (e.g.,
Input.GetAxis("Horizontal")for left/right). - Implement Game Logic: Add scripts for enemy AI, scorekeeping, and win/lose conditions.
- Test & Iterate: Use Unity’s Play mode to test constantly. Debug errors using the Console window.
Small, actionable advice: Always start with the simplest version of a feature, get it working, then enhance it. Don’t try to build the whole game at once!
Advantages of Learning Game Development
Embarking on Game Development with Unity offers a wealth of benefits beyond just making games:
- Boosts Creativity: Transforms abstract ideas into tangible experiences.
- Enhances Problem-Solving: Every bug is a puzzle to solve, every feature a design challenge.
- Fosters Logical Thinking: Programming trains your mind to think systematically.
- Develops Teamwork Skills: Crucial if you ever collaborate on projects.
- Opens Career Opportunities: The skills learned are highly transferable to software engineering, UX/UI design, and even project management.
Building games at home significantly improves both your technical programming skills and your artistic eye for design and storytelling.
Tips, Alternative Methods, or Development Advice
- Start 2D, then 3D: Mastering 2D principles (physics, collisions, rendering) provides a solid foundation before tackling the complexities of 3D.
- Visual Scripting: Consider tools like Unity’s Bolt (now included) or Godot’s visual scripting for those who prefer less raw code initially.
- Limited Hardware/Time: Focus on hyper-casual games or pixel art styles that are less demanding. Break down tasks into small, manageable chunks.
- Optimize Learning: Utilize YouTube tutorials, online courses (Coursera, Udemy), and active coding communities (Discord, Stack Overflow).
Common Mistakes to Avoid
- Overcomplicating the First Project: Start with a “Pong” or “Flappy Bird” clone. Don’t aim for an open-world RPG as your first game!
- Neglecting Testing: Test frequently, not just at the end. Early bug detection saves immense time.
- Ignoring Player Feedback: If others play your game, listen to their input (but also understand your own vision).
- Poor Version Control: Learn Git early. It’s a lifesaver for tracking changes and reverting mistakes.
- Burnout: Take breaks! Game development is a marathon, not a sprint.
Maintenance / Update Tips
Once your game is “done,” the journey isn’t over. Post-release maintenance is vital:
- Version Control: Continue using Git to manage updates and new features.
- Bug Fixes: Address issues reported by players promptly.
- New Content: Keep players engaged with updates, new levels, or characters.
- Player Feedback: Regularly collect feedback through surveys or community channels to guide future improvements.
- Organization & Backups: Keep your project files tidy and always have multiple backups (cloud, external drive).
Conclusion
Learning game development at home, especially with 2D Game Unity, is an incredibly rewarding endeavor. Remember to start small, embrace the learning curve, and practice consistently. Every line of code, every pixel you place, brings you closer to realizing your vision. Don’t be afraid to share your creations with friends, family, or online communities their feedback is invaluable. Now, go forth and create! Explore more tutorials, connect with fellow developers, and start building your gaming dreams today.
FAQs
Q: What programming language should I start with?
A: C# is the primary language for Unity and is a great general purpose language for beginners.
Q: Which game engine is best for beginners?
A: Unity is excellent for beginners due to its vast community, extensive tutorials, and versatility. Godot is another strong, open-source option.
Q: How long does it take to make a small game?
A: A very small game (like a simple “Pong” clone) can be made in a few days to a week. A more polished beginner project might take 2-4 weeks.
Q: Do I need to know coding to start?
A: Not necessarily to start, as Unity has visual tools. However, for anything beyond basic interaction, learning C# is highly recommended and eventually essential.
Q: Where can I publish my first game?
A: For simple games, platforms like Itch.io or Newgrounds are great. For more ambitious projects, consider Steam or mobile app stores (Google Play, Apple App Store).

Sound Healing 432 Hz
song transports the listener to a relaxed state of mindfulness and inner peace.

KOORUI
KOORUI 24.5 Inch Gaming Monitor 200Hz, 1ms, FHD(1920 * 1080p) IPS Display, HDR400, 90% DCI-P3 Color Gamut with Adaptive Sync, HDMI & DP Port, Black, G2511P
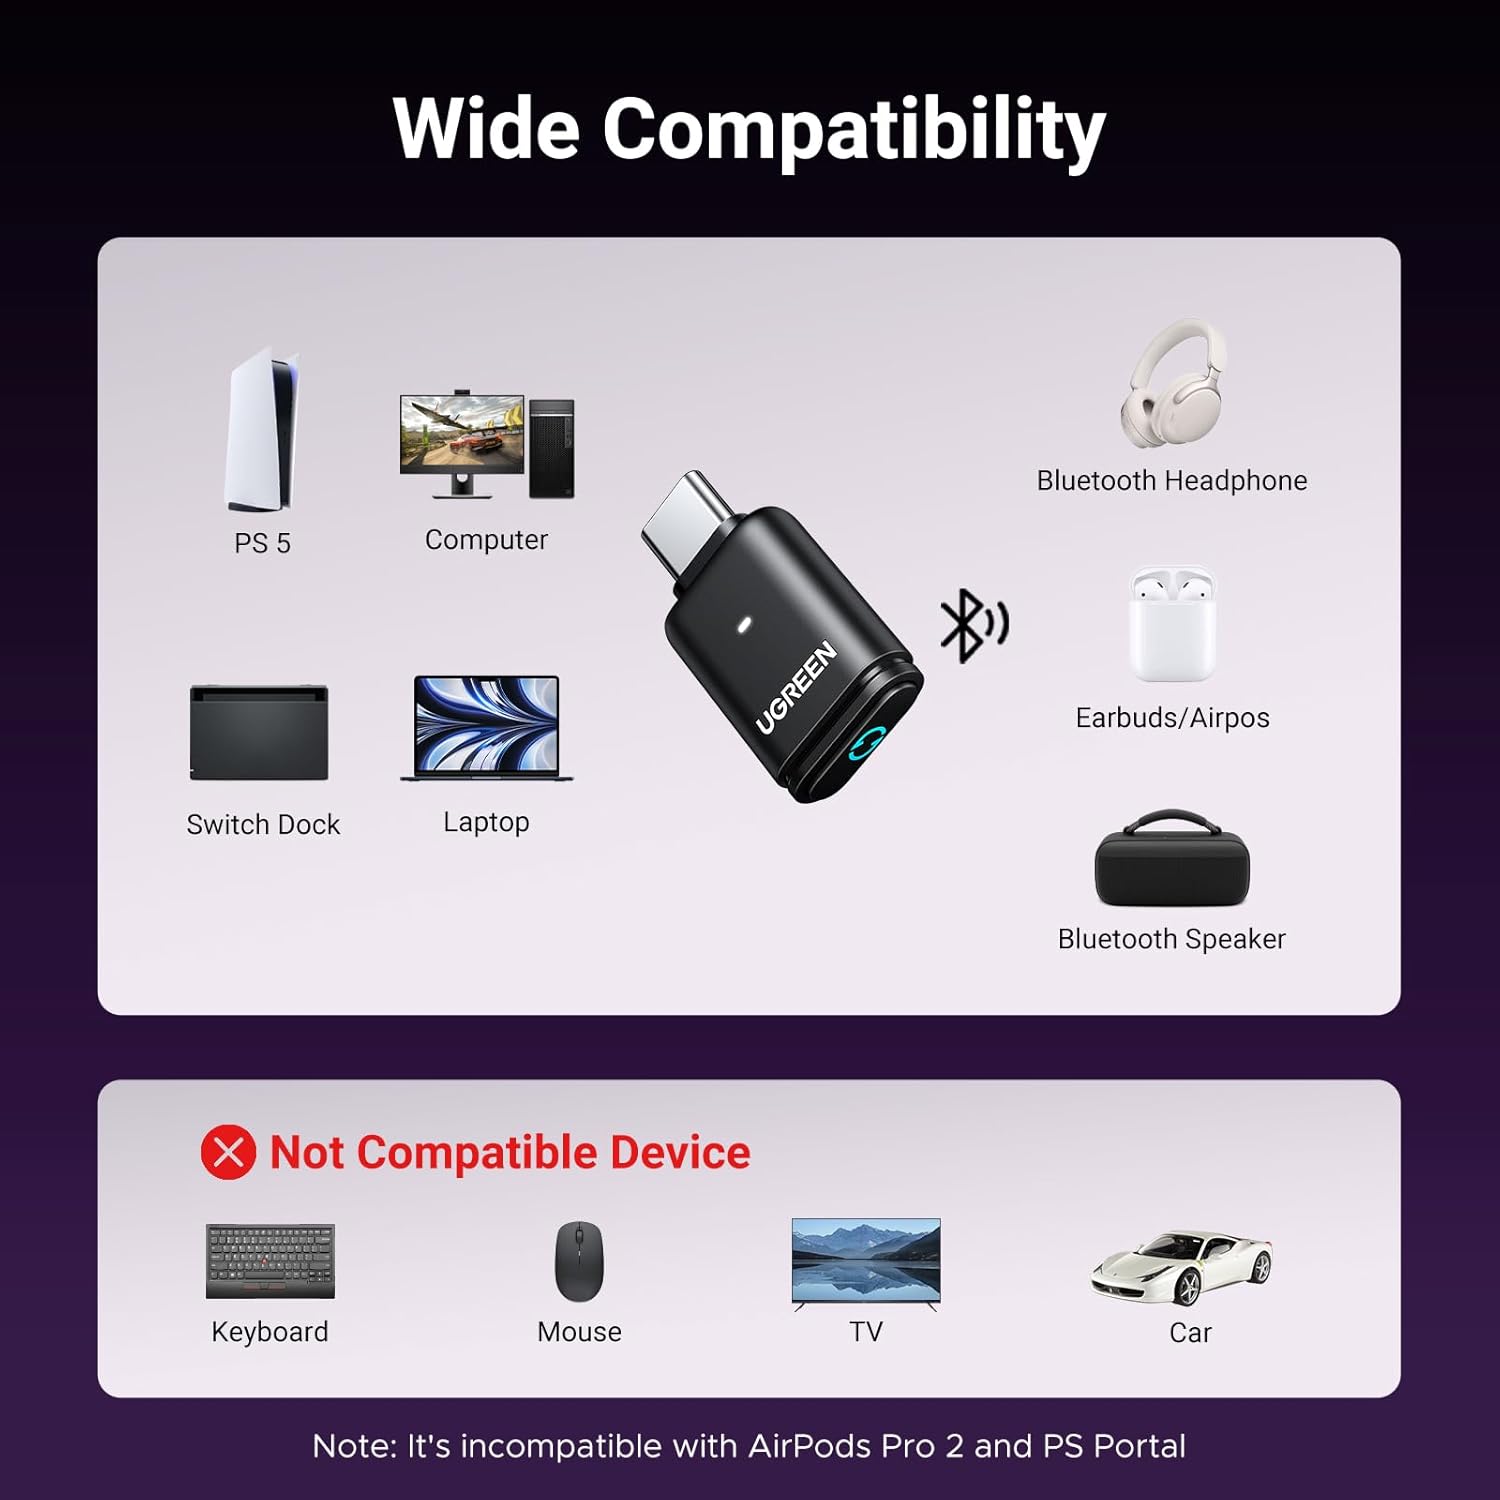
UGREEN USB-C Bluetooth Adapter for PS5
UGREEN USB-C Bluetooth Adapter for PS5, Bluetooth 5.3 Audio Adapter with APTX Low Latency & aptX-Adaptive, Wireless Audio Transmitter to Connect Wireless Headphones & Earbuds
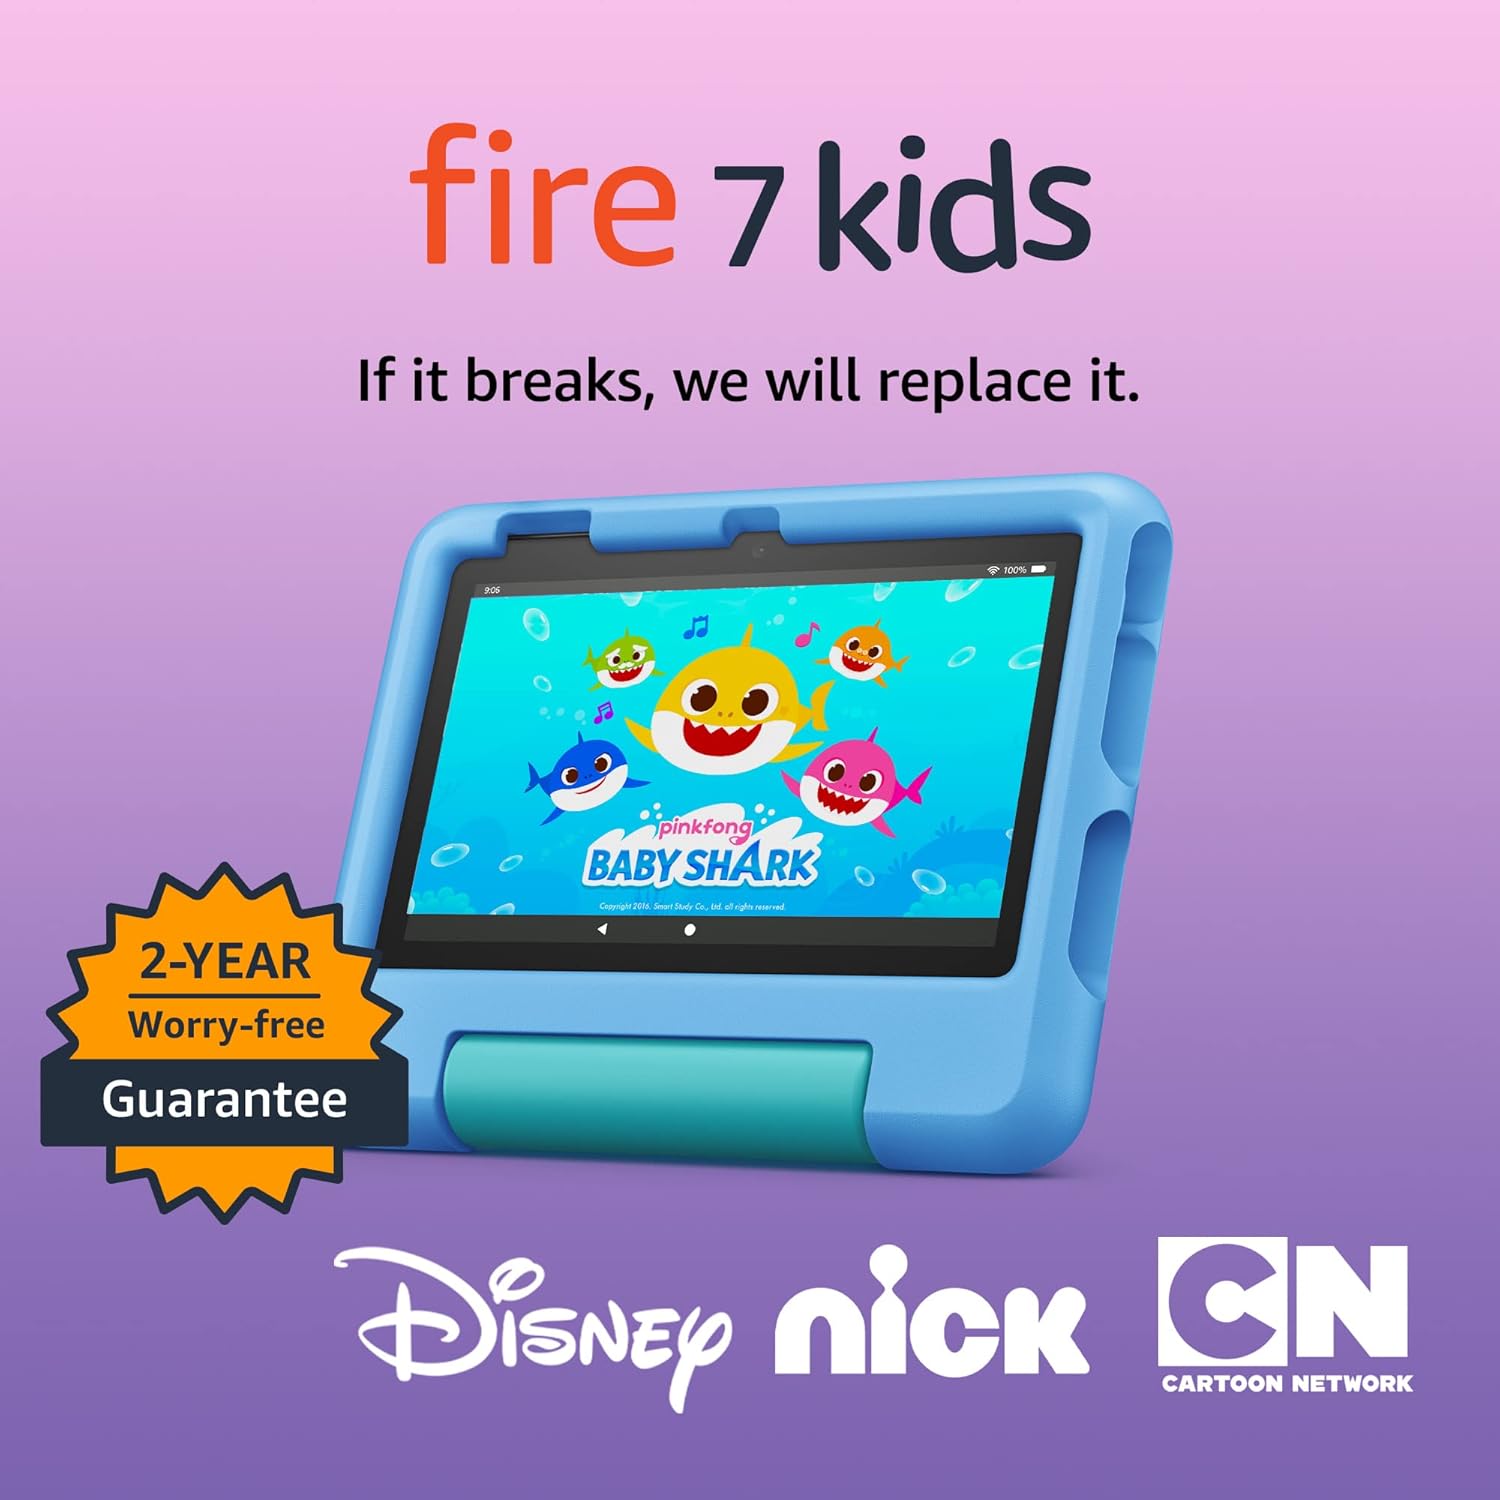
Amazon Fire 7 Kids tablet
Amazon Fire 7 Kids tablet, ages 3-7. Top-selling 7\" kids tablet on Amazon. Includes ad-free and exclusive content, easy parental controls, 10-hr battery, 16 GB, Blue