
Many developers underestimate how crucial a proper Android Studio setup is. I’ve seen colleagues spend days debugging issues that were simply due to misconfigured SDKs or wrong project settings. Setting up the environment correctly saves time, prevents errors, and ensures smooth development.
Here’s my step-by-step approach, combining real-world experience, mistakes I’ve made, and tips to avoid them.
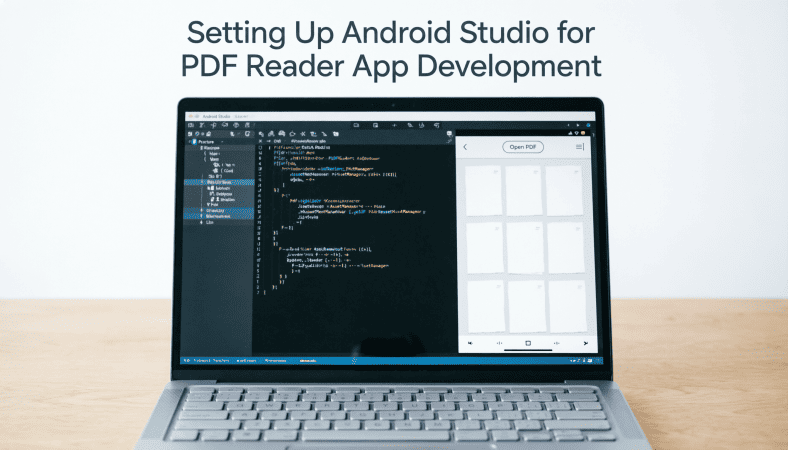
Step 1: Install Android Studio
Android Studio is the official IDE for Android development.
What I do:
-
Download the latest stable version from the official Android Studio website.
-
Follow the installer instructions.
-
Launch Android Studio and allow it to install recommended SDKs and plugins.
Practical Tip: I once skipped installing the recommended SDK packages. The app compiled fine on my computer but failed on devices with different Android versions. Lesson: always install all recommended SDK tools.
Step 2: Create a New Project
Once installed:
-
Click “New Project”.
-
Choose a template. For PDF apps, “Empty Activity” is usually best—it gives you a clean slate.
-
Enter your project name, e.g.,
MyPDFReaderApp. -
Set the package name (unique across the Play Store) like
com.mycompany.mypdfreader. -
Select Java or Kotlin (decide beforehand to avoid rewriting code).
-
Choose the minimum API level (I usually pick API 21+ for wider device coverage).
On my first project, I left the default package name (com.example.app). When trying to upload to Google Play, it was rejected due to conflicts. Always set a unique package name from the start.
Step 3: Configure the SDK and Emulator
-
Open SDK Manager in Android Studio.
-
Install the latest SDK Platform and Build Tools.
-
Configure the Android Virtual Device (AVD):
-
Choose a device model (Pixel 4 or similar works well).
-
Select a system image matching your minimum API level.
-
-
Launch the emulator to test your setup.
Pro Tip: Emulators can be slow. For heavy PDF apps, I recommend testing on a real device early to catch performance issues.
Step 4: Project Structure Overview
Understanding the structure saves headaches later:
-
app/src/main/java: Your Java/Kotlin code. -
app/src/main/res: Layouts, images, strings, colors. -
app/src/main/assets: Place PDF files here for easy access. -
build.gradle: Manage dependencies and library integration.
Think of this as organizing your workshop. If you know where every tool is, you work faster and make fewer mistakes.
Step 5: Install Necessary Plugins and Libraries
For a PDF reader app, you’ll need:
-
PDF Viewer libraries (AndroidPdfViewer, PDFView, MuPDF).
-
Annotation or bookmarking libraries if your app requires them.
-
Optional: Firebase for analytics or cloud storage.
I always test a small PDF with the library before integrating the entire book. This helps avoid runtime crashes and memory issues.
Step 6: Common Setup Mistakes and How to Avoid Them
-
Skipping SDK updates: Leads to build errors or device incompatibility.
-
Using default package names: Causes Play Store conflicts.
-
Installing wrong system images: Emulator won’t run or crashes.
-
Not testing on real devices: Can hide performance bottlenecks.
On one project, I compiled successfully on my laptop but the app crashed on a mid-range device. The problem? I hadn’t tested with a device that had less RAM. Early real-device testing saves time and frustration.
Step 7: Testing the Setup
Before starting actual development:
-
Run the empty project on the emulator.
-
Test on a physical device if possible.
-
Ensure Gradle sync works without errors.
Practical Advice: If any step fails, troubleshoot before moving forward. Fixing setup errors later can be far more painful.
Checklist Before Starting Development
✅ Android Studio installed with recommended SDKs
✅ New project created with unique package name
✅ Emulator configured and tested
✅ Project structure understood
✅ Required libraries and plugins installed
✅ Tested on real devices
Conclusion
A solid Android Studio setup is the foundation of your PDF reader app. By:
-
Installing all SDK tools
-
Creating a unique, well-structured project
-
Testing early on emulator and real devices
…you save time, reduce frustration, and ensure your app development runs smoothly.
For the complete guide to building a full PDF Android app, read the main article here.

beyerdynamic DT 770 PRO 80 Ohm Over-Ear Studio Headphones in Gray
beyerdynamic DT 770 PRO 80 Ohm Over-Ear Studio Headphones in Gray. Enclosed Design, Wired for Professional Recording and Monitoring
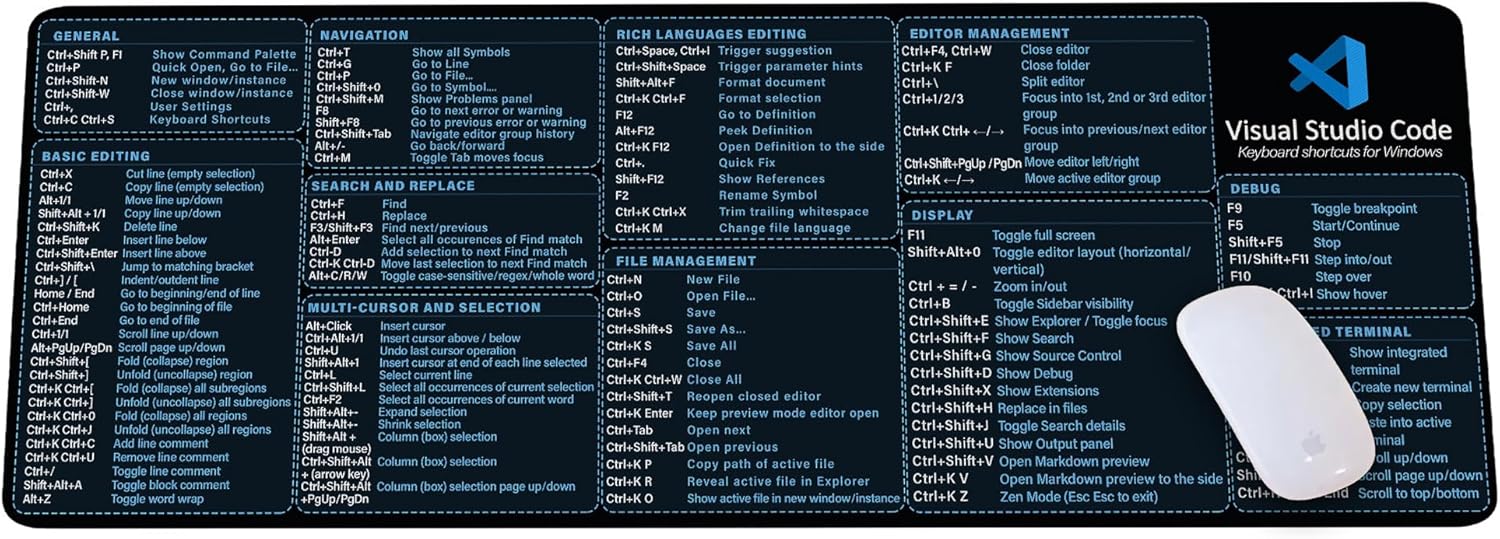
Visual Studio Code Shortcuts Mouse Pad
Visual Studio Code Shortcuts Mouse Pad – Desk Mat for Programmers, Coders & Beginners, Great Office Gift for Developers & Tech Enthusiasts, Computer Accessory for Study, Work, and Learning KMH
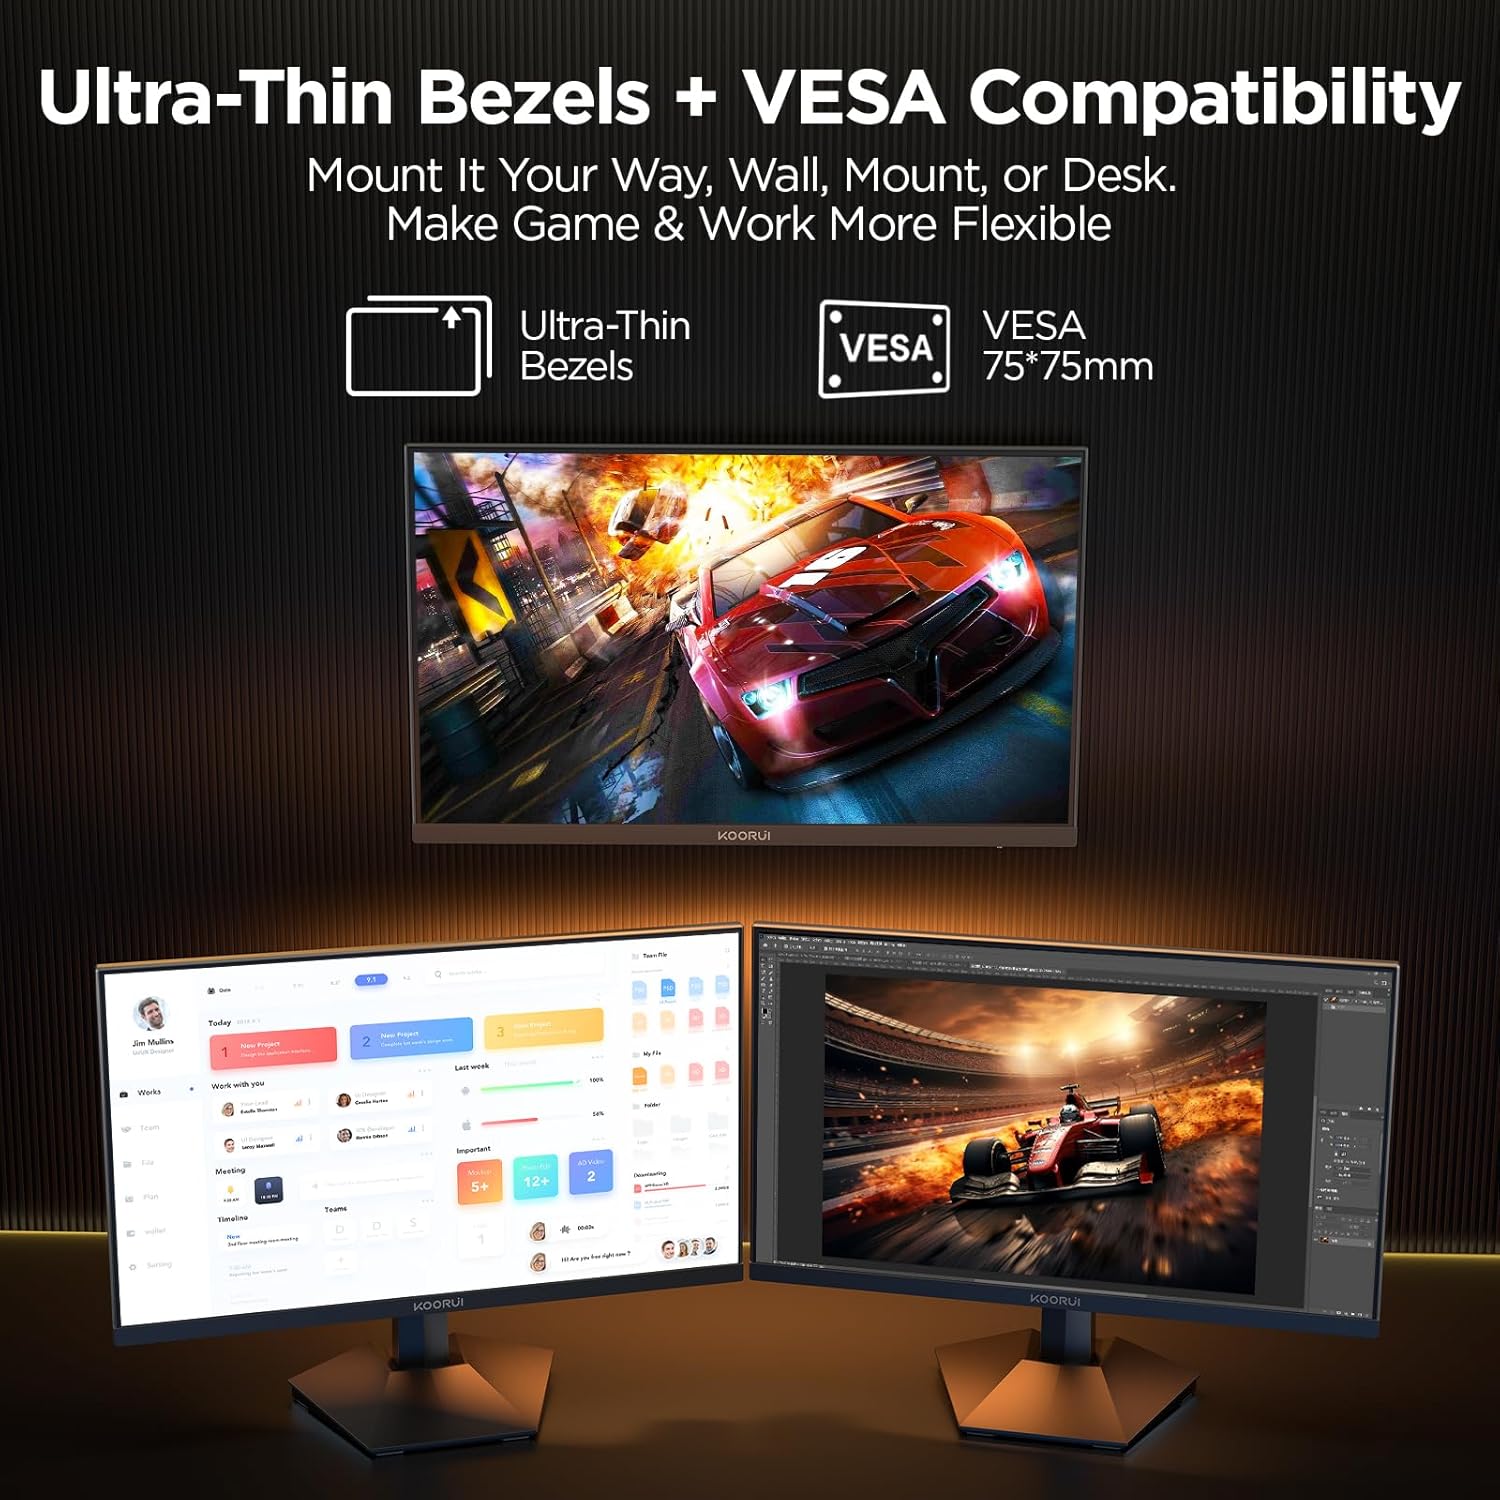
KOORUI
KOORUI 24.5 Inch Gaming Monitor 200Hz, 1ms, FHD(1920 * 1080p) IPS Display, HDR400, 90% DCI-P3 Color Gamut with Adaptive Sync, HDMI & DP Port, Black, G2511P

MMO Mug
MMO Mug - Legendary Coffee Mug Level 110 - Large Ceramic Black15oz - Gaming, Gamer Cup