Essential Audacity Tools and Features You Need to Know
Audacity is a powerful, free, open-source audio editing tool that has become a staple in the toolkit of musicians, podcasters, and sound designers alike. Whether you are a beginner just starting your audio journey or a seasoned professional, understanding the essential tools and features of Audacity can significantly enhance your productivity and creativity. In this article, we will dive deep into the functionalities that can make your audio editing workflow smoother and more efficient.
1. Getting Started with Audacity
Before we explore the tools, let’s ensure you have Audacity installed and set up correctly. Here’s a quick checklist to guide you through the initial setup:
- Download the latest version of Audacity from the official website.
- Install the program by following the on-screen instructions.
- Configure your audio settings, including microphone and playback devices.
- Familiarize yourself with the user interface.
2. Key Features of Audacity
2.1 Recording Audio
One of the primary functions of Audacity is its recording capability. You can capture audio from various sources, including microphones, mixers, and even streaming audio. Here’s how to record:
- Open Audacity and click on the drop-down menu next to the microphone icon to select your input device.
- Click the red record button to start recording.
- Speak or play your audio source.
- Click the stop button when you’re finished.
To ensure high-quality recordings, consider using a pop filter and a good-quality microphone.
2.2 Editing Audio
Editing audio tracks in Audacity is intuitive. You can cut, copy, paste, and delete sections of your audio. Here’s a basic guide to editing:
- Select the portion of the audio you want to edit by clicking and dragging in the waveform view.
- Use the Edit menu or keyboard shortcuts (Ctrl+C, Ctrl+X, Ctrl+V) to copy, cut, or paste.
- To delete a selection, press the Delete key on your keyboard.
2.3 Applying Effects
Audacity comes with a range of built-in effects to enhance your audio. Some popular effects include:
- Equalization: Adjust the balance of different frequencies in your audio.
- Reverb: Add depth and richness to your audio.
- Compression: Even out the dynamic range of your audio.
To apply an effect:
- Select the audio track or segment you want to modify.
- Navigate to the Effect menu.
- Choose the desired effect and adjust the parameters as needed.
- Preview the effect and click OK to apply.
2.4 Noise Reduction
Background noise can ruin an otherwise perfect recording. Audacity offers a straightforward noise reduction tool. Here’s how to use it:
- Select a portion of the audio where only the noise is present.
- Go to Effect > Noise Reduction and click on “Get Noise Profile.” This teaches Audacity what noise to filter out.
- Select the entire track or the part you want to clean up.
- Return to Effect > Noise Reduction, and adjust the settings as desired before clicking OK.
3. Advanced Tools
3.1 Multi-Track Editing
Audacity allows you to work with multiple audio tracks simultaneously, making it an excellent choice for mixing music or podcasts. To add a new track:
- Go to Tracks > Add New and select the type of track you want to create (Mono or Stereo).
- Record or import audio into the new track.
Using the Mixer Board, you can adjust the volume levels of each track for a balanced mix.
3.2 MIDI Support
While primarily an audio editing tool, Audacity includes basic MIDI support for those who want to incorporate MIDI files into their projects. You can import MIDI files and use them in conjunction with your audio tracks.
3.3 Spectrogram View
The Spectrogram view provides a visual representation of the frequencies in your audio. To switch to Spectrogram view:
- Click on the track name and select “Spectrogram” from the drop-down menu.
- Analyze the frequency content visually.
This feature is helpful for identifying specific sounds or frequencies in your recordings.
4. Exporting Your Project
Once your audio project is complete, exporting it is the final step. Audacity supports various formats, including WAV, MP3, and OGG. Here’s how to export your project:
- Go to File > Export.
- Select the desired format.
- Choose the location to save the file and click Save.
- Fill in metadata tags if required and click OK.
5. Tips for Efficient Audacity Use
To make the most out of Audacity, consider the following tips:
- Utilize keyboard shortcuts to speed up your editing process.
- Regularly save your project to avoid losing progress.
- Use labels to mark sections of your audio for easy navigation.
- Explore plugins for additional effects and features.
Related Content
If you want to dive deeper into mastering Audacity, check out our detailed guide: Mastering Audacity Online: A Comprehensive Guide.
Conclusion
Audacity is an incredibly versatile audio editing tool, and understanding its essential features can elevate your audio projects to new heights. From recording and editing to applying effects and exporting, mastering these tools will enhance your workflow and creativity. Whether you’re making beats, producing podcasts, or simply editing audio for personal use, the skills you gain from using Audacity will serve you well in your audio journey.

ESR for MagSafe Wallet
ESR for MagSafe Wallet, 5-Card Holder With RFID Blocking, MagSafe Sticker Included, Slim Magnetic Wallet for iPhone 17/16/15/14/13/12 Series and Selected Samsung Devices, Not for 13/12 Mini, Black

Panvola
Panvola Debugging Definition Computer Programmer Gifts Student Teacher Coder Boyfriend Girlfriend IT Vacuum Insulated Tumbler Tech Support Travel Mug Stainless Steel With Straw Removable Lid (30 oz)
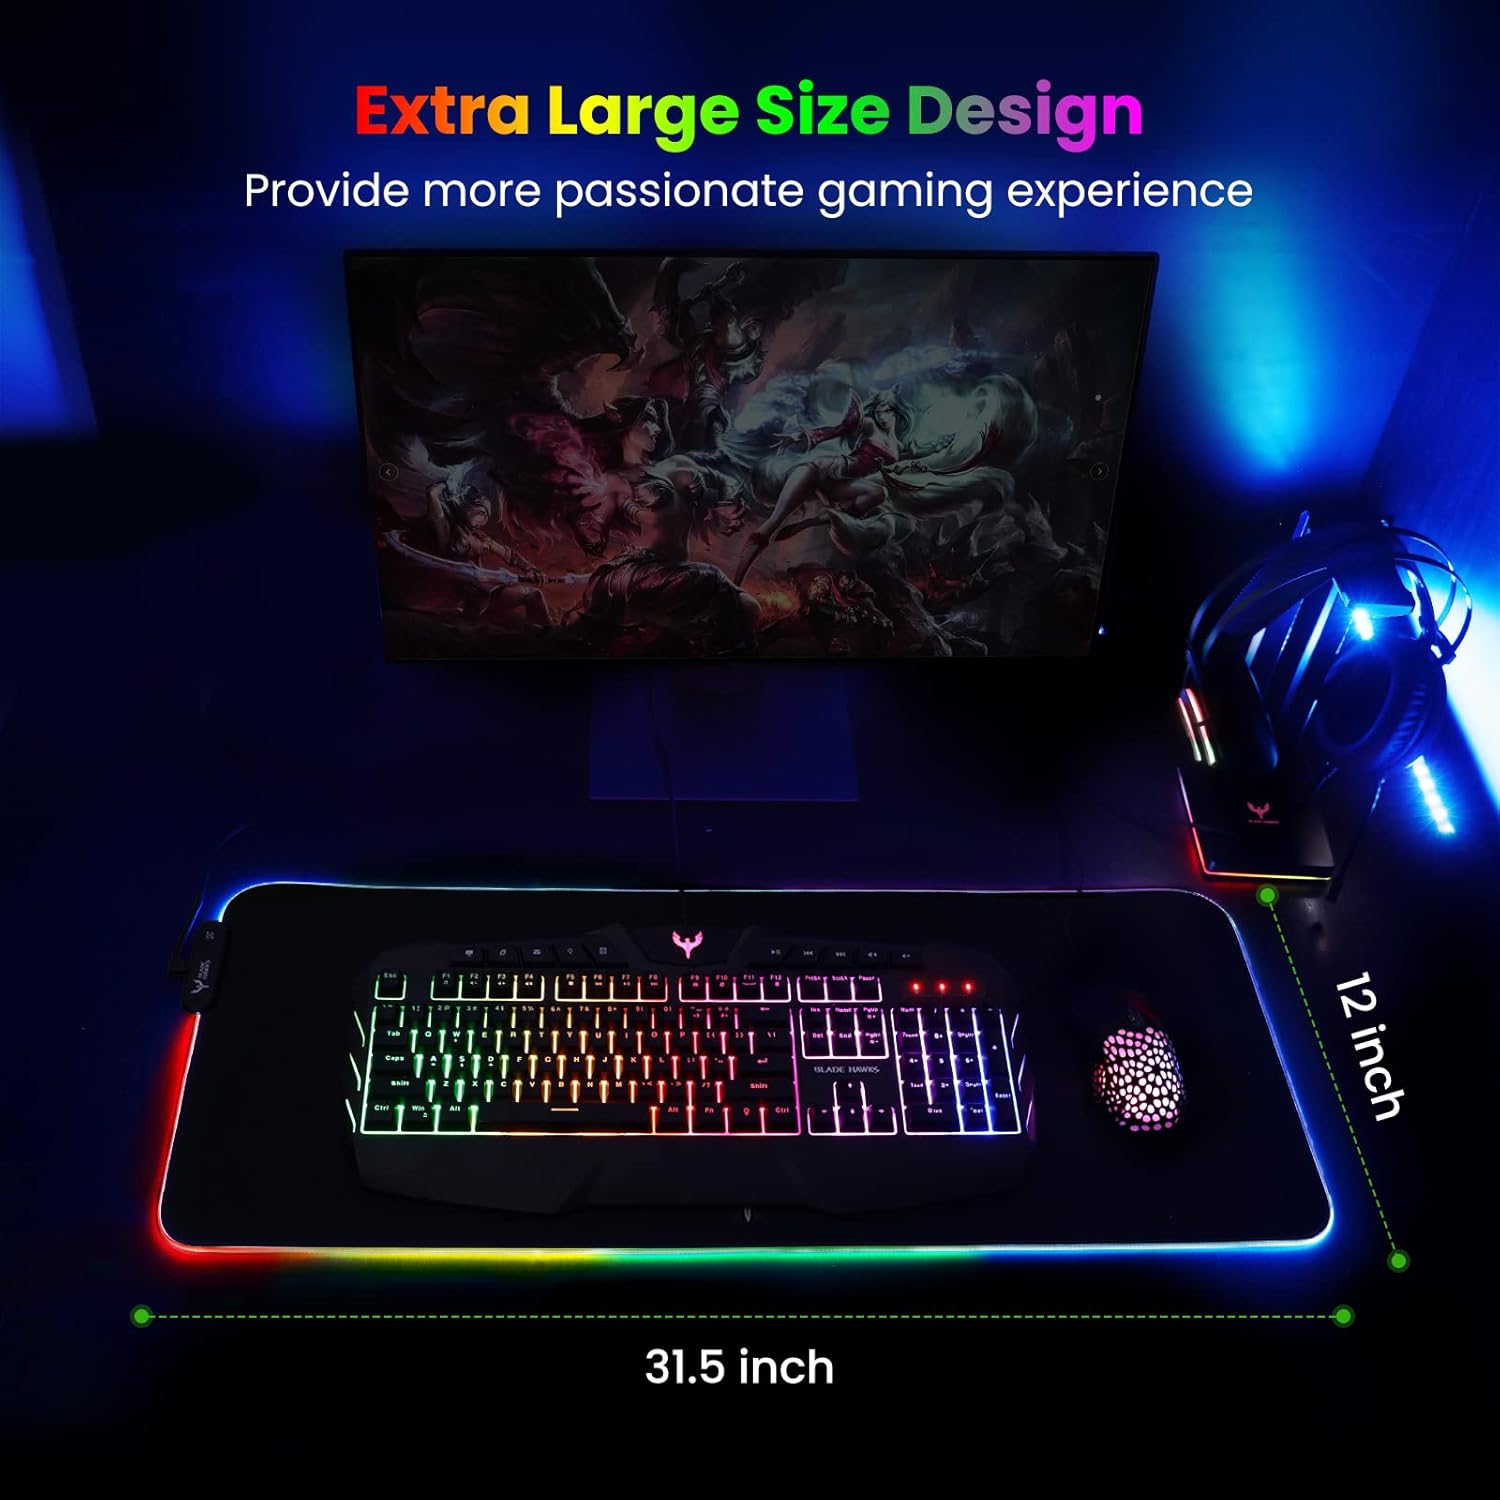
Mouse Pad
BladeHawks Extra Large RGB Gaming Mouse Pad-14 Light Modes, Extended Soft LED Mouse Pad, Anti-Slip Rubber Base, Computer Keyboard Mousepad Mat (31.5 x 12 Inch)

interface sounds OGG
interface sounds, UI sound effects, UX sound effects, game UI sounds, mobile UI audio, notification sound effects, button click SFX, menu sounds, toggle switch sounds, error alert sounds

Razer
RAZER BlackWidow V4 Pro Wired RGB Keyboard White Refurbished