Creating Your Own 3D Models: Tools and Tips
In today’s digital landscape, 3D modeling is a skill that opens up countless opportunities, from game development to product design. Whether you’re a hobbyist looking to create characters for your competitive gaming experience or a professional aiming to enhance your portfolio, mastering 3D modeling can significantly elevate your work. This article will guide you through the essential tools and tips for creating your own 3D models.
Understanding 3D Modeling
3D modeling is the process of developing a mathematical representation of any three-dimensional surface of an object via specialized software. The final product can be used in various applications, including video games, movies, and product design. Here’s a simplified breakdown of the process:
- Conceptualization: Start with an idea or concept sketch of the model you want to create.
- Modeling: Use 3D software to create a digital representation of your concept.
- Texturing: Apply textures and colors to give your model realism.
- Rendering: Generate a 2D image or animation from the 3D model.
- Exporting: Save your model in a format suitable for your intended use.
Essential Tools for 3D Modeling
Choosing the right tools is crucial for successful 3D modeling. Here are some popular software options that cater to different skill levels and project requirements:
1. Blender
Blender is a powerful, open-source 3D modeling tool that’s great for both beginners and professionals. It includes features for modeling, texturing, rendering, and animation.
- Price: Free
- Platforms: Windows, macOS, Linux
- Key Features: Extensive modeling tools, Python scripting, built-in rendering engine.
2. Autodesk Maya
Widely used in the film and gaming industry, Maya offers advanced features for 3D modeling, animation, and rendering.
- Price: Subscription-based (free trial available)
- Platforms: Windows, macOS, Linux
- Key Features: Advanced animation tools, robust modeling capabilities, and industry-standard software.
3. SketchUp
SketchUp is a user-friendly tool ideal for beginners and those focused on architectural and interior design.
- Price: Free (with premium options)
- Platforms: Web-based, Windows, macOS
- Key Features: Intuitive interface, large library of pre-made models.
4. ZBrush
ZBrush is a digital sculpting tool that combines 3D/2.5D modeling, texturing, and painting.
- Price: Paid (free trial available)
- Platforms: Windows, macOS
- Key Features: High-resolution sculpting, flexible brushes, and advanced painting tools.
Getting Started: A Step-by-Step Guide
Now that you’re familiar with the tools, let’s go through the basic steps to create your first 3D model.
Step 1: Conceptualize Your Idea
Before you dive into modeling, sketch out your idea. Focus on the details, proportions, and textures. This will serve as your roadmap.
Step 2: Choose Your Software
Select the 3D modeling software that best suits your needs. For beginners, Blender or SketchUp is recommended.
Step 3: Start Modeling
Begin creating your model by using basic shapes (cubes, spheres, etc.) and gradually refine them into your desired form. Here’s a simple checklist to keep you on track:
- Use reference images to guide proportions.
- Experiment with extrusion, scaling, and rotation tools.
- Regularly save your work to avoid losing progress.
Step 4: Texturing
Once your model is complete, it’s time to add textures. Use UV mapping to apply images to your 3D model. This step enhances realism:
| Texture Type | Description |
|---|---|
| Diffuse Map | Base color texture. |
| Normal Map | Adds surface detail without increasing polygon count. |
| Specular Map | Controls shininess and reflective properties. |
Step 5: Rendering
Rendering is the final step where you create a 2D image or animation from your 3D model. Adjust lighting and camera angles to achieve the best results.
Step 6: Export Your Model
Export your model in the desired format (e.g., .OBJ, .FBX) based on its intended use, whether for games, animations, or 3D printing.
Tips for Successful 3D Modeling
To enhance your skills and efficiency, consider the following tips:
- Practice Regularly: The more you model, the better you’ll become.
- Learn from Tutorials: Utilize online resources, including YouTube tutorials and courses on platforms like Udemy.
- Join a Community: Engaging with forums or social media groups can provide support and feedback.
- Experiment: Don’t be afraid to try new techniques and tools.
Resources for 3D Models
If you’re looking for inspiration or ready-to-use models, check out our article on Free 3D Models: Your Ultimate Resource for 3D Design. It’s an excellent starting point for finding high-quality assets.
Conclusion
Creating your own 3D models can be a rewarding journey, whether you’re doing it for fun or as part of a professional career. By utilizing the right tools, following a structured process, and continually honing your skills, you can bring your creative visions to life. Remember, practice makes perfect, so keep experimenting and learning!
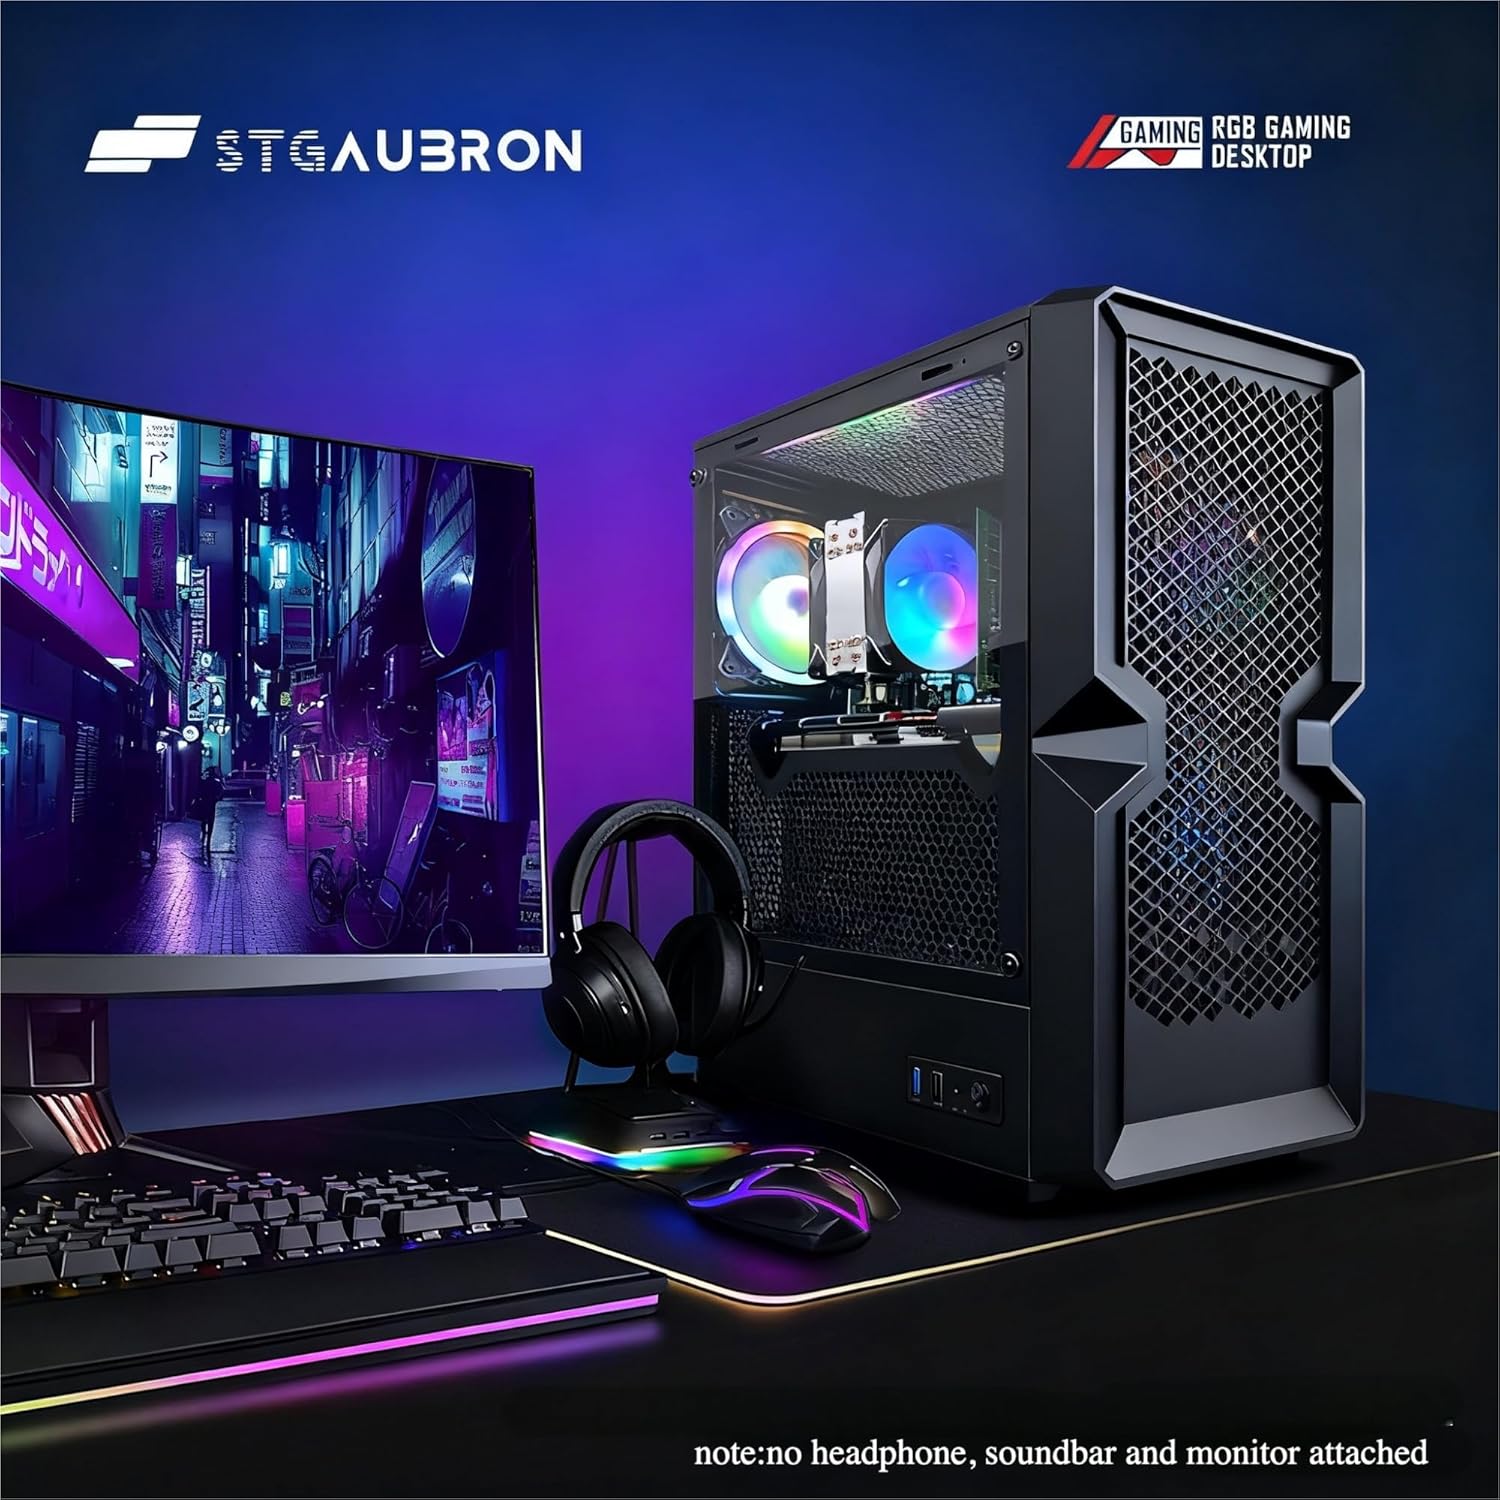
STGAubron Gaming PC Desktop
STGAubron Gaming PC Desktop Computer, Intel Core i5 up to 3.6G, Radeon RX 590 8G, 16GB RAM, 1TB SSD, 600M WiFi, BT 5.0, RGB Fan x3, Windows 11 Home
interface sounds OGG
interface sounds, UI sound effects, UX sound effects, game UI sounds, mobile UI audio, notification sound effects, button click SFX, menu sounds, toggle switch sounds, error alert sounds
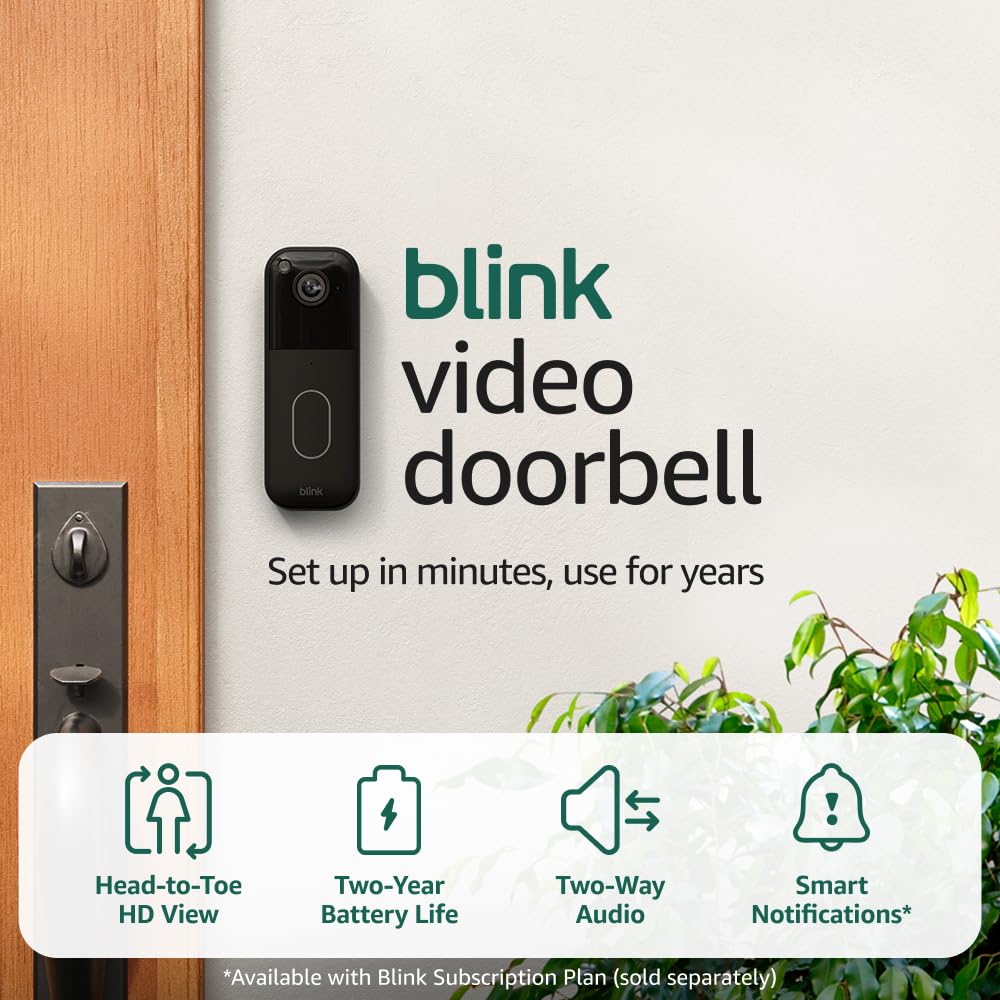
Blink Video Doorbell
Blink Video Doorbell (newest model) – Head-to-toe HD view, two-year battery life, and simple setup. Required Sync Module not included – Add-On (Black)
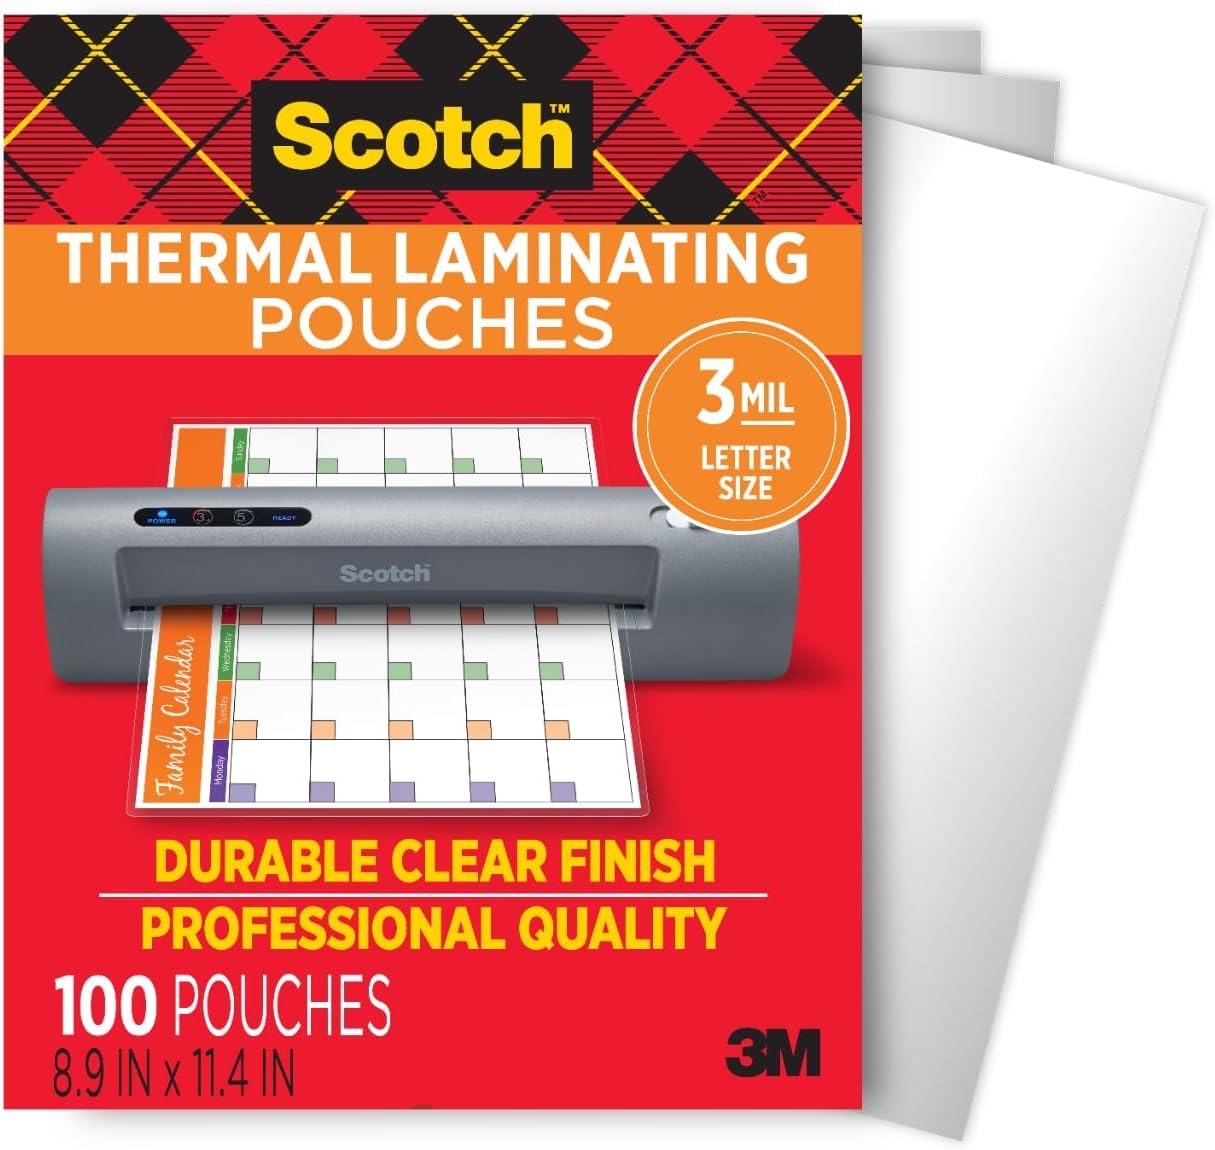
Scotch Thermal Laminating Pouches
Scotch Thermal Laminating Pouches, for Use with Thermal Laminators, 8.9 x 11.4 Inches, Letter Size Sheets, 100-Pack
Ultimate Mobile Controls – Plug & Play
Take your mobile game to the next level with this ready-to-use Mobile Controls Pack. customizable mobile controls without wasting days on UI and input setup. Perfect for 2D, 3D, FPS, RPG, Platformer, Shooter, and Casual mobile games.
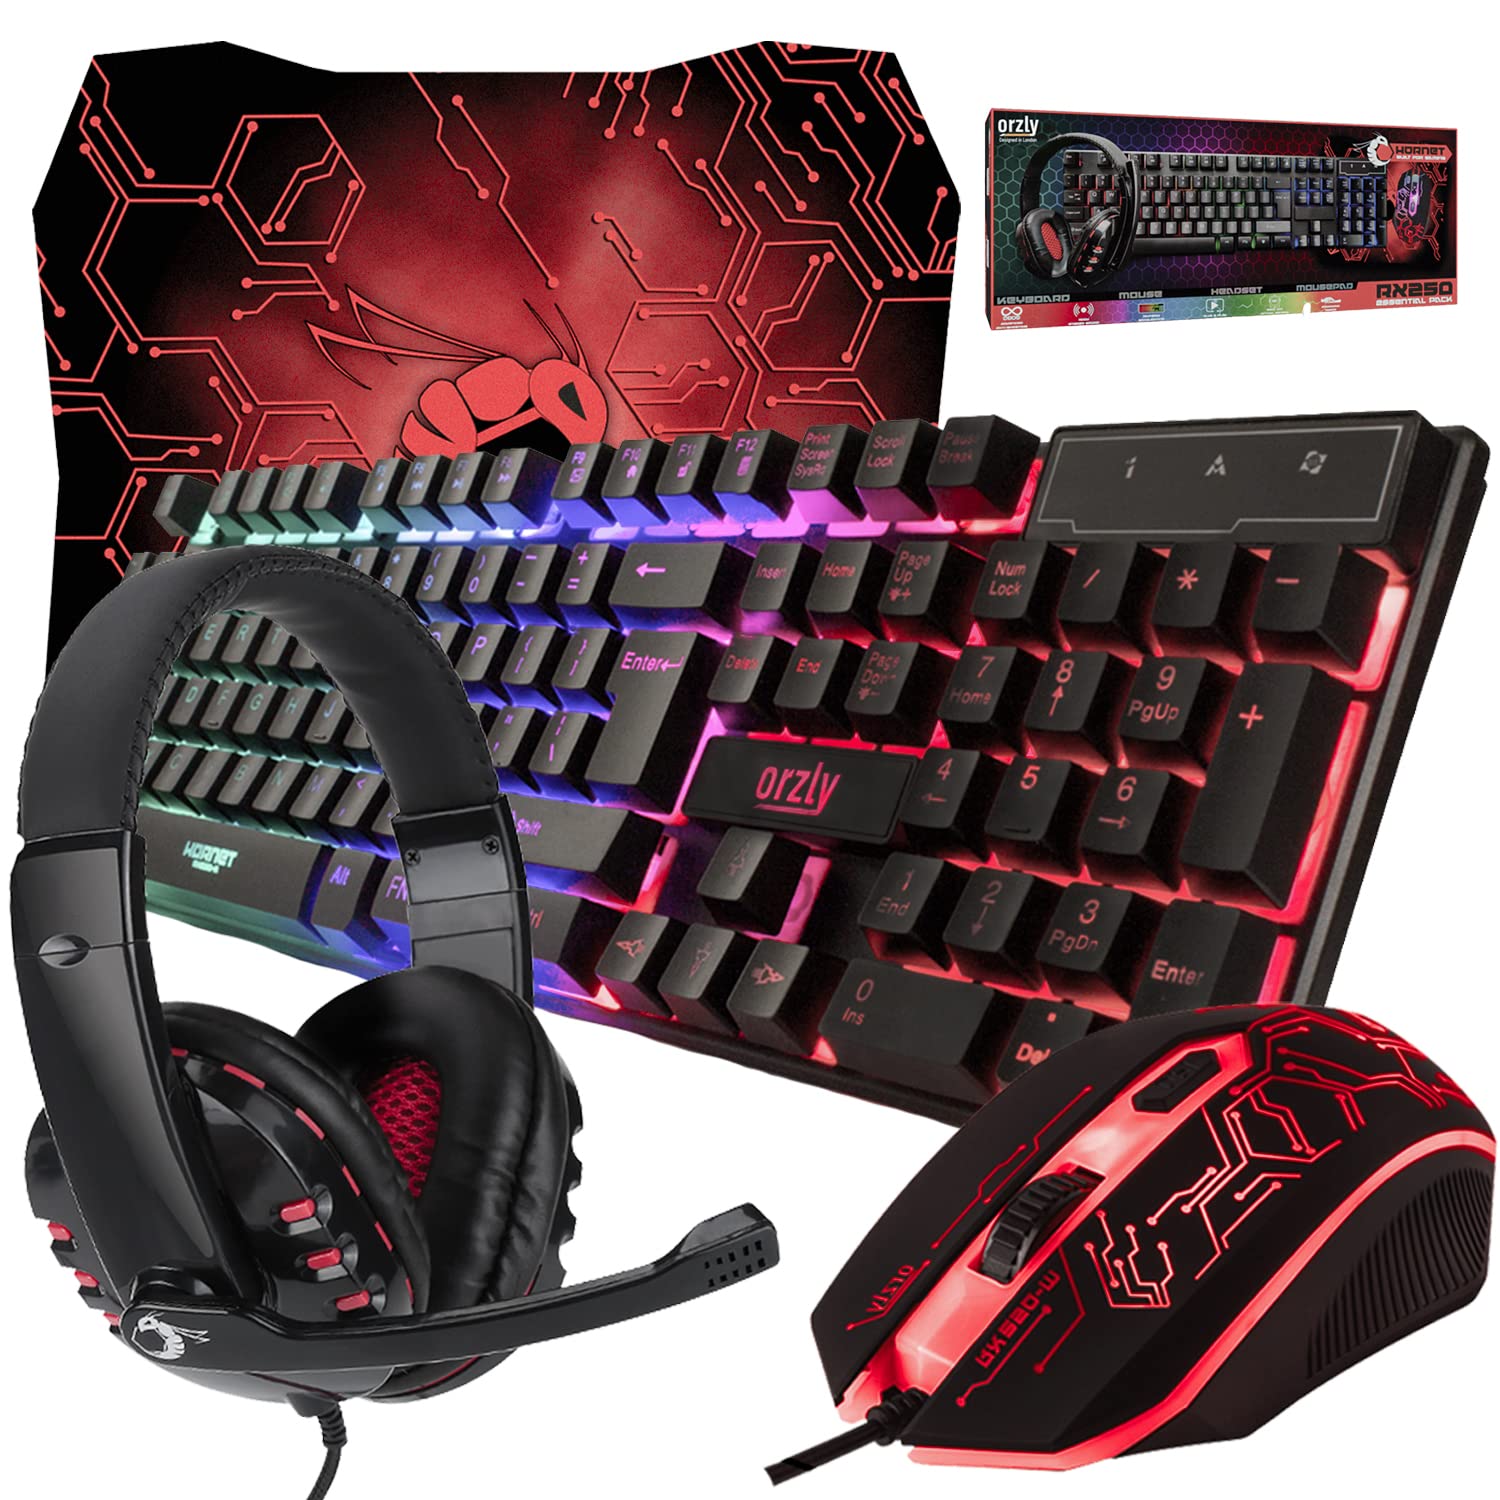
Gaming Keyboard and Mouse and Mouse pad and Gaming Headset, Wired LED RGB Backlight Bundle
Gaming Keyboard and Mouse and Mouse pad and Gaming Headset, Wired LED RGB Backlight Bundle for PC Gamers and Xbox and PS4 Users – 4 in 1 Edition Hornet RX-250