As a seasoned graphic designer and web developer, I often find myself navigating the intricate world of image optimization. When it comes to web design, exporting files from Photoshop in the right format is crucial for ensuring that your website performs well and looks great. In this comprehensive guide, we will explore the various methods of exporting web-ready files from Photoshop, providing you with the tools and knowledge needed to enhance your projects.
Why Optimize Images for the Web?
Before diving into the exporting process, it’s important to understand why image optimization is necessary. Optimized images can significantly improve your website’s loading speed, which is a critical factor in user experience and SEO rankings. According to Google, a one-second delay in page load time can lead to a 7% reduction in conversions.
Understanding Image Formats
Photoshop allows you to export images in various formats, each suited for different purposes. Here’s a brief overview of the most common formats used in web design:
| Format | Best Use | Pros | Cons |
|---|---|---|---|
| JPEG | Photographs | High-quality images, small file size | Loses detail with compression |
| PNG | Graphics with transparency | Lossless quality, supports transparency | Larger file size |
| GIF | Simple animations | Supports animation, small file size | Limited to 256 colors |
| SVG | Scalable graphics | Resolution-independent, small file size | Not suitable for complex images |
Step-by-Step Guide to Exporting Web-Ready Files
Now that you understand the importance of optimization and the various formats available, let’s delve into the step-by-step process of exporting your images from Photoshop for the web.
1. Prepare Your Image
Before exporting, ensure your image is well-prepped. This includes:
- Adjusting the image size according to your design specifications.
- Cropping or trimming any unnecessary elements.
- Applying any necessary adjustments to brightness, contrast, and color.
2. Use the ‘Export As’ Feature
Photoshop has a powerful feature called ‘Export As’ that allows you to export your images efficiently. Here’s how to use it:
- Go to the top menu and select File > Export > Export As.
- A dialog box will appear, showing a preview of your image.
- Select the desired format from the dropdown menu (JPEG, PNG, etc.).
- Adjust the settings such as quality and size. For JPEG, you can choose quality from 0 to 100. For PNG, choose whether to include transparency.
- Check the preview to ensure your image looks the way you want.
- Click Export and choose your file location.
3. Use the ‘Save for Web’ Feature
Although the ‘Export As’ feature is more modern, the ‘Save for Web’ option is still widely used for its simplicity and effectiveness. Here’s how to access it:
- Select File > Export > Save for Web (Legacy).
- In the dialog box, choose your desired format (JPEG, PNG, GIF).
- Adjust the quality settings. For JPEG, aim for a quality value between 60-80 for a good balance between quality and file size.
- Preview how the image will look with the current settings.
- Click Save, choose your destination, and name your file.
4. Optimize File Size
Once you’ve exported your image, it’s essential to check the file size. Ideally, images should be under 100KB for optimal web performance. You can use various online tools like TinyPNG or ImageOptim to further compress your images without losing quality.
Checklist for Exporting Web-Ready Files
Use this checklist to ensure you’ve covered all bases when exporting your web-ready files:
- Image is correctly sized for its intended use.
- Image format is suitable (JPEG for photos, PNG for graphics).
- File size is optimized for the web.
- Color profiles are set to sRGB for consistency across browsers.
- Transparency is preserved if necessary.
Visual Examples
To illustrate the difference between formats, consider the following:

Example of a JPEG image, ideal for photographs.

Example of a PNG image, perfect for graphics with transparency.
Related Content
For more in-depth knowledge on using Photoshop for web design, check out our Ultimate Guide to Photoshop for Web Design.
Conclusion
Exporting web ready files from Photoshop is a vital skill for anyone involved in web design. By understanding the various formats and utilizing the right exporting techniques, you can enhance your projects and ensure they perform optimally on the web. Remember, a well optimized image can make all the difference in user experience and SEO rankings. Happy designing!
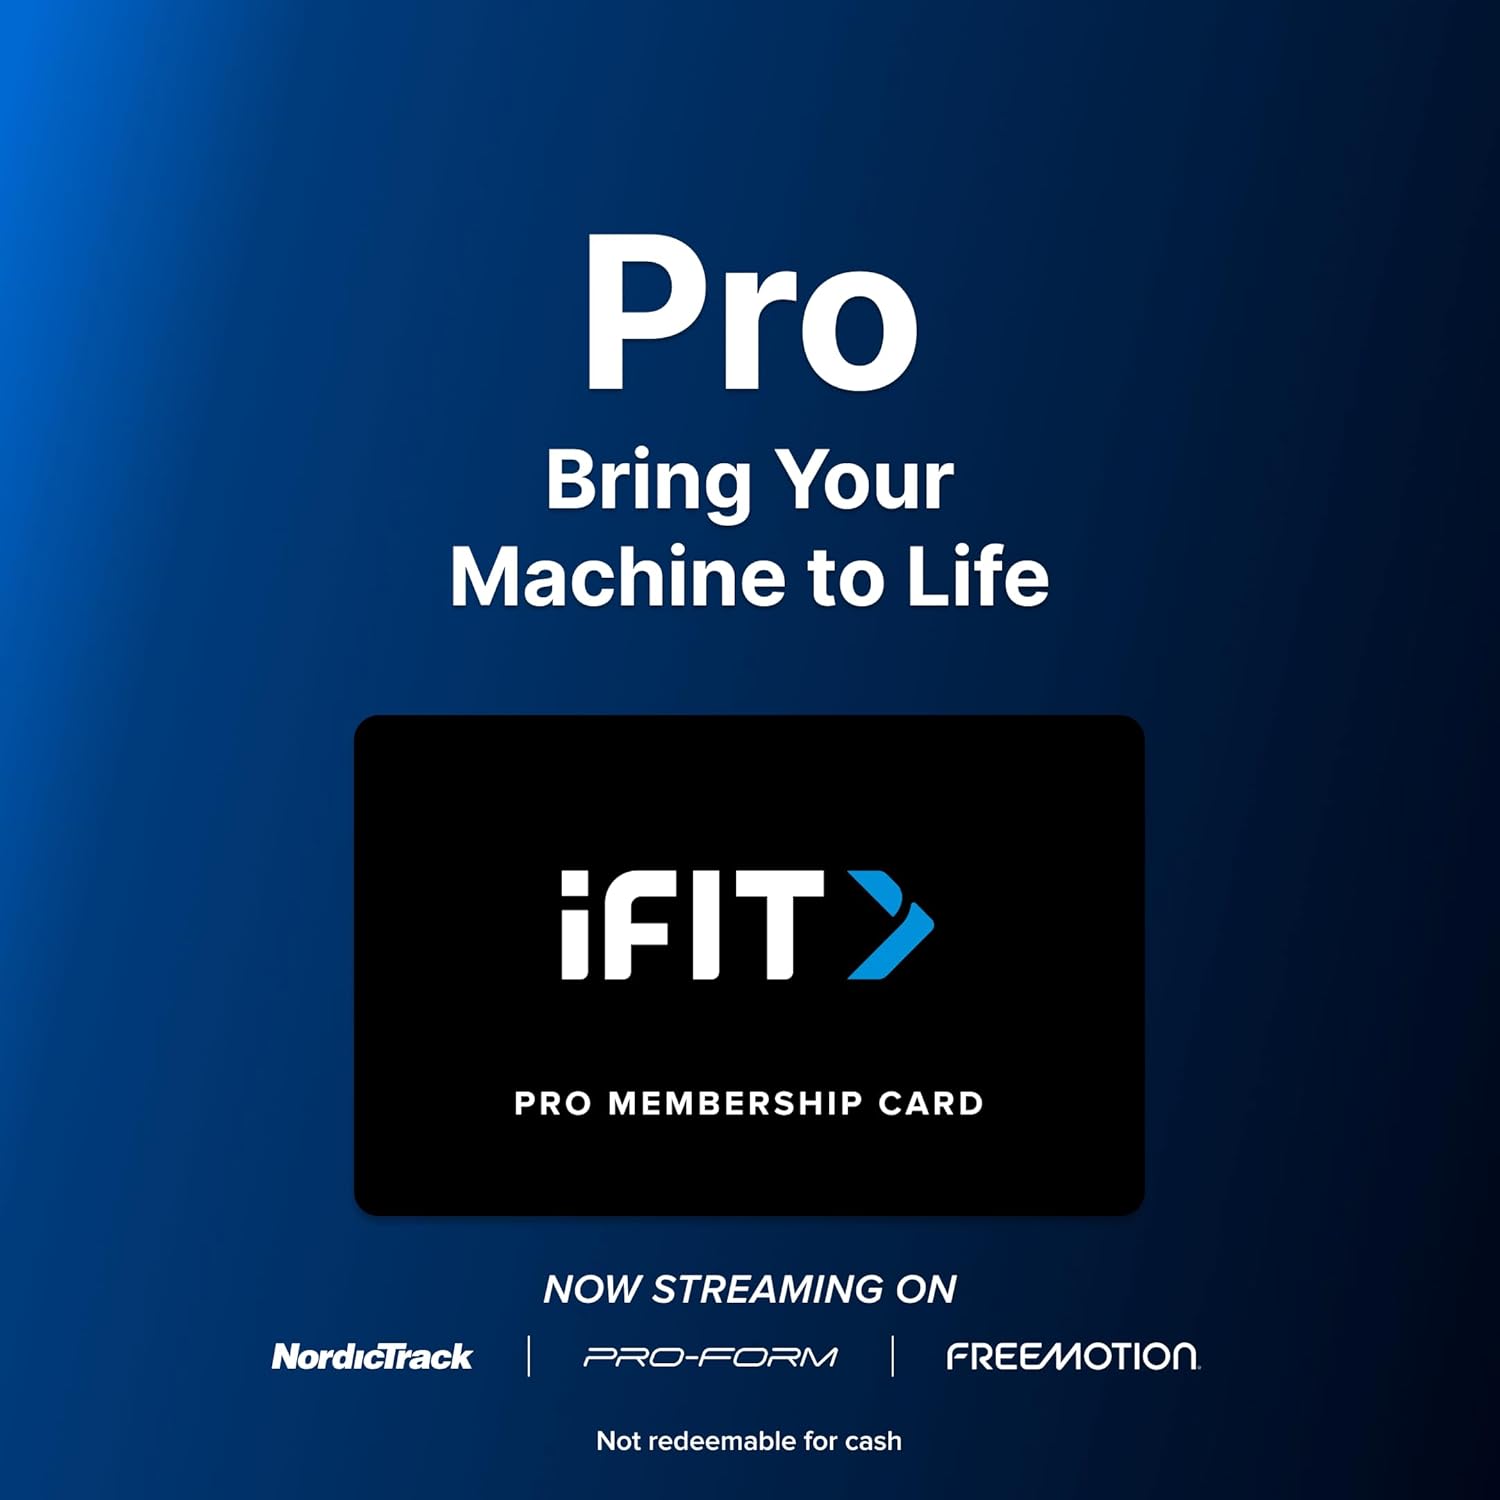
iFIT Pro
iFIT Pro – Monthly Membership – 1 month free trial included [Subscription]

Vooii for iPhone SE
Vooii for iPhone SE Case 2022/3rd/2020,iPhone 8/7 Case, Upgraded Liquid Silicone with [Flat Edges] [Camera Protection] [Soft Anti-Scratch Microfiber Lining] Phone Case for iPhone SE – Black

STGAubron Gaming PC Desktop
STGAubron Gaming PC Desktop Computer, Intel Core i5 up to 3.6G, Radeon RX 590 8G, 16GB RAM, 1TB SSD, 600M WiFi, BT 5.0, RGB Fan x3, Windows 11 Home
Make Your First 2D Game in Unity
Want to build your first game but don’t know where to start? This beginner-friendly guide shows you how to create SampleGame2D — a fun Flappy Bird–style project — step by step in Unity. Inside you’ll learn:
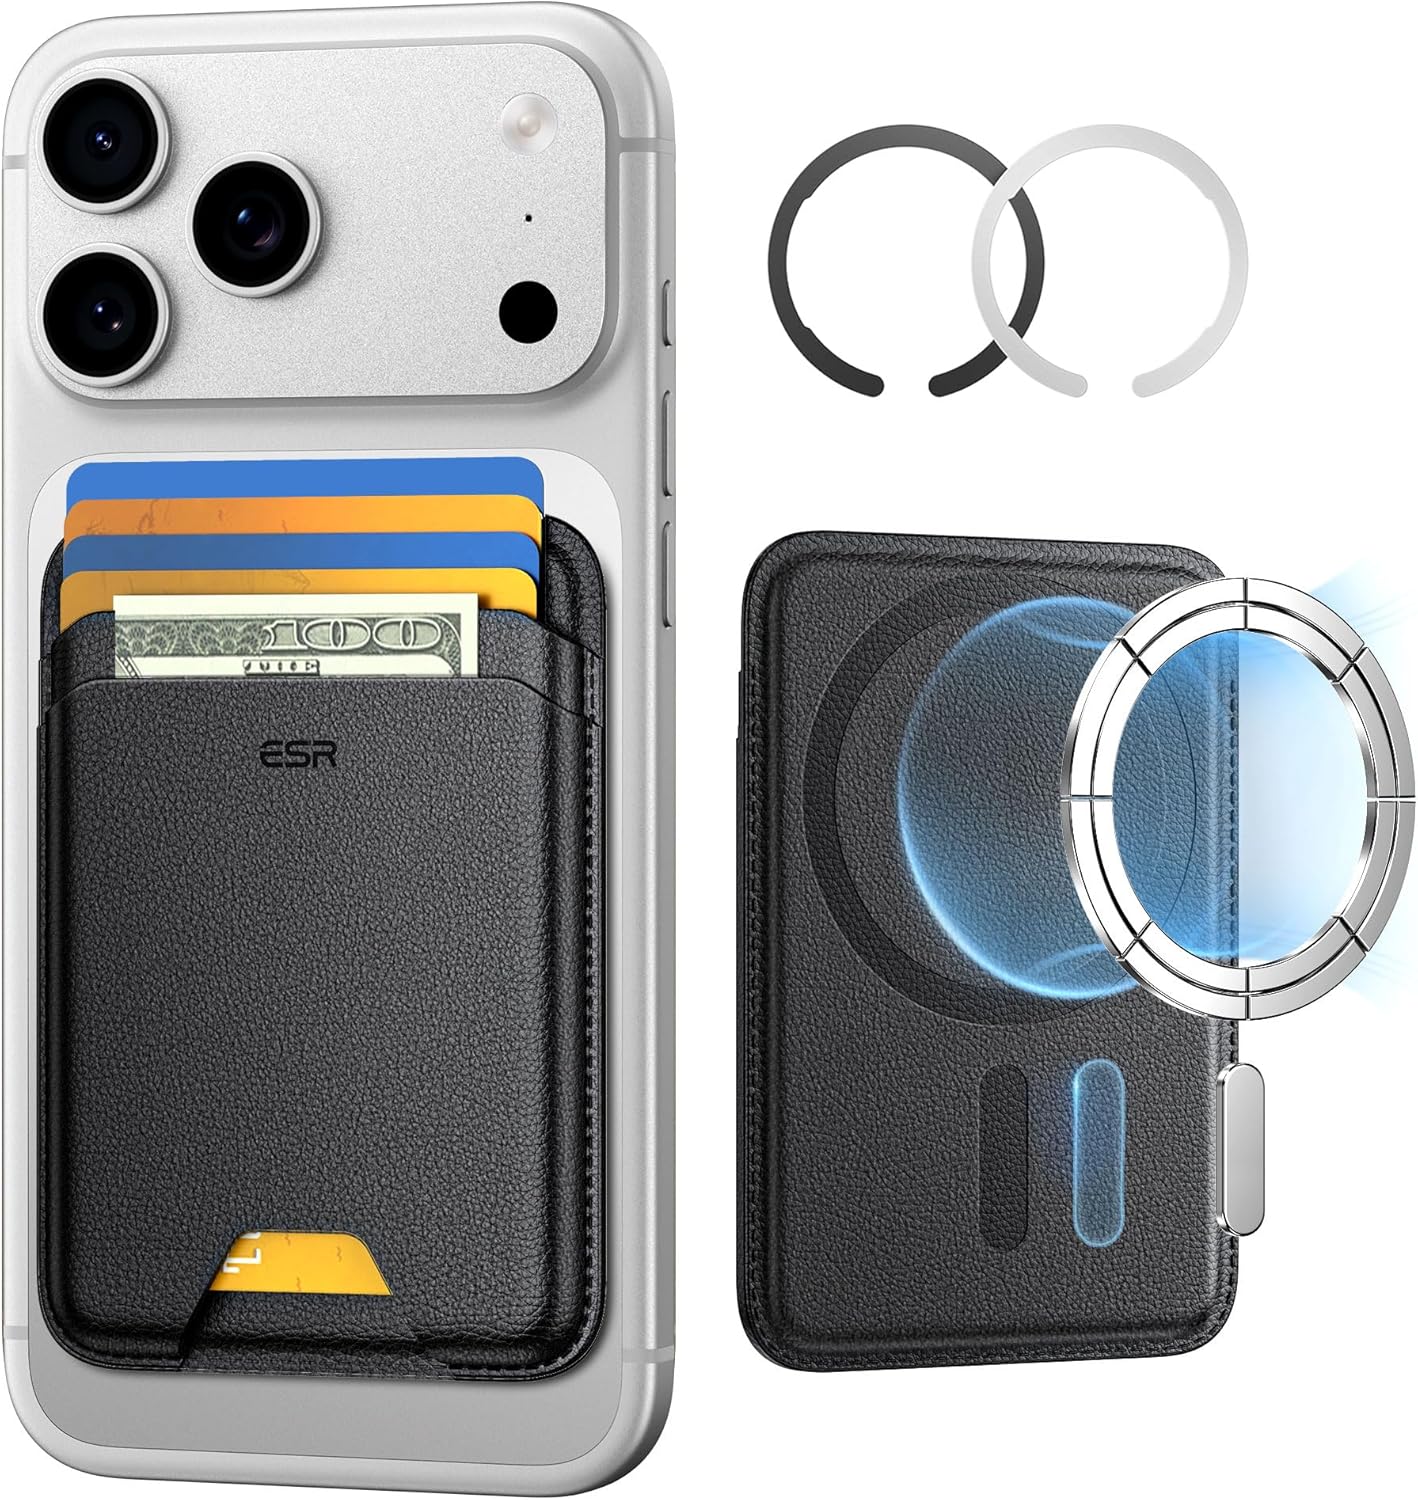
ESR for MagSafe Wallet
ESR for MagSafe Wallet, 5-Card Holder With RFID Blocking, MagSafe Sticker Included, Slim Magnetic Wallet for iPhone 17/16/15/14/13/12 Series and Selected Samsung Devices, Not for 13/12 Mini, Black
Ultimate Mobile Controls – Plug & Play
Take your mobile game to the next level with this ready-to-use Mobile Controls Pack. customizable mobile controls without wasting days on UI and input setup. Perfect for 2D, 3D, FPS, RPG, Platformer, Shooter, and Casual mobile games.