
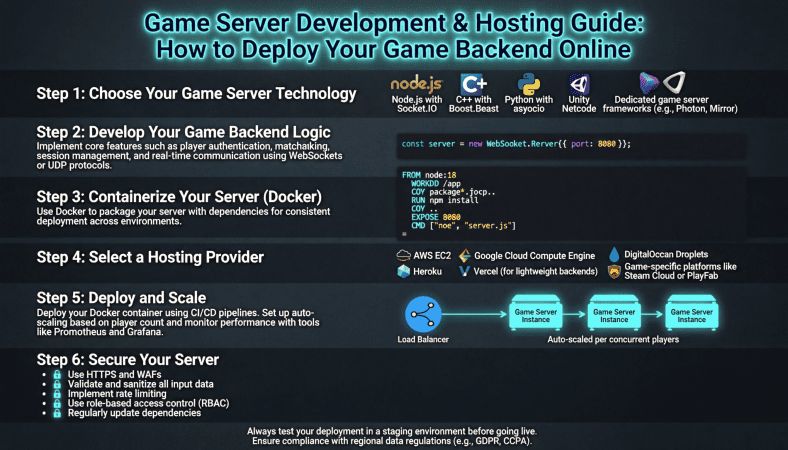
Once you’ve built your multiplayer game logic, the next step is getting your game online. Having a playable game on your computer is fun, but true multiplayer only happens when players can connect to a dedicated server.
I still remember the first time I deployed a small game server. It was messy firewall errors, port conflicts, and laggy connections but I learned more in that single weekend than months of local testing.
This guide will walk you through the essentials of game server development and hosting for beginners, including planning, setup, deployment, and scaling.
Understanding Game Servers
A game server is a program that runs game logic, state, and multiplayer synchronization separate from the players’ devices.
Think of it as:
-
Client: Each player’s game instance
-
Server: The authoritative source for all game events
Why a Dedicated Server Matters
-
Ensures fair gameplay clients cannot cheat
-
Handles multiple players at once
-
Manages game state consistently
-
Improves latency compared to peer to peer models
Even small indie games benefit from a dedicated server approach.
Step 1: Choose Your Hosting Solution
There are several ways to host your game server:
1. VPS (Virtual Private Server)
-
Affordable
-
Gives root access
-
Can run multiple server instances
Example: Contabo offers VPS plans with high RAM and low cost, ideal for indie developers.
2. Dedicated Server
-
Full machine dedicated to your game
-
Expensive, but powerful
-
Great for large multiplayer projects
3. Cloud Platforms
-
AWS, Google Cloud, DigitalOcean
-
Highly scalable
-
Pay as you go pricing
-
Can auto scale based on player load
Tip: Start small. You don’t need a $500/month server for your first multiplayer game.
Step 2: Prepare Your Server Environment
Before deployment, ensure your server has the necessary tools:
-
Runtime environment: Node.js, .NET, Java, or Python depending on your backend
-
Firewall configuration: Open only required ports
-
SSH access: For uploading files and managing server remotely
-
Monitoring tools: CPU, memory, and network tracking
Example command for a Linux VPS:
Step 3: Deploy Your Game Backend
1. Upload Backend Files
Use FTP, SFTP, or Git to upload your server scripts to the VPS.
2. Install Dependencies
Ensure all packages or libraries your server needs are installed.
Example for Node.js:
3. Start Your Server
Run the server script:
-
Check for errors
-
Ensure it listens on the correct port
4. Test Locally
-
Connect to your server from your own machine
-
Simulate multiple clients
Step 4: Connect Game Clients
Update your game client to point to the server’s IP address and port.
-
Unity: Use network manager or Photon API
-
Unreal: Configure server address in your blueprint or C++ script
-
Godot: Use
NetworkedMultiplayerENetAPI
Test multiple players connecting simultaneously.
Step 5: Secure Your Server
Security is crucial, even for small games.
-
Validate all player input on the server
-
Implement rate limiting to prevent spam/cheating
-
Use a firewall to block unnecessary ports
-
Keep software up-to-date
Players will find vulnerabilities quickly. Being proactive prevents downtime and frustration.
Step 6: Optimize for Performance
Performance is key to a smooth multiplayer experience.
-
Reduce unnecessary network messages
-
Use object pooling to avoid memory spikes
-
Limit calculations inside update loops
-
Monitor CPU, RAM, and bandwidth usage
For small indie games, a well-configured VPS can handle dozens of players easily.
Step 7: Scale When Needed
If your game grows:
-
Horizontal scaling: Add more servers for different player groups
-
Load balancing: Distribute players automatically across servers
-
Separate database server: For storing user accounts and persistent data
Even early-stage games benefit from thinking about scalability. It saves headaches later.
Step 8: Continuous Deployment and Updates
After your server is live:
-
Automate deployment for patches and bug fixes
-
Keep backups of server files
-
Test new features in a staging environment before going live
Remember: multiplayer games are never “finished” — they require ongoing maintenance.
Beginner-Friendly Tips
-
Start small: One server, a few players, simple logic
-
Document your setup: Keep notes on dependencies, ports, and server configs
-
Test extensively: Simulate network lag, disconnects, and multiple clients
-
Choose reliable hosting: Contabo VPS is cost-effective and beginner-friendly
-
Monitor constantly: Use server metrics to prevent crashes
Example Hosting Path for Indie Developers
-
Rent a VPS from Contabo or another affordable provider
-
Install runtime environment and dependencies
-
Upload your game backend
-
Start the server and test locally
-
Connect game clients and test multiplayer features
-
Implement security measures
-
Monitor and optimize performance
-
Scale only if needed
By following this path, even first-time developers can get a multiplayer game online in a weekend.
Final Thoughts
Deploying a game backend online is one of the most exciting milestones in game development.
You’ve already:
-
Learned to code the game
-
Added multiplayer logic
Now, you’re making it accessible to real players.
The steps can seem intimidating at first:
-
Server setup
-
Firewall
-
Client connections
-
Security
But breaking it down into stages makes it manageable.
With tools like Unity, Unreal, or Godot, and hosting providers like Contabo, a solo developer can host a small multiplayer game efficiently and affordably.
The real magic happens when you see players connect from around the world a small VPS running your server, handling the logic, and letting your game live in the real world.
This is the point where you stop being a hobbyist and start being a developer.
A Beginner’s Guide to Game Development: From Coding Your Game to Deploying It on an Online Server
AA Products High Back Ergonomic Gaming Chair
AA Products Gaming Chair Ergonomic High Back Computer Racing Chair Adjustable Office Chair with Footrest, Lumbar Support Swivel Chair - BlackOrange
Visual Studio Code Shortcuts Mouse Pad
Visual Studio Code Shortcuts Mouse Pad – Desk Mat for Programmers, Coders & Beginners, Great Office Gift for Developers & Tech Enthusiasts, Computer Accessory for Study, Work, and Learning KMH
Blink Video Doorbell
Blink Video Doorbell (newest model) – Head-to-toe HD view, two-year battery life, and simple setup. Required Sync Module not included – Add-On (Black)

RAWM ES21 Wireless Gaming Mouse
Razer DeathAdder V4 Pro Wireless Gaming Mouse: 56g Lightweight - HyperSpeed Wireless Gen-2 - Optical Scroll Wheel - Optical Switches Gen-4 - Focus Pro 45K Sensor Gen-2 - Up to 150 Hr Battery
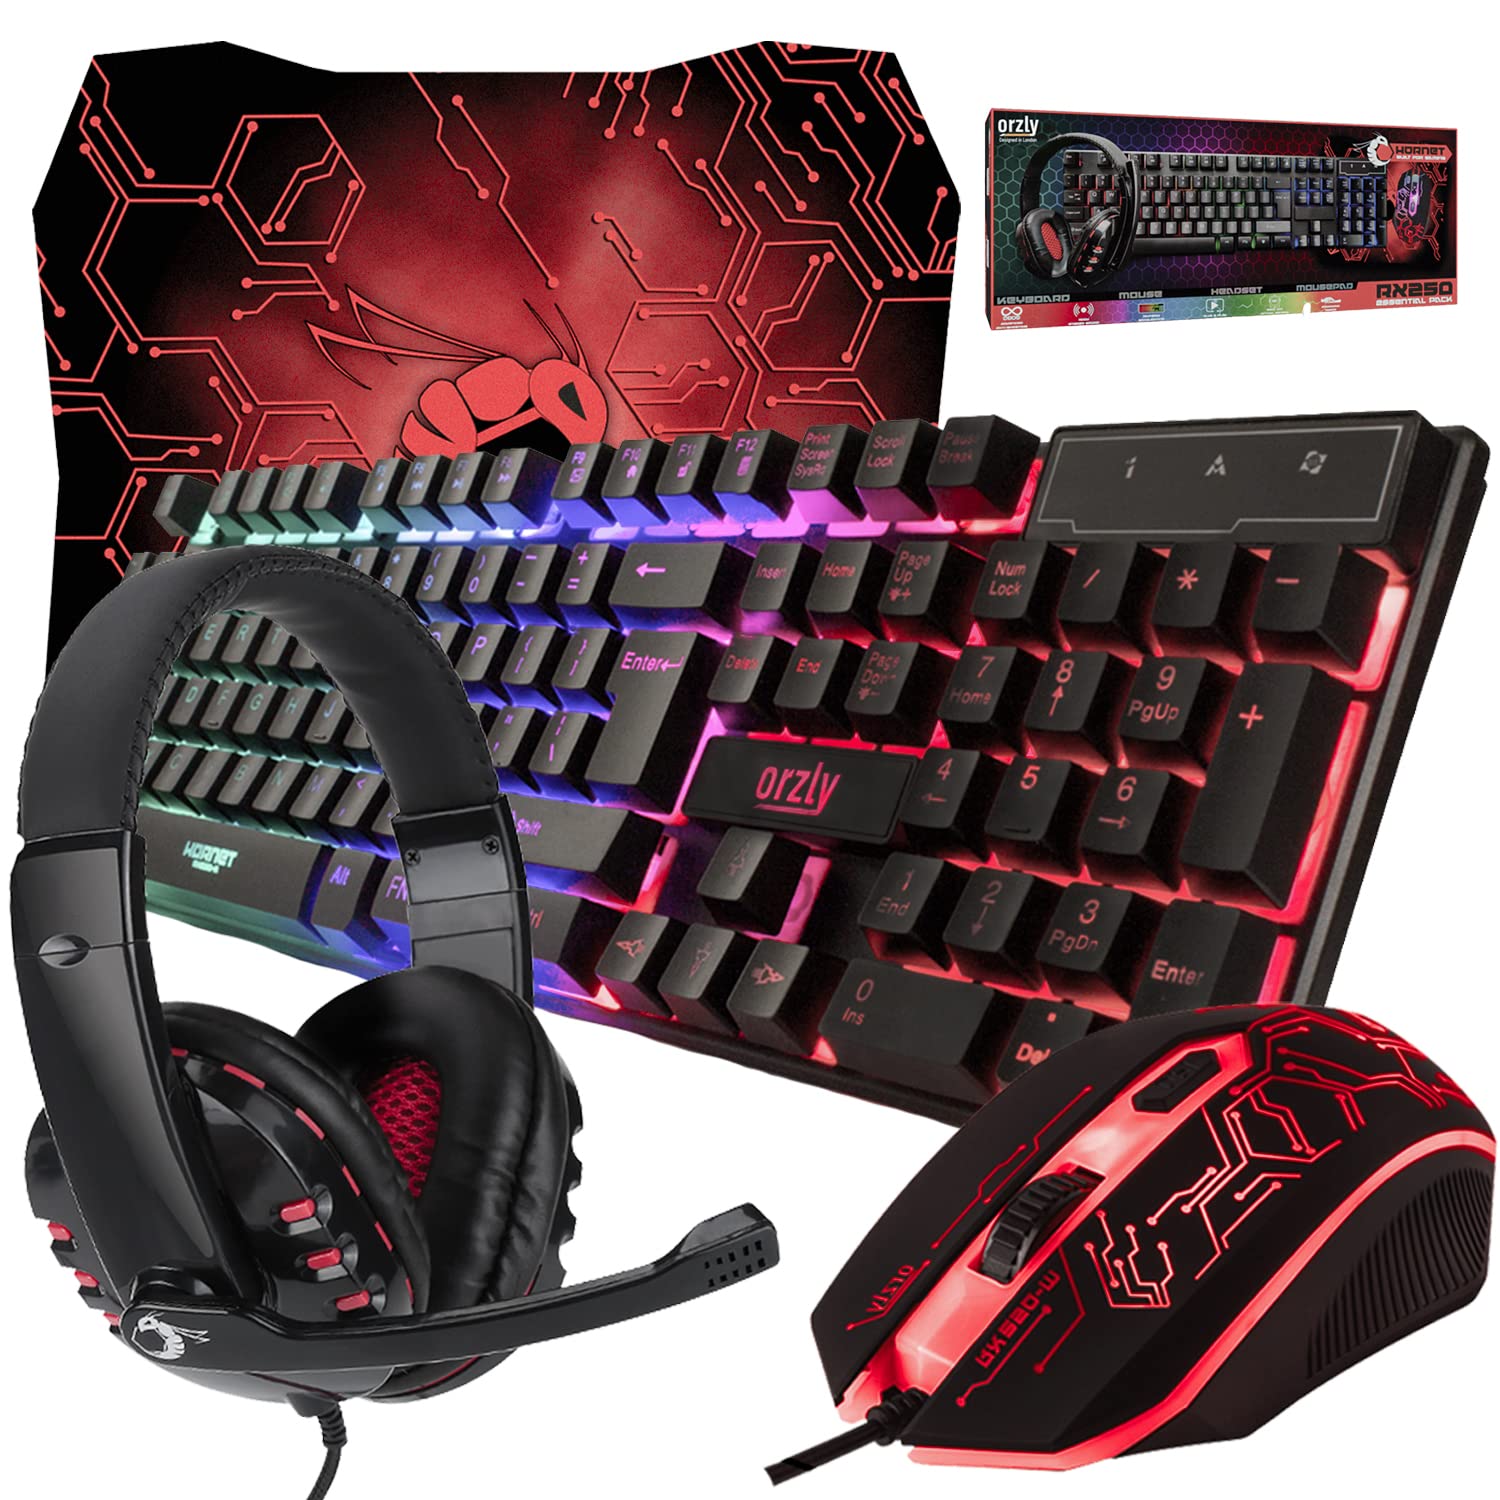
Gaming Keyboard and Mouse and Mouse pad and Gaming Headset, Wired LED RGB Backlight Bundle
Gaming Keyboard and Mouse and Mouse pad and Gaming Headset, Wired LED RGB Backlight Bundle for PC Gamers and Xbox and PS4 Users - 4 in 1 Edition Hornet RX-250
Results
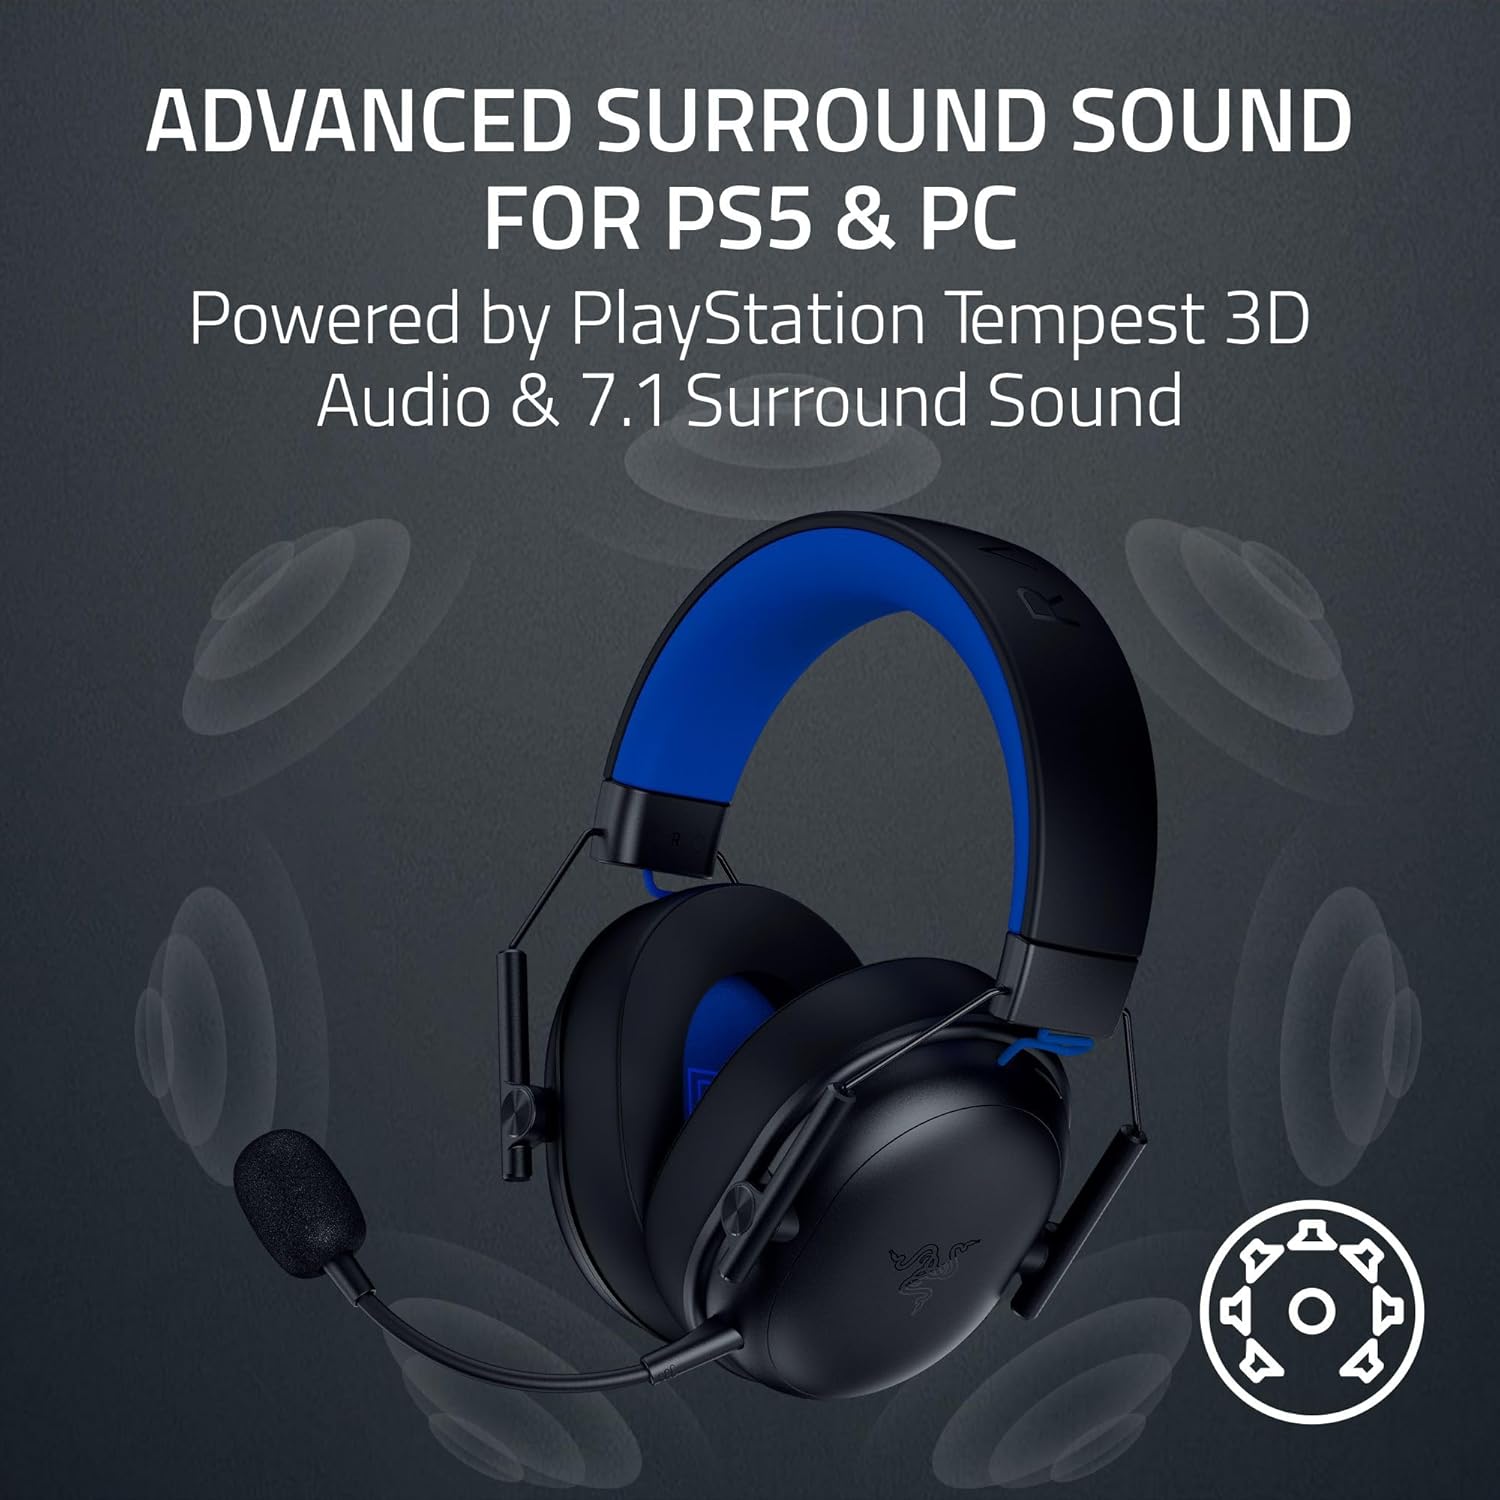
Razer BlackShark V3 X HyperSpeed Wireless Gaming Headset for PS5: 50mm Drivers - Cardioid Mic - 2.4 GHz, Bluetooth - Works with PC, Mac, Nintendo Switch, Smartphone - Long Battery Life - Black