
1. Why Build a Modular Sound System?
As your game grows, using individual Audio Sources without structure can become hard to manage. A modular sound system will help you:
- Control background music, SFX, and UI separately
- Adjust volumes of different categories (music, SFX, voice)
- Dynamically change tracks
- Keep your code and project organized
Modular systems also simplify debugging and enhance user experience.
2. Creating an Audio Mixer
Think of an Audio Mixer in Unity as a soundboard (like those used by composers or in DJ software) that lets you control and group audio types (e.g., master, music, effects, voice).
Steps to create an Audio Mixer:
- Go to the Unity top menu:
Assets > Create > Audio Mixer - Name your mixer (e.g., GameAudioMixer)
- Double-click the mixer file to open it in the Audio Mixer window
Now, set up different groups (channels):
- Right-click the Master group > Create Child Group
- Music
- SFX
- Voice
Rename them clearly for readability. This allows you to apply settings (like volume, pitch, effects) to whole categories of sound.
3. Assign Audio Sources to Mixer Groups
You can route each Audio Source component in your game to a corresponding Mixer Group.
Steps:
- Select the Audio Source component in the Inspector
- Look for the Output field
- Assign the desired Audio Mixer Group (e.g., Music, SFX)
Example:
- Music audio source → Music group
- Explosion or button click source → SFX group
This separation gives you flexible volume control across different sounds in a centralized way.
─────────────────────────────
4. Connecting Volume Sliders to Audio Mixer Parameters
Giving the player control over volume is considered a best practice. Let’s now create sliders in Unity’s UI that adjust Mixer group volumes in real-time.
Steps:
- In the Audio Mixer:
- Click the group (e.g., Music)
- Right-click Volume and choose “Expose to script”
- In the inspector, rename it to something like MusicVolume
- Create a UI Slider:
GameObject > UI > Slider- Rename it to MusicSlider
- Set the min value = -80, max value = 0 (in dB)
- Create a script called AudioSettingsUI.cs:
using UnityEngine;
using UnityEngine.Audio;
using UnityEngine.UI;

public class AudioSettingsUI : MonoBehaviour
{
    public AudioMixer audioMixer;
    public Slider musicSlider;

    void Start()
    {
        musicSlider.onValueChanged.AddListener(SetMusicVolume);
    }

    public void SetMusicVolume(float volume)
    {
        audioMixer.SetFloat("MusicVolume", volume);
    }
}- Attach the audioMixer and musicSlider from the Inspector.
You can repeat this process for each group you’ve created (e.g., SFXVolume, VoiceVolume).
─────────────────────────────
5. How to Play Sound on User Input (Key, Button, etc.)
Now let’s trigger sound events based on player action. Common examples:
- Jump sound
- Gunfire or sword swing
- UI button click
Example (footstep or action sound):
- Add this script to a GameObject:
public class PlaySoundOnKey : MonoBehaviour
{
    public AudioSource sfxSource;
    public AudioClip footstepClip;

    void Update()
    {
        if (Input.GetKeyDown(KeyCode.Space))
        {
            sfxSource.PlayOneShot(footstepClip);
        }
    }
}- Make sure the AudioSource has its Output set to the SFX group on the Audio Mixer.
For UI Buttons:
- Add an AudioSource to the button’s parent GameObject
- Use the OnClick() event from the Button Inspector to call:
csharp
public void PlayClickSound()
{
    sfxSource.PlayOneShot(uiClickClip);
}
This allows you to keep system sounds tied to interface interaction, improving user feedback.
─────────────────────────────
6. Switching Between Music Tracks Dynamically
If you’re building a game with multiple levels or situations (e.g., battle, stealth, victory), you may want to change background music on the fly.
Method 1: Swap Clips
public class MusicManager : MonoBehaviour
{
    public AudioSource musicSource;
    public AudioClip calmMusic;
    public AudioClip battleMusic;

    public void SwitchToBattleMusic()
    {
        musicSource.clip = battleMusic;
        musicSource.Play();
    }

    public void SwitchToCalmMusic()
    {
        musicSource.clip = calmMusic;
        musicSource.Play();
    }
}
Method 2: Use Crossfading (Advanced)
You can use two AudioSources and fade between them using volume over time (this technique mimics professional DAW transitions and avoids audio pops).
7. Looping, Spatial Blend, and Audio Modes
Inside the Audio Source Component:
- Enable Loop for background tracks
- Set Spatial Blend = 0 (2D Sounds like UI, Music)
- Set Spatial Blend = 1 (3D Sounds like gunshot, footsteps)
Combine with the Rolloff Mode:
- Logarithmic: Most realistic rolloff (volume falls off naturally)
- Linear: Linear falloff
- Custom: Design your own curve
These control how sound interacts with the environment in 3D space.
8. Organizing and Optimizing Your Sound Assets
Unity projects can get messy with a lot of sound clips. Here’s how to stay organized:
Recommended folder structure:
- Assets/
- Audio/
- Music/
- SFX/
- UI/
- Dialog/
- Audio/
Use descriptive file names:
✔️ btn_click_ui.ogg
✔️ boss_battle_theme.ogg
✔️ sword_swing_2.wav
Use Asset Labels to tag high priority sounds or categorize.
─────────────────────────────
9. Optional: Create an AudioManager Singleton
Having a central controller makes sound management easier across scenes.
AudioManager.cs:
public class AudioManager : MonoBehaviour
{
    public static AudioManager Instance;
    public AudioSource musicSource;
    public AudioSource sfxSource;

    void Awake()
    {
        if (Instance != null)
        {
            Destroy(gameObject);
            return;
        }

        Instance = this;
        DontDestroyOnLoad(gameObject);
    }

    public void PlaySFX(AudioClip clip)
    {
        sfxSource.PlayOneShot(clip);
    }

    public void ChangeMusic(AudioClip music)
    {
        musicSource.clip = music;
        musicSource.Play();
    }
}
You can now just call:
csharp
AudioManager.Instance.PlaySFX(jumpSound);rom any script across your game.
Conclusion
Congrats! You’ve now built a scalable and powerful sound system that includes:
- Organized AudioSources & Mixer routing
- Real-time volume control using UI sliders
- Triggered sound effects from gameplay inputs
- Dynamic music management
- Central audio manager for multi-scene support
This foundational setup is essential for making your games feel professional, polished, and immersive.
Continue Reading → Advanced Audio Techniques for Unity: Formats, Optimization & Tools
Quick Tip Recap
✅ Use Audio Mixer to group and separate sounds
✅ Always expose volume controls to the user
✅ Optimize clips using audio import settings
✅ Use PlayOneShot for short SFX
✅ Route through a central AudioManager for scalability

6 Pcs Computer Programmer Gifts for Men
6 Pcs Computer Programmer Gifts for Men Debugging Definition Programmer Gifts 12oz Stainless Steel Cup Socks Keychain Pen Notebook Box for IT Developers Computer Geeks Nerd Hackers Coders

AULA F99 Wireless Mechanical Gaming Keyboard
AULA F99 Wireless Mechanical Keyboard,Tri-Mode BT5.0/2.4GHz/USB-C Hot Swappable Custom Keyboard,Pre-lubed Linear Switches,RGB Backlit Computer Gaming Keyboards for PC/Tablet/PS/Xbox
interface sounds OGG
interface sounds, UI sound effects, UX sound effects, game UI sounds, mobile UI audio, notification sound effects, button click SFX, menu sounds, toggle switch sounds, error alert sounds
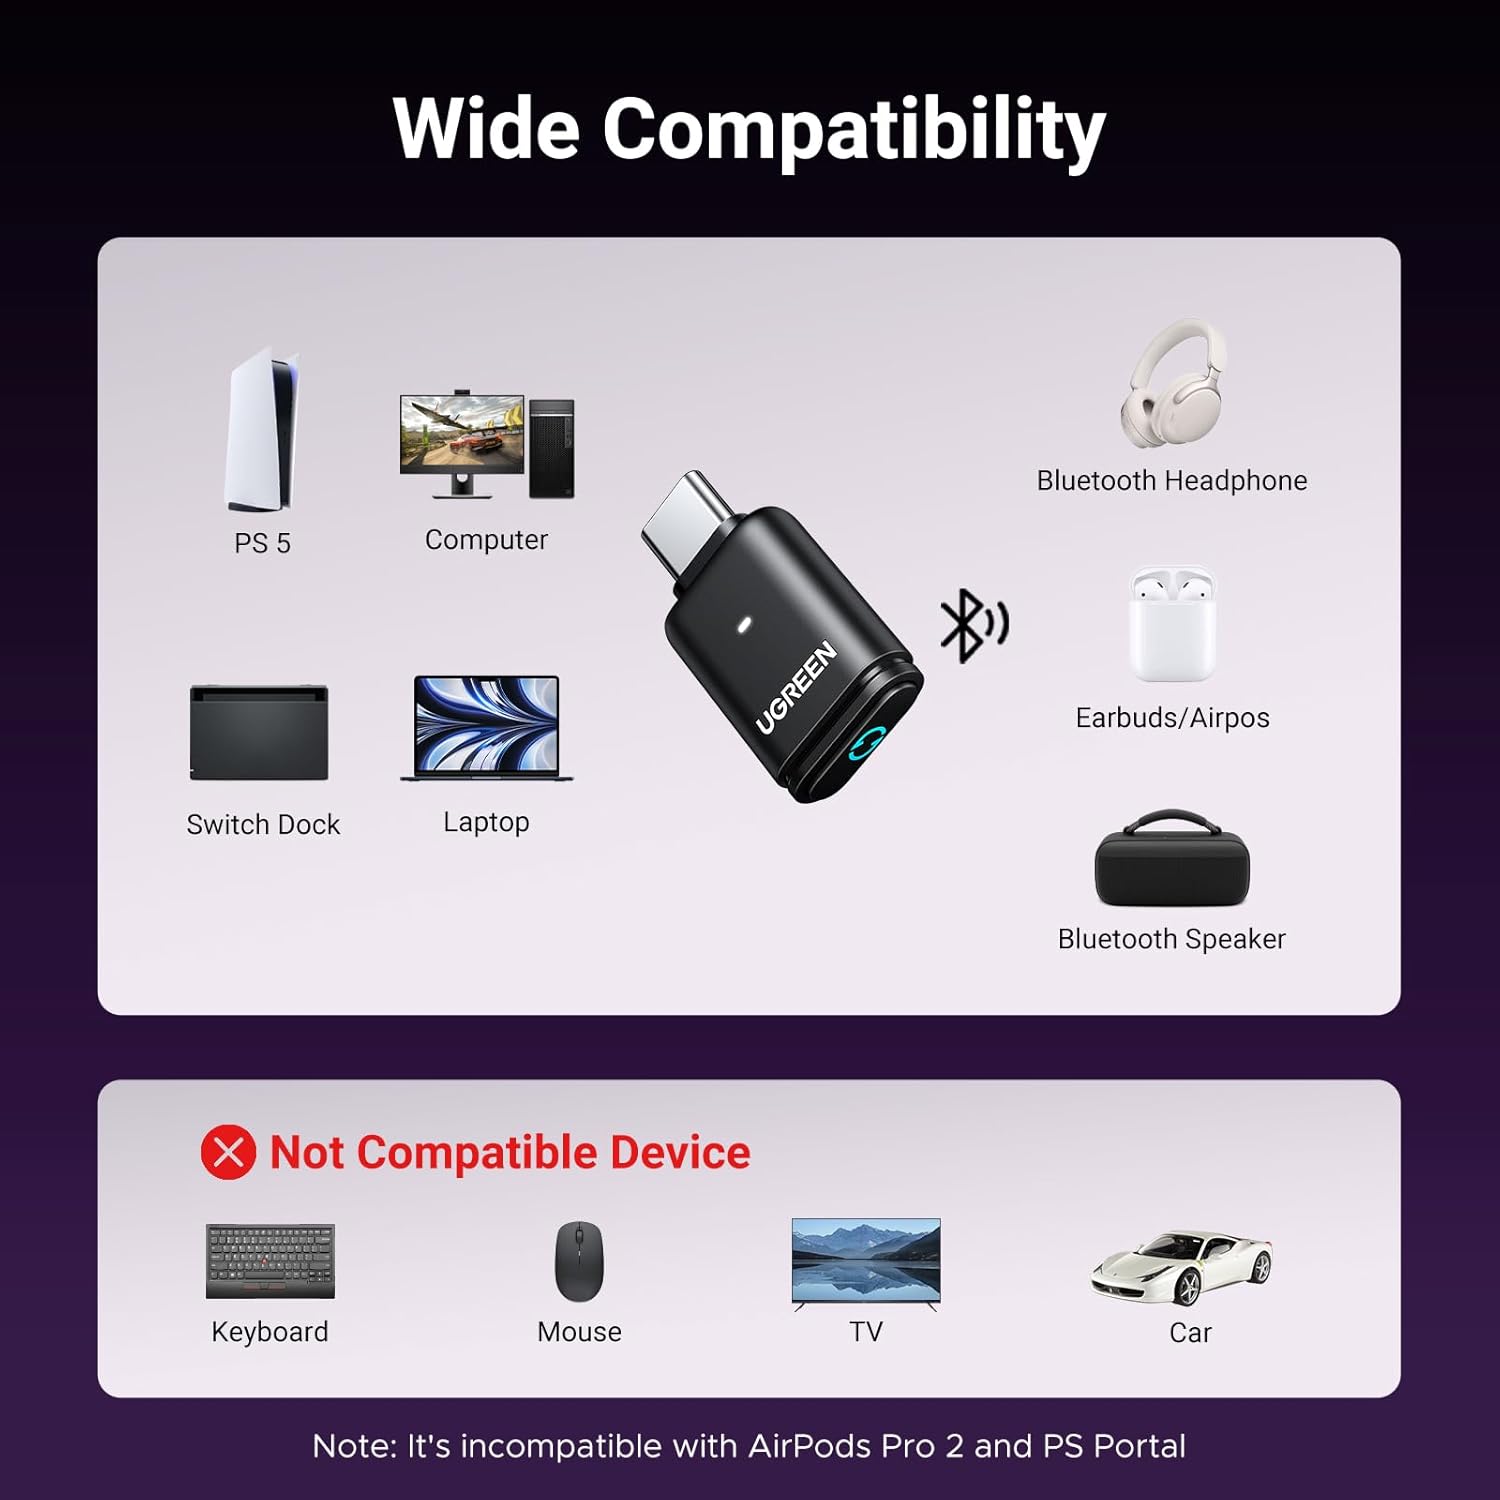
UGREEN USB-C Bluetooth Adapter for PS5
UGREEN USB-C Bluetooth Adapter for PS5, Bluetooth 5.3 Audio Adapter with APTX Low Latency & aptX-Adaptive, Wireless Audio Transmitter to Connect Wireless Headphones & Earbuds