In today’s digital age, a solid understanding of Photoshop is invaluable for web designers. Whether you are designing a website, creating graphics, or modifying images, Photoshop offers the tools you need to elevate your designs. This article will guide you through the basics of using Photoshop for web design, including essential tools, techniques, and a few best practices.
Why Use Photoshop for Web Design?
Photoshop is a powerful image editing software that allows web designers to create stunning visuals. Here are a few reasons why Photoshop is a go-to tool for many designers:
- Versatile Editing Capabilities: Photoshop allows for a high degree of customization, whether you’re creating a logo or editing a photo.
- Layer Management: The layering system in Photoshop helps you build complex designs without cluttering your workspace.
- Integration with Other Tools: Photoshop integrates well with other Adobe products, making it easy to create a seamless workflow.
Core Tools for Web Design in Photoshop
Understanding the core tools in Photoshop is crucial for creating effective web designs. Here are some of the most important tools you should familiarize yourself with:
1. The Toolbar
The toolbar contains the most important tools you’ll need for web design, including:
| Tool | Use |
|---|---|
| Marquee Tool | To select specific areas of an image. |
| Brush Tool | To paint or draw on your canvas. |
| Text Tool | To add text elements. |
| Shape Tool | To create geometric shapes. |
| Pen Tool | To create custom shapes and paths. |
2. Layers
Layers are the backbone of any Photoshop project. They allow you to work on different elements of your design separately. To manage layers effectively:
- Use Layer Groups to keep similar elements together.
- Rename layers for easy identification.
- Utilize Adjustment Layers for non-destructive editing.
3. Exporting for the Web
Once you have completed your design, exporting is crucial. Use File > Export > Save for Web (Legacy) to optimize your images without losing quality. Here’s a quick checklist for exporting:
- Choose the right file format (JPEG, PNG, or GIF).
- Adjust the quality settings for optimal performance.
- Ensure your dimensions are correct for your layout.
Step-by-Step Guide to Creating a Simple Web Banner
Let’s walk through a simple project: creating a web banner. This project will utilize the tools and techniques discussed above.
Step 1: Set Up Your Document
Open Photoshop and create a new document:
- Go to File > New.
- Set the width to 1200 pixels and the height to 400 pixels.
- Select RGB Color mode, and set the resolution to 72 dpi.
Step 2: Add a Background
Choose a solid color or gradient for your banner’s background:
- Select the Gradient Tool.
- Choose your desired gradient from the options bar.
- Click and drag across the canvas to apply the gradient.
Step 3: Insert Text
Use the Text Tool to add a catchy phrase:
- Select the Text Tool from the toolbar.
- Click on the canvas and type your text.
- Adjust the font size, style, and color in the options bar.
Step 4: Add Graphics
You can enhance your banner with graphics:
- Use the Shape Tool to create shapes.
- Import icons or images using File > Place Embedded.
- Adjust the size and position of the graphics as needed.
Step 5: Export Your Banner
Once your banner is complete, export it:
- Go to File > Export > Save for Web (Legacy).
- Select JPEG or PNG format.
- Click Save and choose your destination folder.
Best Practices for Web Design in Photoshop
To ensure your designs are effective and user-friendly, keep these best practices in mind:
- Keep it Simple: Avoid clutter and stick to a clean design.
- Responsive Design: Consider how your design will look on different screen sizes.
- Consistent Branding: Ensure your colors, fonts, and style reflect your brand identity.
Conclusion
Photoshop is an essential tool for web designers, and mastering its basics can significantly enhance your design process. From understanding the core tools to following best practices, you’re now equipped to start creating stunning web designs. For a deeper dive into Photoshop techniques, check out our Ultimate Guide to Photoshop for Web Design.

AULA F99 Wireless Mechanical Gaming Keyboard
AULA F99 Wireless Mechanical Keyboard,Tri-Mode BT5.0/2.4GHz/USB-C Hot Swappable Custom Keyboard,Pre-lubed Linear Switches,RGB Backlit Computer Gaming Keyboards for PC/Tablet/PS/Xbox
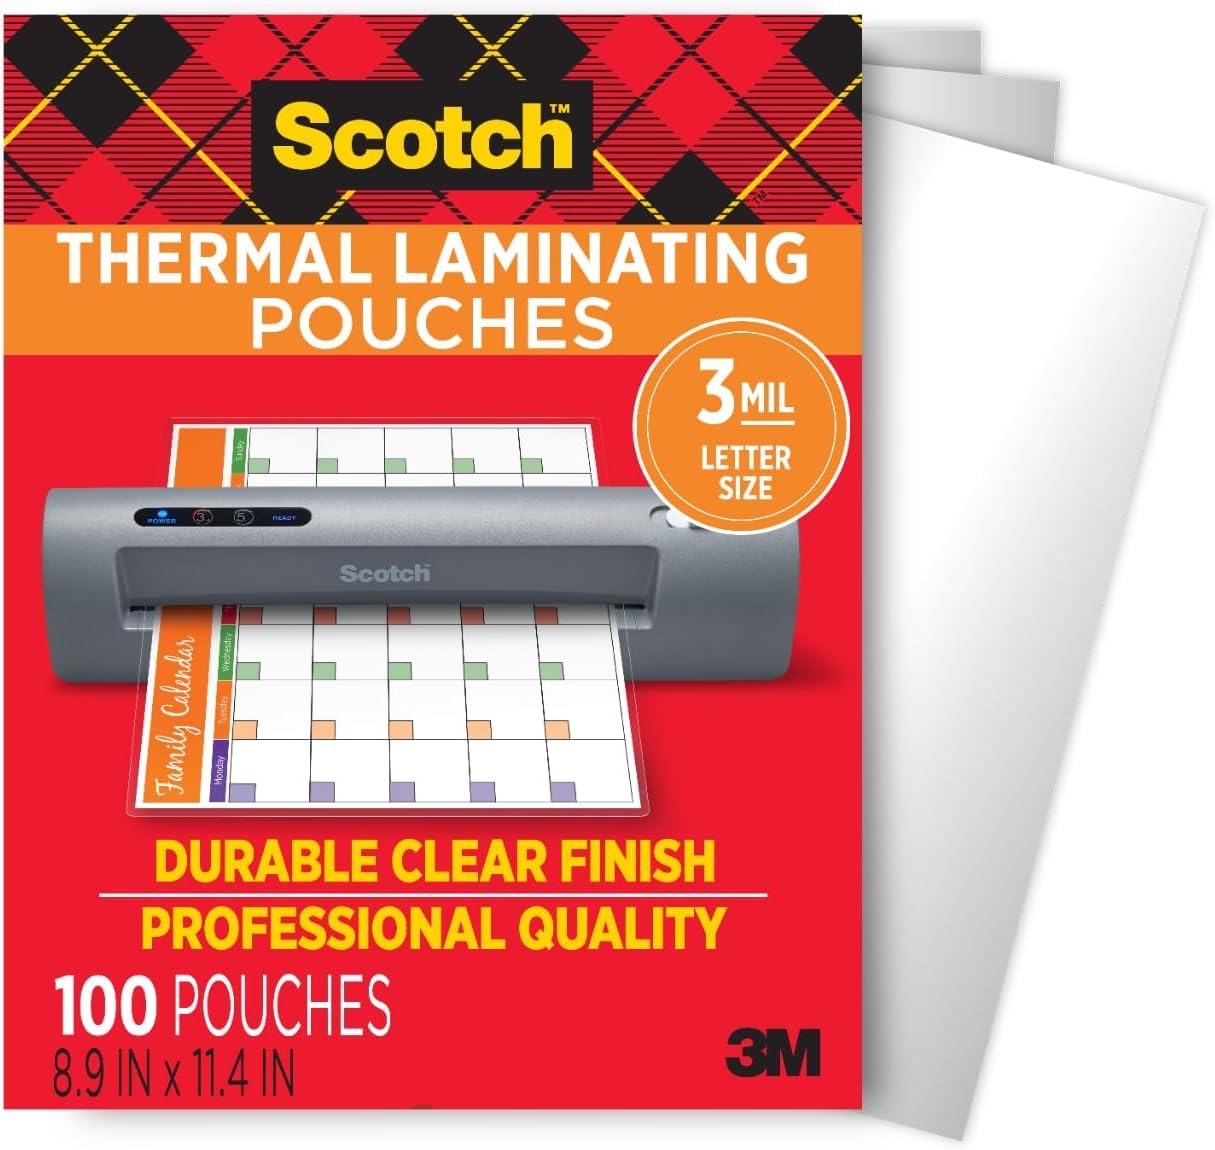
Scotch Thermal Laminating Pouches
Scotch Thermal Laminating Pouches, for Use with Thermal Laminators, 8.9 x 11.4 Inches, Letter Size Sheets, 100-Pack

Panvola
Panvola Debugging Definition Computer Programmer Gifts Student Teacher Coder Boyfriend Girlfriend IT Vacuum Insulated Tumbler Tech Support Travel Mug Stainless Steel With Straw Removable Lid (30 oz)
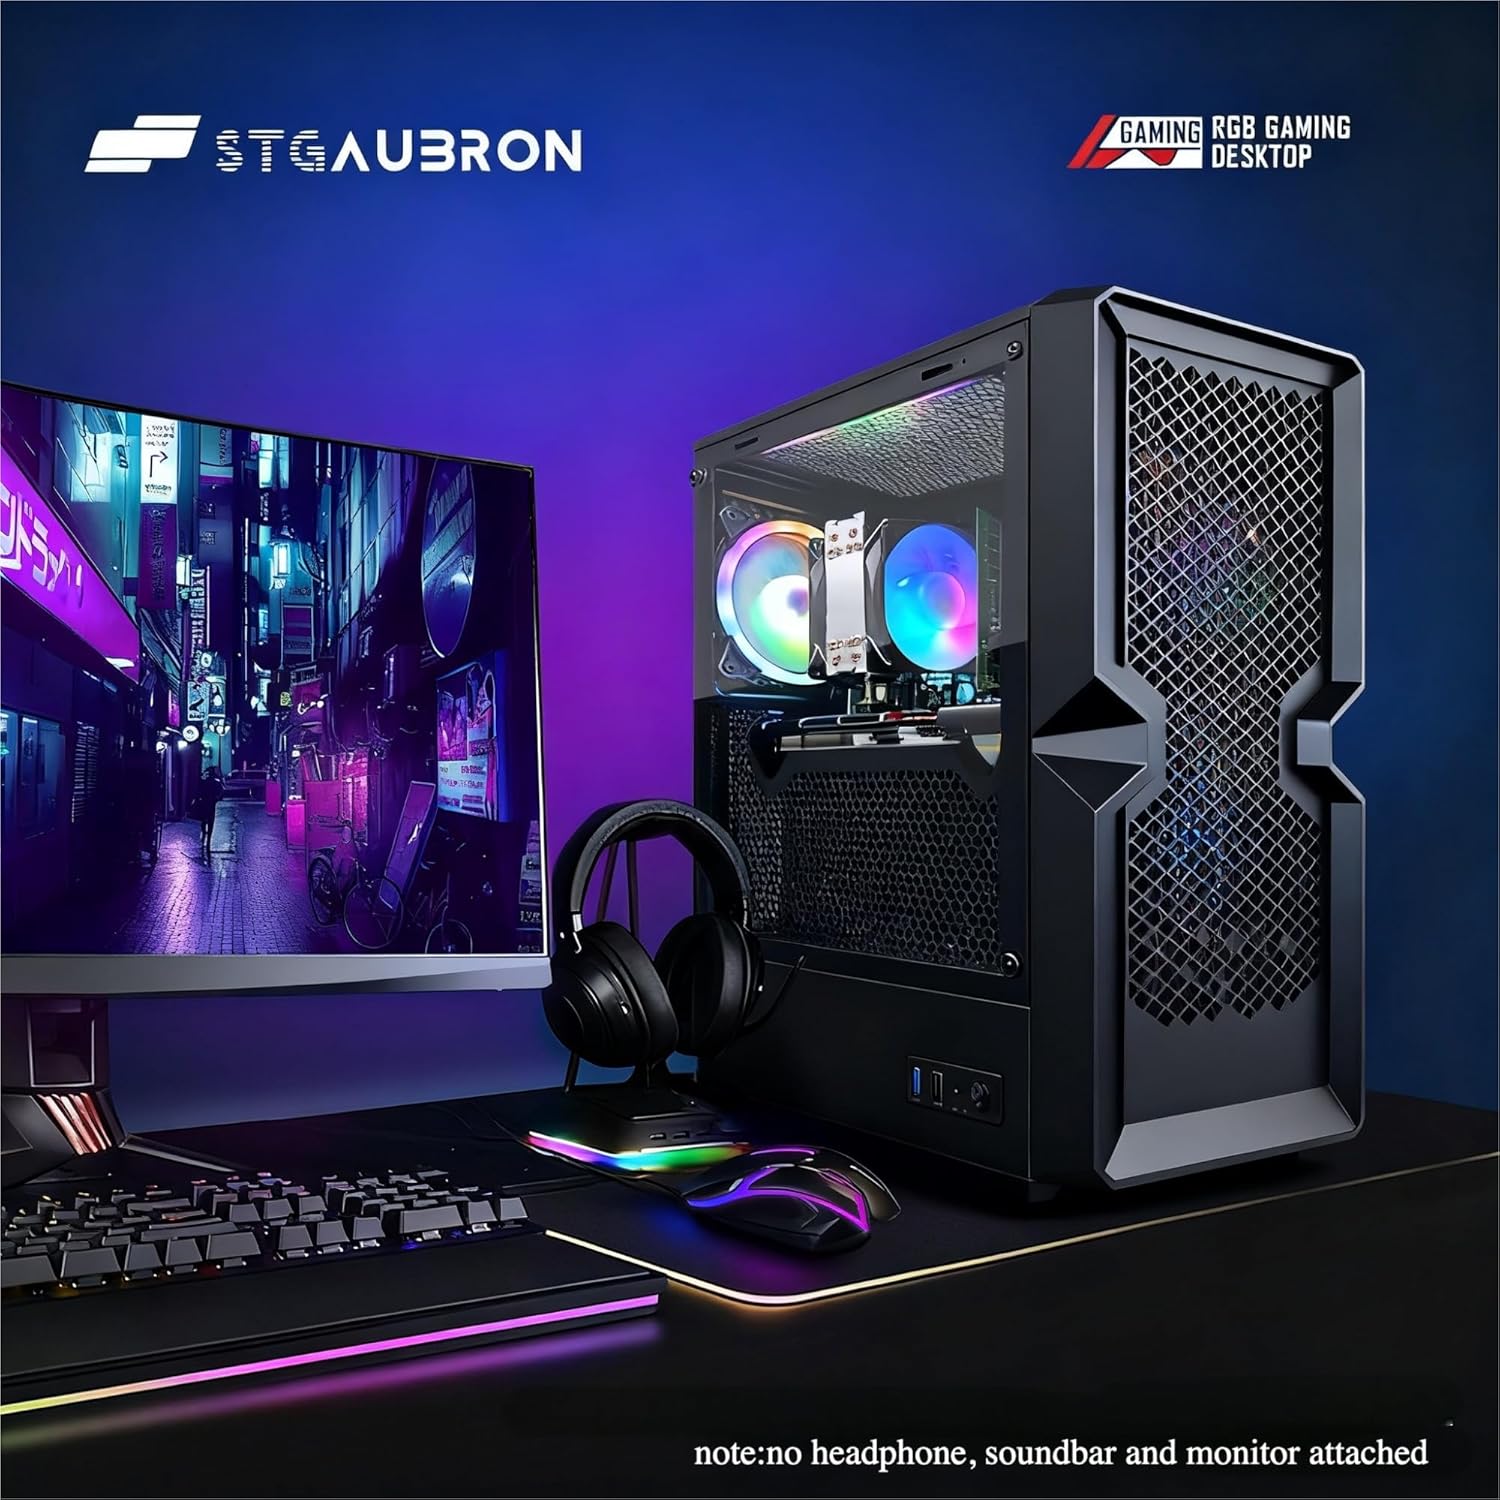
STGAubron Gaming PC Desktop
STGAubron Gaming PC Desktop Computer, Intel Core i5 up to 3.6G, Radeon RX 590 8G, 16GB RAM, 1TB SSD, 600M WiFi, BT 5.0, RGB Fan x3, Windows 11 Home
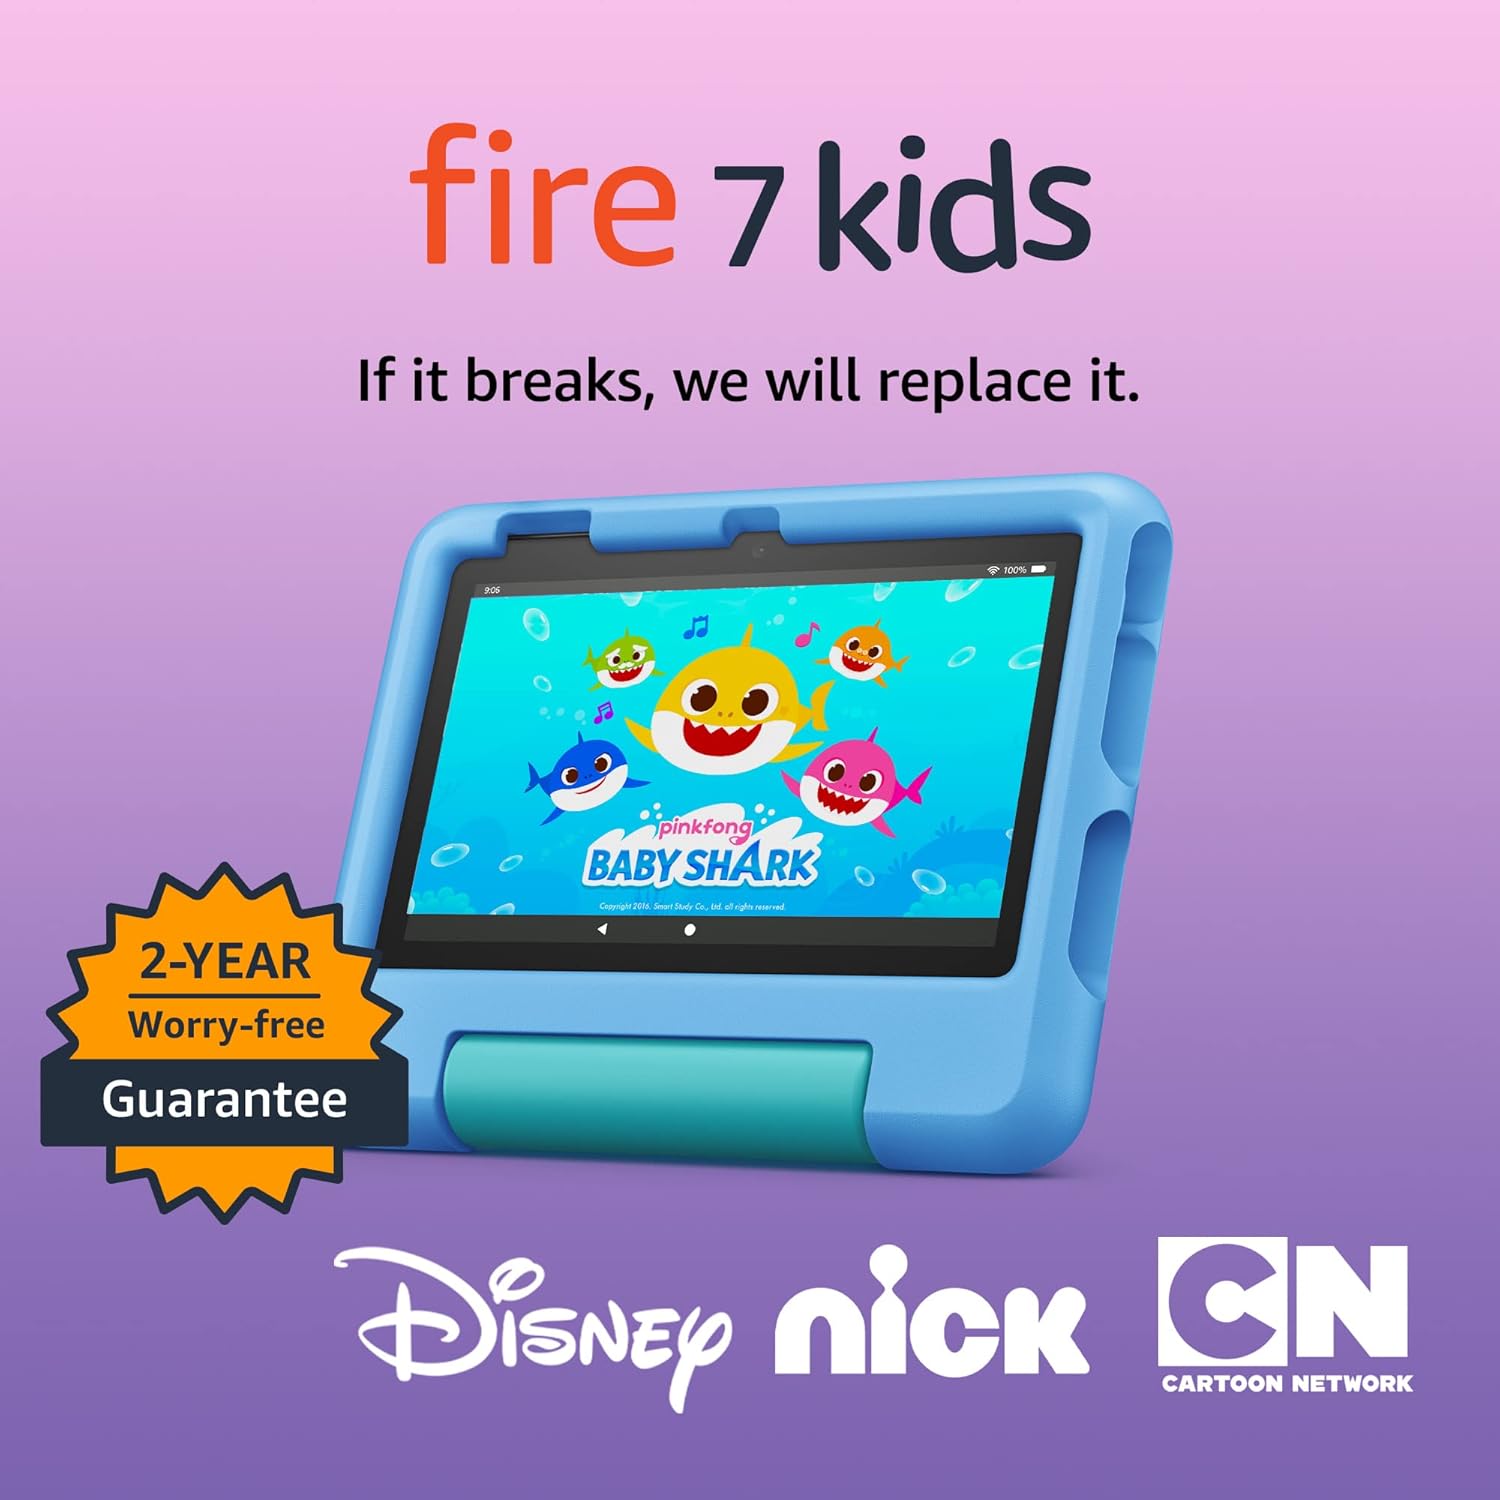
Amazon Fire 7 Kids tablet
Amazon Fire 7 Kids tablet, ages 3-7. Top-selling 7\" kids tablet on Amazon. Includes ad-free and exclusive content, easy parental controls, 10-hr battery, 16 GB, Blue
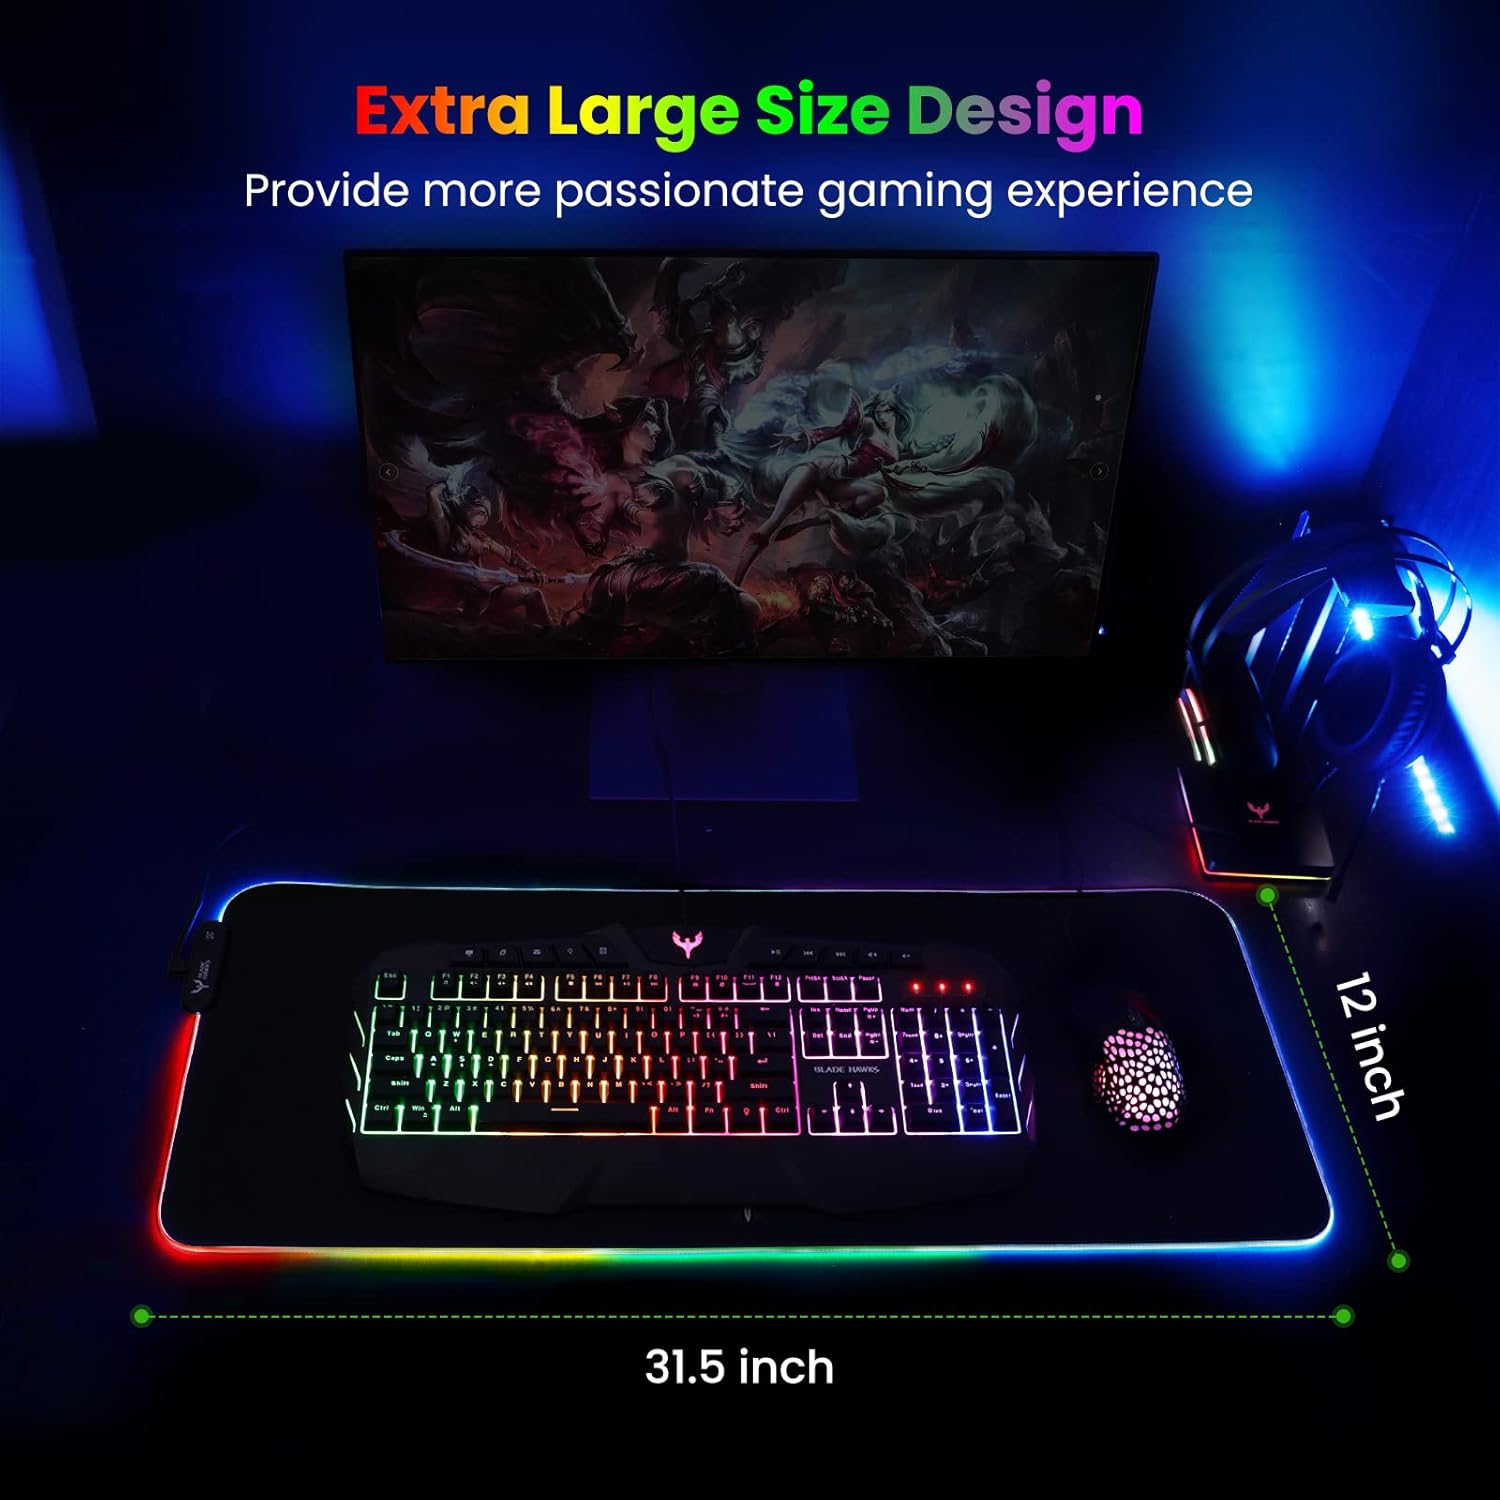
Mouse Pad
BladeHawks Extra Large RGB Gaming Mouse Pad-14 Light Modes, Extended Soft LED Mouse Pad, Anti-Slip Rubber Base, Computer Keyboard Mousepad Mat (31.5 x 12 Inch)