

The Benefits of Using Aseprite Extensions for Game Development
What are Aseprite Extensions?
Aseprite extensions are additional scripts or plugins that add new functionalities to the software. These can range from simple tools that automate tasks to complex scripts that introduce entirely new features. Aseprite’s open-source nature allows developers to create and share their own extensions, making the platform versatile and suitable for various workflows.
Benefits of Using Aseprite Extensions
1. Streamlined Workflow
One of the primary advantages of using Aseprite extensions is the significant improvement in workflow efficiency. Extensions can automate repetitive tasks, allowing artists to focus on creativity rather than mundane processes. For instance, the Palette Manager extension can help you organize and manage your color palettes more effectively, saving you time when switching between projects.
2. Enhanced Functionality
Aseprite’s built-in features are robust, but extensions can take them to the next level. For example, the Tilemap Exporter extension allows you to export tilemaps easily for use in game engines like Unity or Godot. This capability can drastically reduce the time spent exporting assets, making your development process smoother.
3. Improved Collaboration
In team environments, collaboration is key. Extensions like Version Control allow multiple artists to work on pixel art assets simultaneously without overwriting each other’s work. This functionality can lead to a more cohesive team effort, enhancing the overall quality of the game.
4. Customization and Personalization
Every artist has their own style and workflow. Aseprite extensions let you tailor the software to your needs. For example, the Custom Shortcuts extension allows you to create keyboard shortcuts for frequently used tools, improving accessibility and speeding up your work process.
5. Community Support and Resources
The Aseprite community is vibrant and supportive. Many developers share their extensions for free, which means you can access a wealth of tools without breaking the bank. Additionally, the community often provides tutorials and documentation, making it easier to implement new features into your workflow.
Getting Started with Aseprite Extensions
Now that we’ve established the benefits, let’s look at how to get started with Aseprite extensions. Below is a step-by-step guide to help you install and use these powerful tools.
Step 1: Finding the Right Extensions
Begin by exploring the Aseprite community forums or GitHub repositories. Look for extensions that fit your specific needs. Here’s a checklist to help you choose:
- Does it enhance an existing feature you use frequently?
- Is it compatible with your version of Aseprite?
- Does it have positive reviews or community support?
Step 2: Installing Extensions
- Download the extension files from the source (e.g., GitHub, Aseprite forums).
- Unzip the files if they are compressed.
- Locate your Aseprite installation directory.
- Find the
extensionsfolder within the installation directory. - Copy the downloaded extension files into the
extensionsfolder. - Restart Aseprite to see the new extensions in action.
Step 3: Using Extensions
Once installed, most extensions can be accessed through the File or Extensions menu in Aseprite. Explore the available options and experiment with their functionalities. It’s wise to refer to any documentation provided to maximize their potential.
Popular Aseprite Extensions to Consider
| Extension Name | Description | Use Case |
|---|---|---|
| Palette Manager | Organizes and manages color palettes. | Efficient palette switching and management. |
| Tilemap Exporter | Exports tilemaps for game engines. | Quick tilemap exports for Unity/Godot. |
| Custom Shortcuts | Creates keyboard shortcuts for tools. | Improves accessibility for frequently used tools. |
| Version Control | Facilitates collaborative work on assets. | Enhances team collaboration and asset management. |
Visual Examples of Aseprite Extensions in Action
To better understand the impact of these extensions, let’s look at some visual examples:

Figure 1: Palette Manager extension in use, showcasing organized color palettes.

Figure 2: Tilemap Exporter extension, illustrating quick export options.
Conclusion
In the fast-paced world of game development, efficiency and creativity are paramount. Aseprite extensions offer a way to enhance both, providing tools that streamline workflows, improve functionality, and foster collaboration. As you explore these tools, you’ll find that they not only save you time but also allow you to focus on what truly matters: creating amazing pixel art for your games.
For more insights on Aseprite extensions, check out our related content: Aseprite Extensions: Enhance Your Pixel Art Experience.
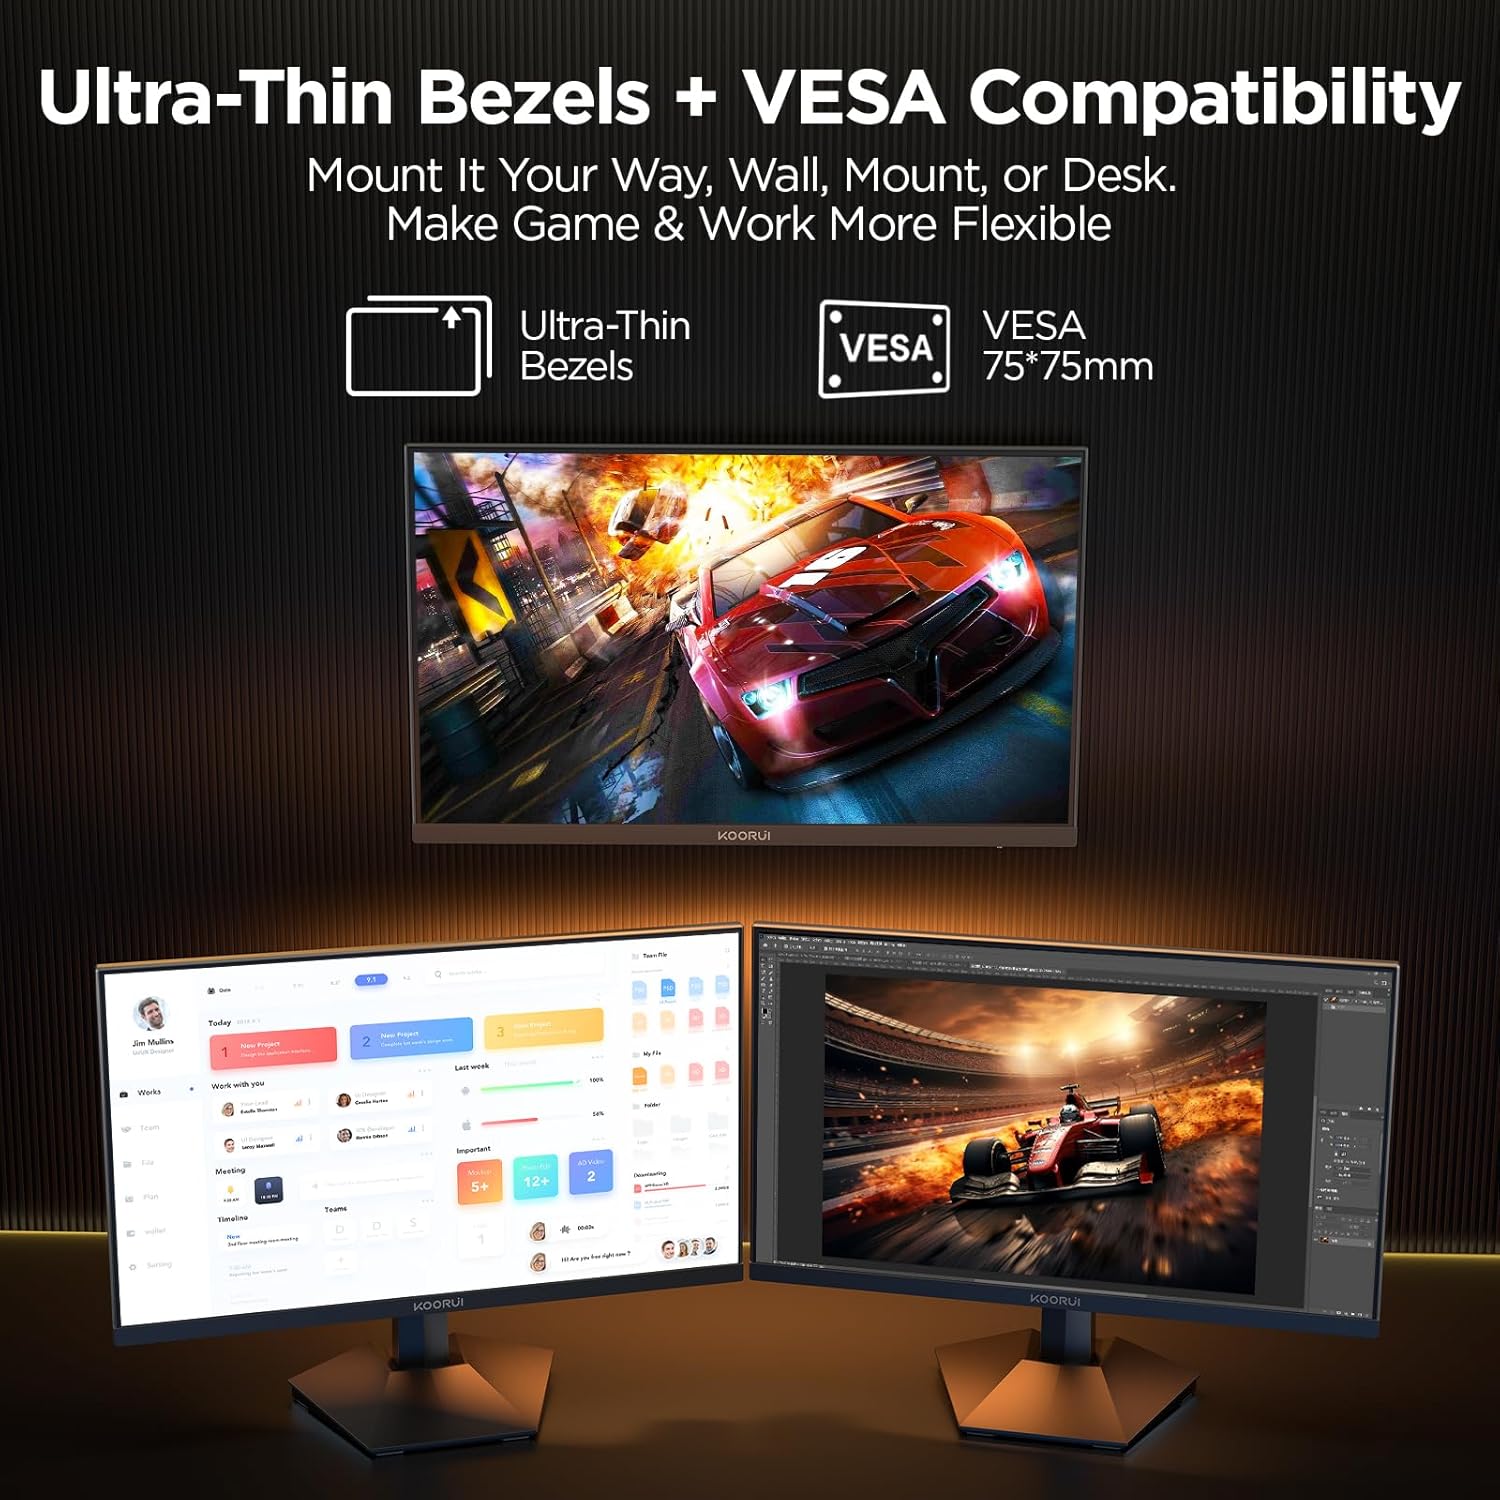
KOORUI
KOORUI 24.5 Inch Gaming Monitor 200Hz, 1ms, FHD(1920 * 1080p) IPS Display, HDR400, 90% DCI-P3 Color Gamut with Adaptive Sync, HDMI & DP Port, Black, G2511P
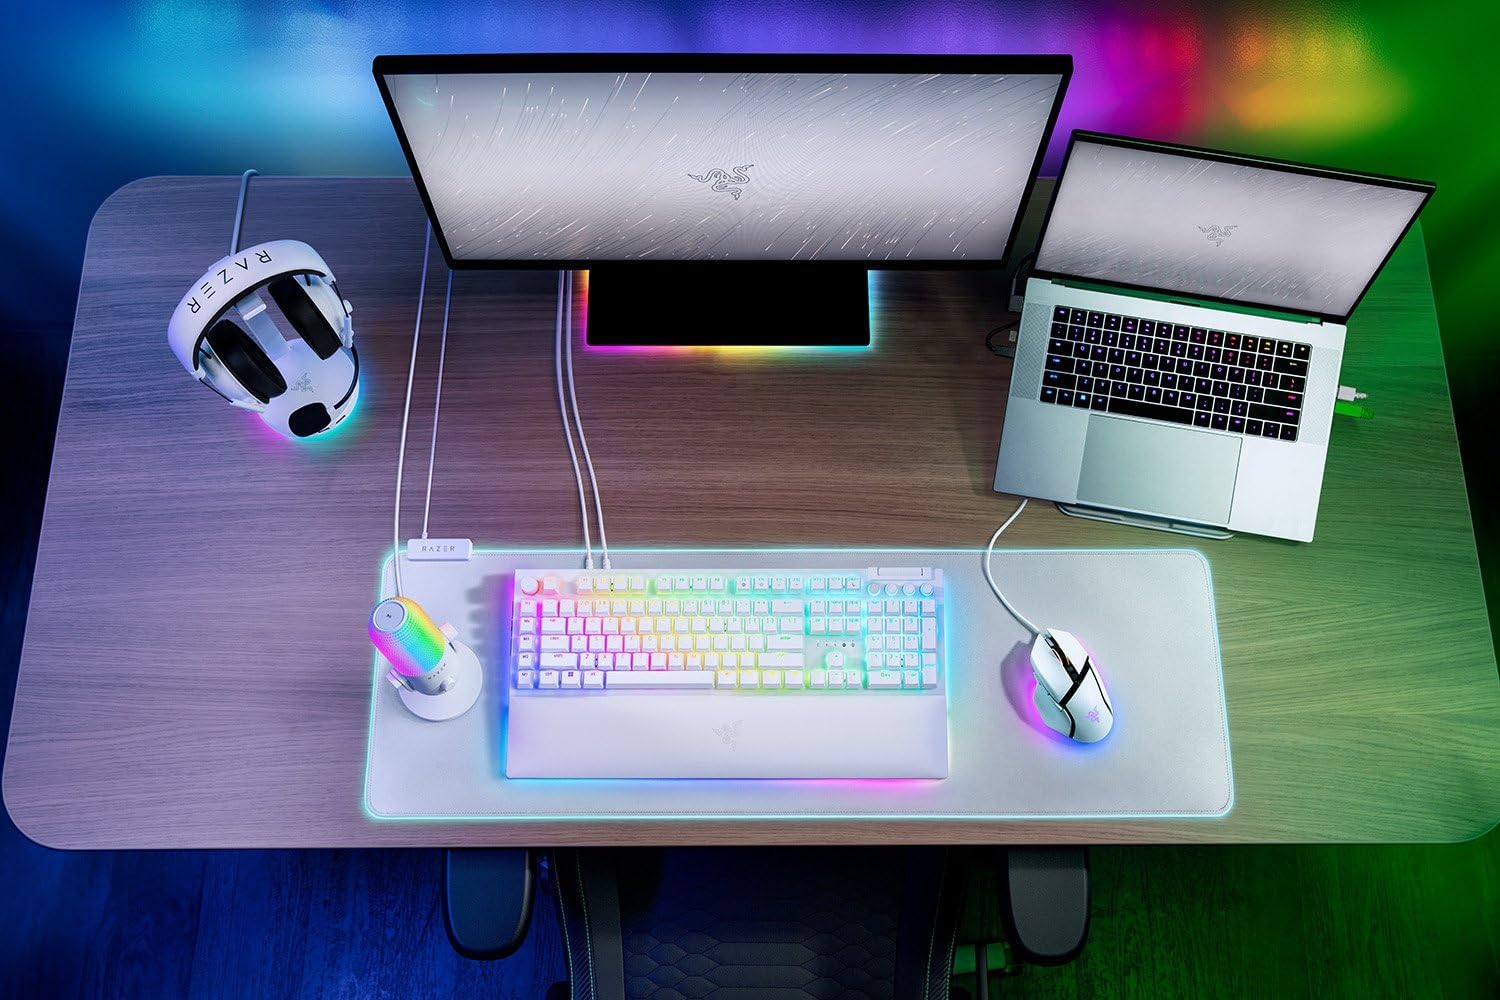
Razer
RAZER BlackWidow V4 Pro Wired RGB Keyboard White Refurbished
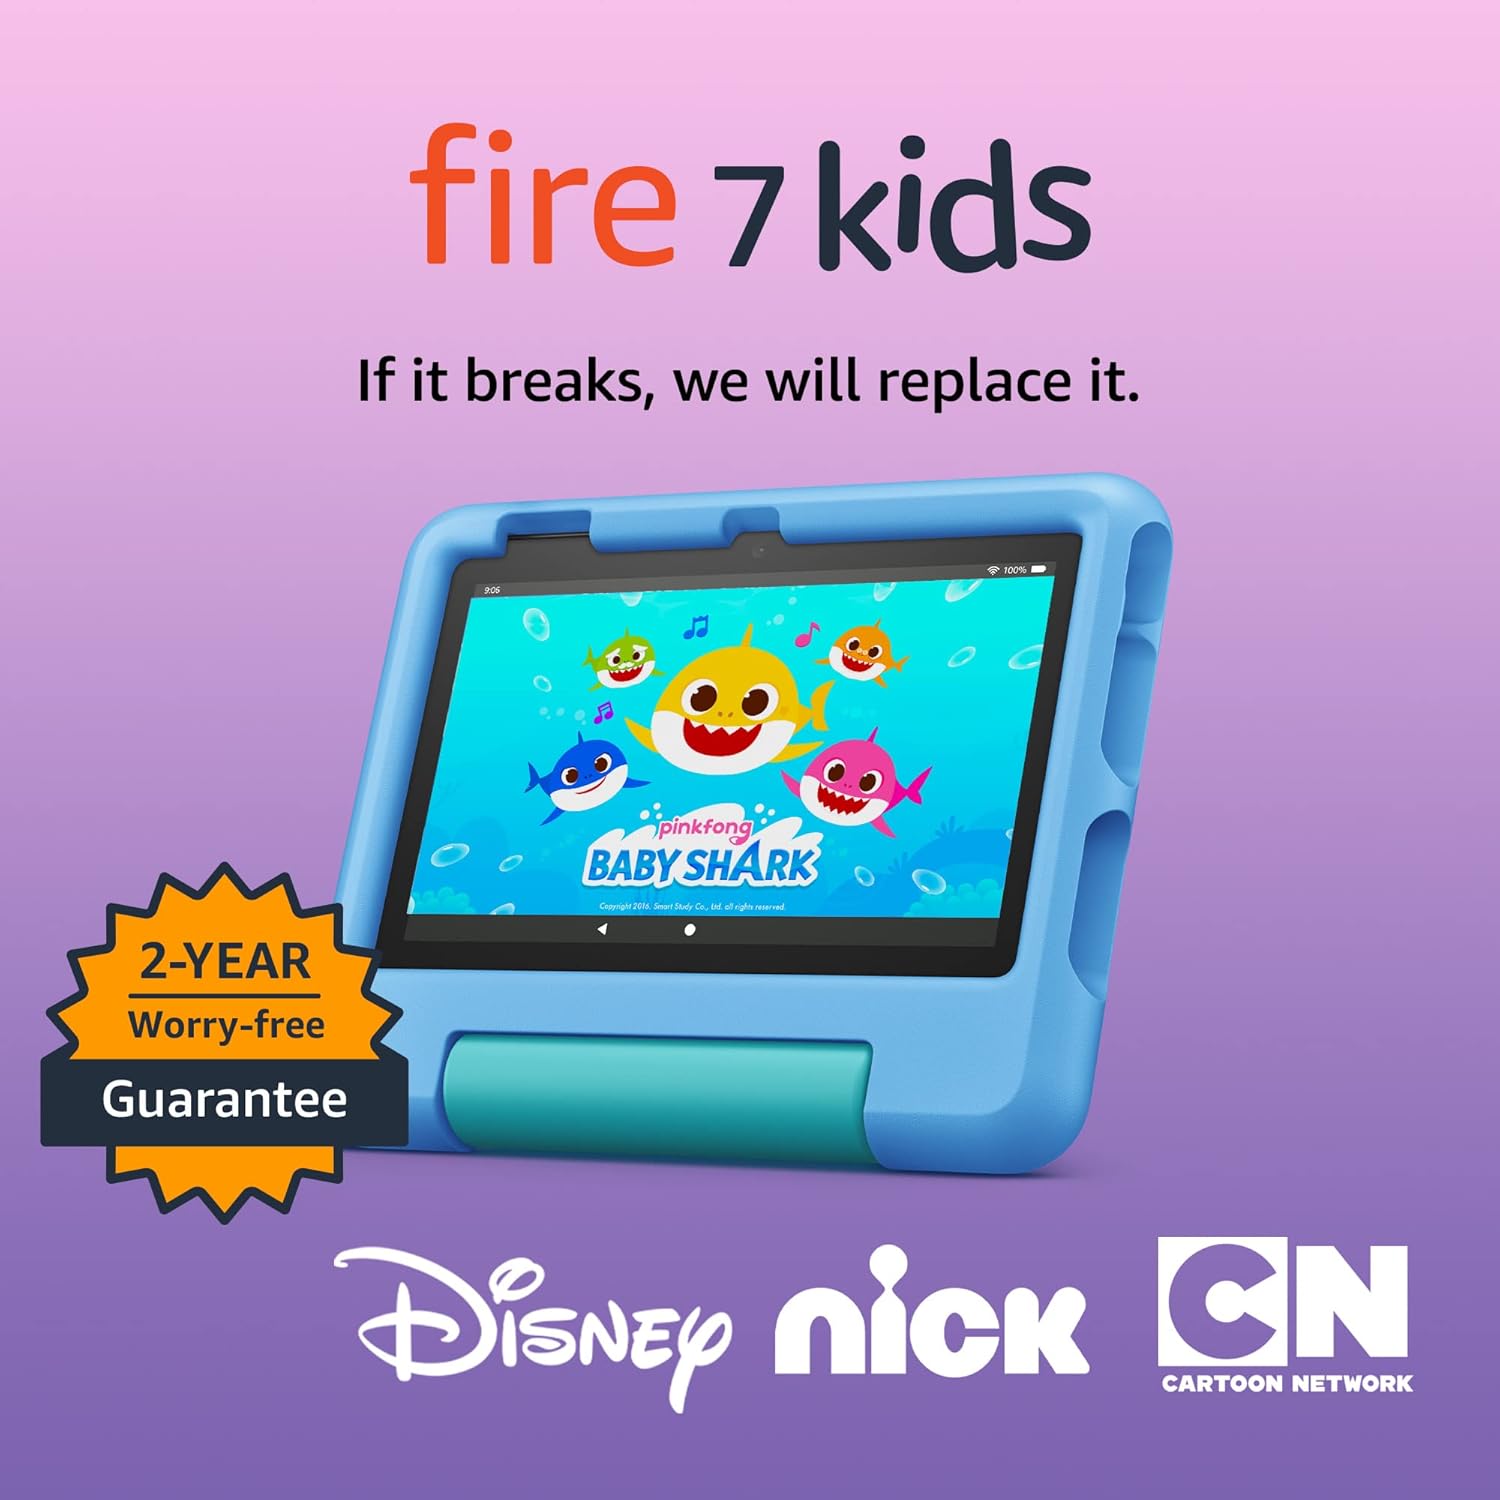
Amazon Fire 7 Kids tablet
Amazon Fire 7 Kids tablet, ages 3-7. Top-selling 7\" kids tablet on Amazon. Includes ad-free and exclusive content, easy parental controls, 10-hr battery, 16 GB, Blue
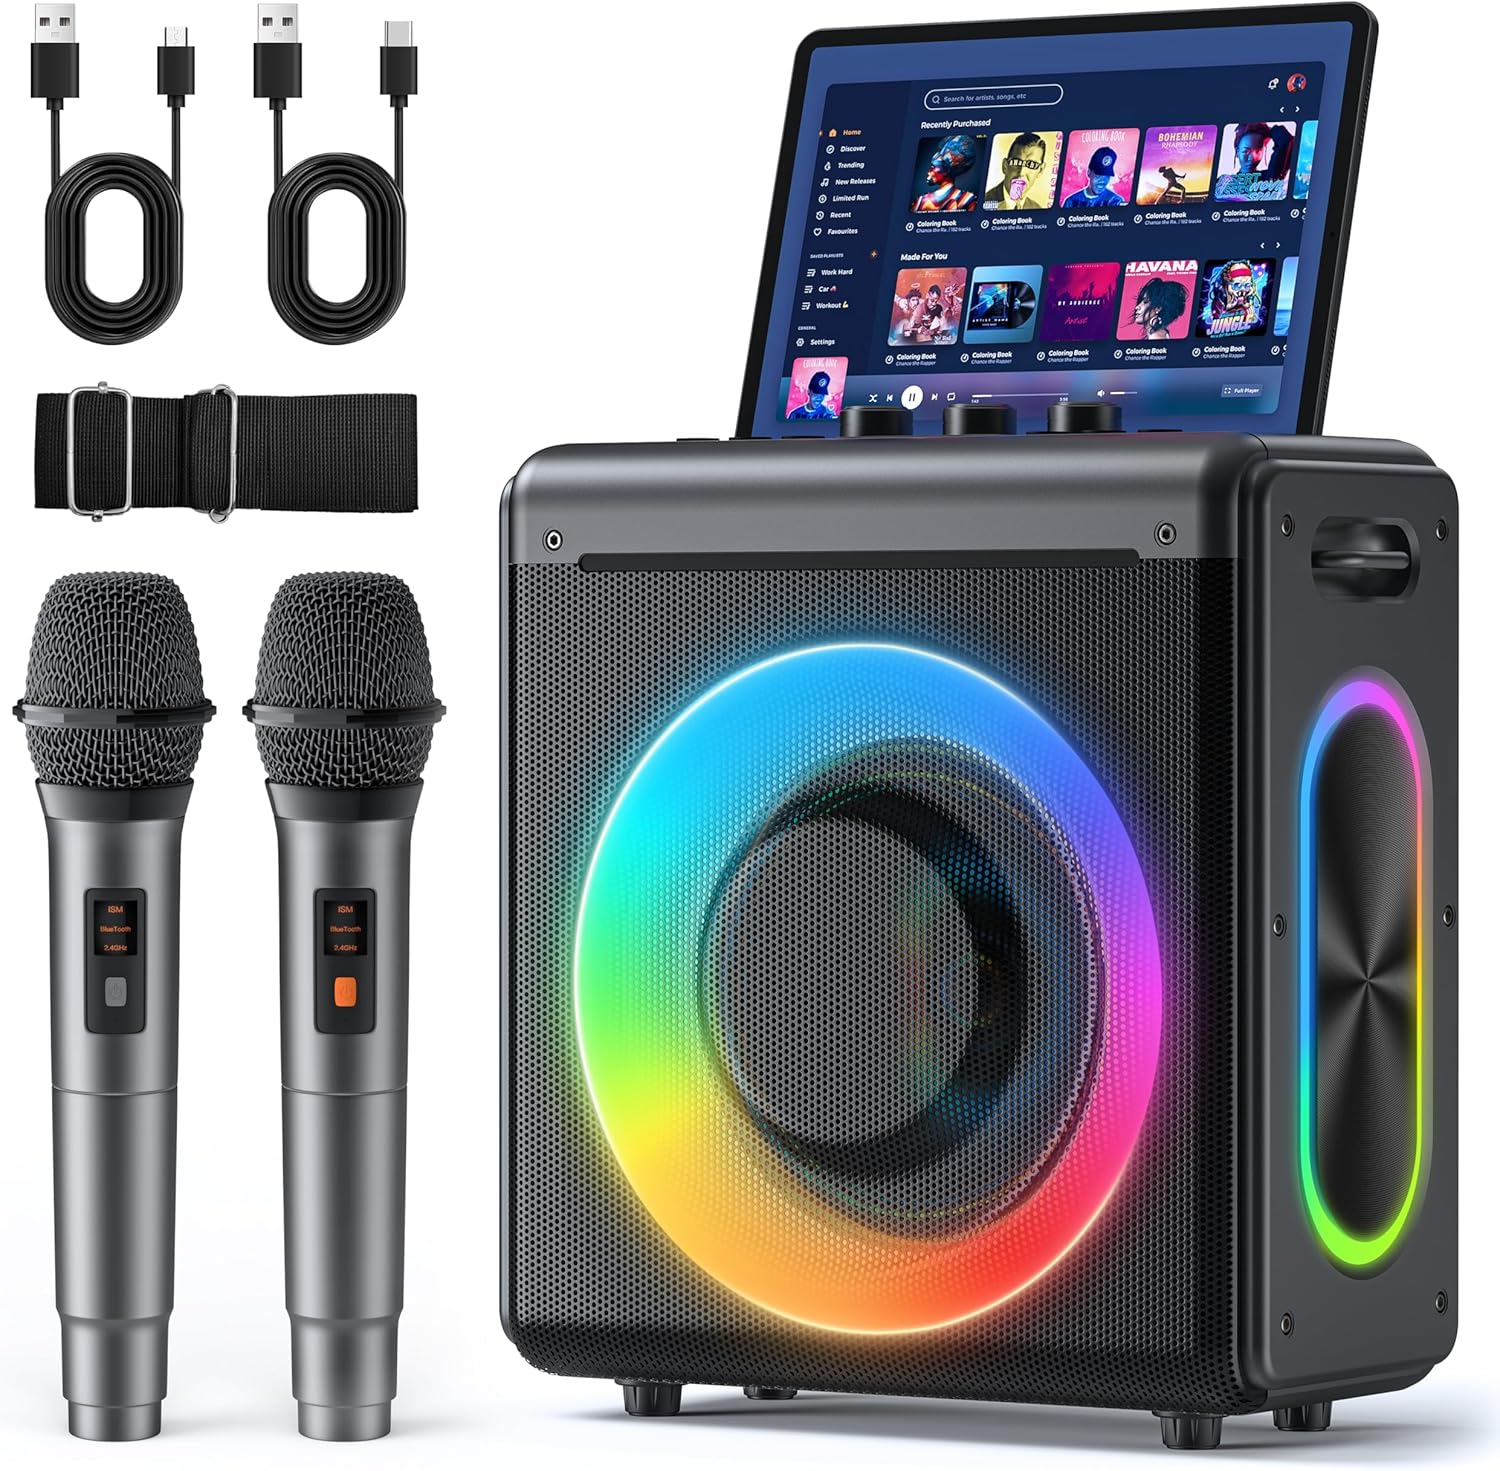
Karaoke Machine
Karaoke Machine with 2 Wireless Rechargeable Microphones: Portable Bluetooth Speaker for Adults & Kids - PA System with Lights Supports TWS/TF Card/USB/AUX for Home Party