Valve games like Half-Life, Counter-Strike, and Dota 2 are built with powerful tools designed for flexibility and performance. This beginner-friendly guide explains the essential tools and software you need to start developing or modding Valve games.
Understanding Valve’s development ecosystem
Valve uses its own game engines and internal development tools. Most public developers and modders work with:
- Source Engine
- Source 2 Engine
- Steam-based tools
These tools allow developers to create maps, gameplay logic, assets, and full game modifications.
1. Source Engine & Source 2
The foundation of Valve game development is its game engine.
Source Engine
- Used in older titles (Half-Life 2, CS: Source)
- Great for beginners and modding
- Large community and documentation
Source 2 Engine
- Used in modern Valve games (Dota 2, Half-Life: Alyx)
- More advanced graphics and tools
- Better workflows and performance
Beginner advice:
Start with Source if your goal is learning mods, then move to Source 2.
2. Hammer Editor (Level Design Tool)
Hammer Editor is Valve’s official level and map creation tool.
Main uses:
- Building maps and environments
- Placing entities, triggers, and logic
- Testing gameplay flow
Hammer is included with Source and Source 2 SDKs.
Learning tip:
Start by recreating a simple room or corridor before attempting full maps.
3. Visual Studio (Programming)
Valve game development relies heavily on C++.
Why Visual Studio?
- Best C++ support for Source engine
- Debugging and performance profiling
- Industry-standard for game development
Beginner note:
You don’t need advanced C++ at first. Learn basic syntax and object-oriented concepts.
4. Steam & Steam Workshop
Steam is not just a store it’s a development platform.
Steam tools allow you to:
- Upload mods and maps
- Publish content via Steam Workshop
- Test community feedback
Many successful Valve developers started by publishing mods on Steam Workshop.
5. 3D Modeling and Asset Tools
To create models, props, and environments, you need external tools.
Recommended tools:
- Blender – Free, powerful 3D modeling
- Maya – Industry standard
- Substance Painter – Texturing and materials
These assets are later imported into Source or Source 2.
6. Version Control (Git)
Professional Valve-style development requires good organization.
Why use Git?
- Track code and asset changes
- Collaborate with teams
- Undo mistakes safely
Platforms like GitHub or GitLab are perfect for beginners.
7. Debugging & Testing Tools
Valve games demand performance and stability.
- In-game console commands
- Performance profiling tools
- Crash and log analysis
Testing often matters more than adding new features.
Recommended beginner tool setup
| Purpose | Tool |
|---|---|
| Engine | Source / Source 2 |
| Level Design | Hammer Editor |
| Programming | Visual Studio |
| 3D Models | Blender |
| Publishing | Steam Workshop |
| Version Control | Git / GitHub |
If you want to understand Valve game development in detail,
check our complete Valve Game Development guide.
Conclusion
Valve game development requires the right tools, but success comes from how you use them. Start small, learn Hammer, experiment with mods, and gradually move into programming and advanced systems.
Mastering these tools is the first step toward creating professional-level Valve-style games.

AULA F99 Wireless Mechanical Gaming Keyboard
AULA F99 Wireless Mechanical Keyboard,Tri-Mode BT5.0/2.4GHz/USB-C Hot Swappable Custom Keyboard,Pre-lubed Linear Switches,RGB Backlit Computer Gaming Keyboards for PC/Tablet/PS/Xbox
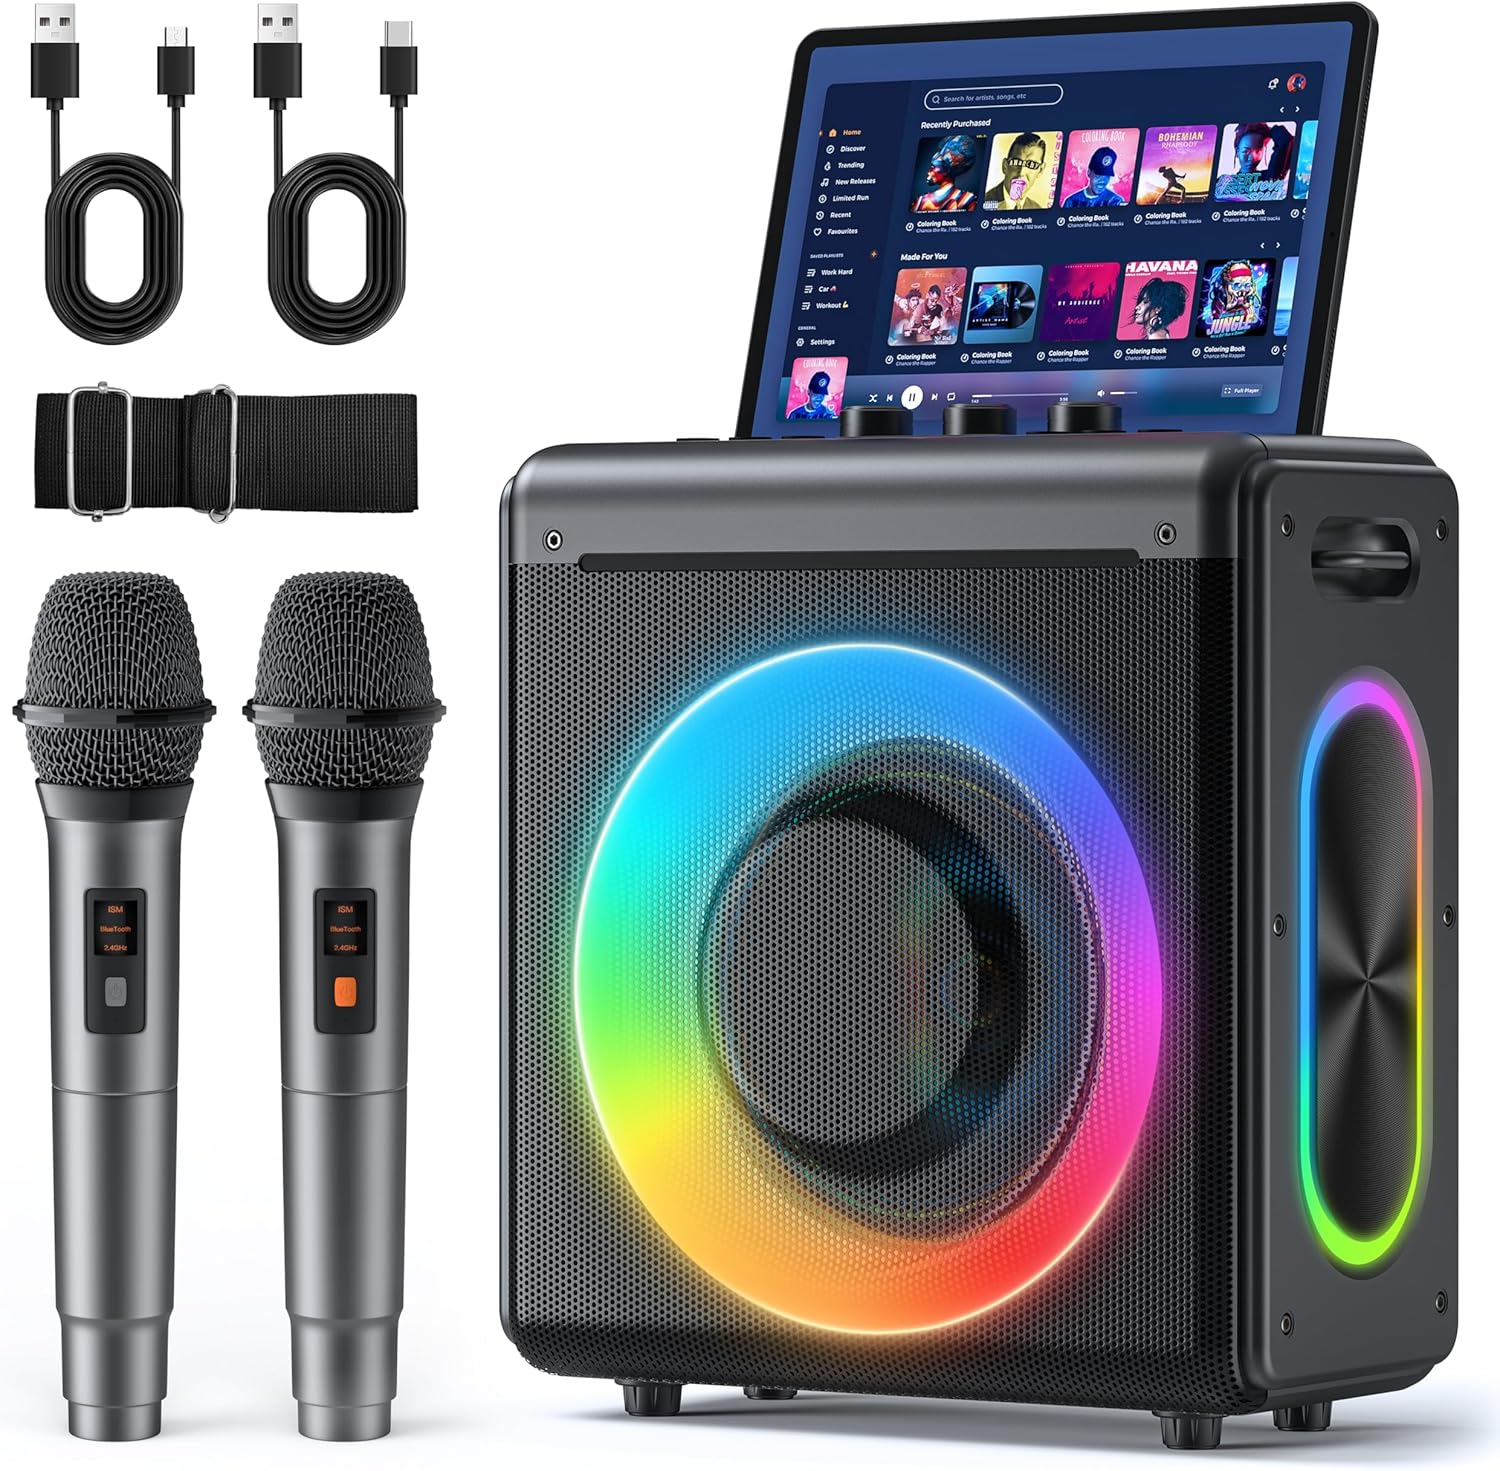
Karaoke Machine
Karaoke Machine with 2 Wireless Rechargeable Microphones: Portable Bluetooth Speaker for Adults & Kids – PA System with Lights Supports TWS/TF Card/USB/AUX for Home Party
Results
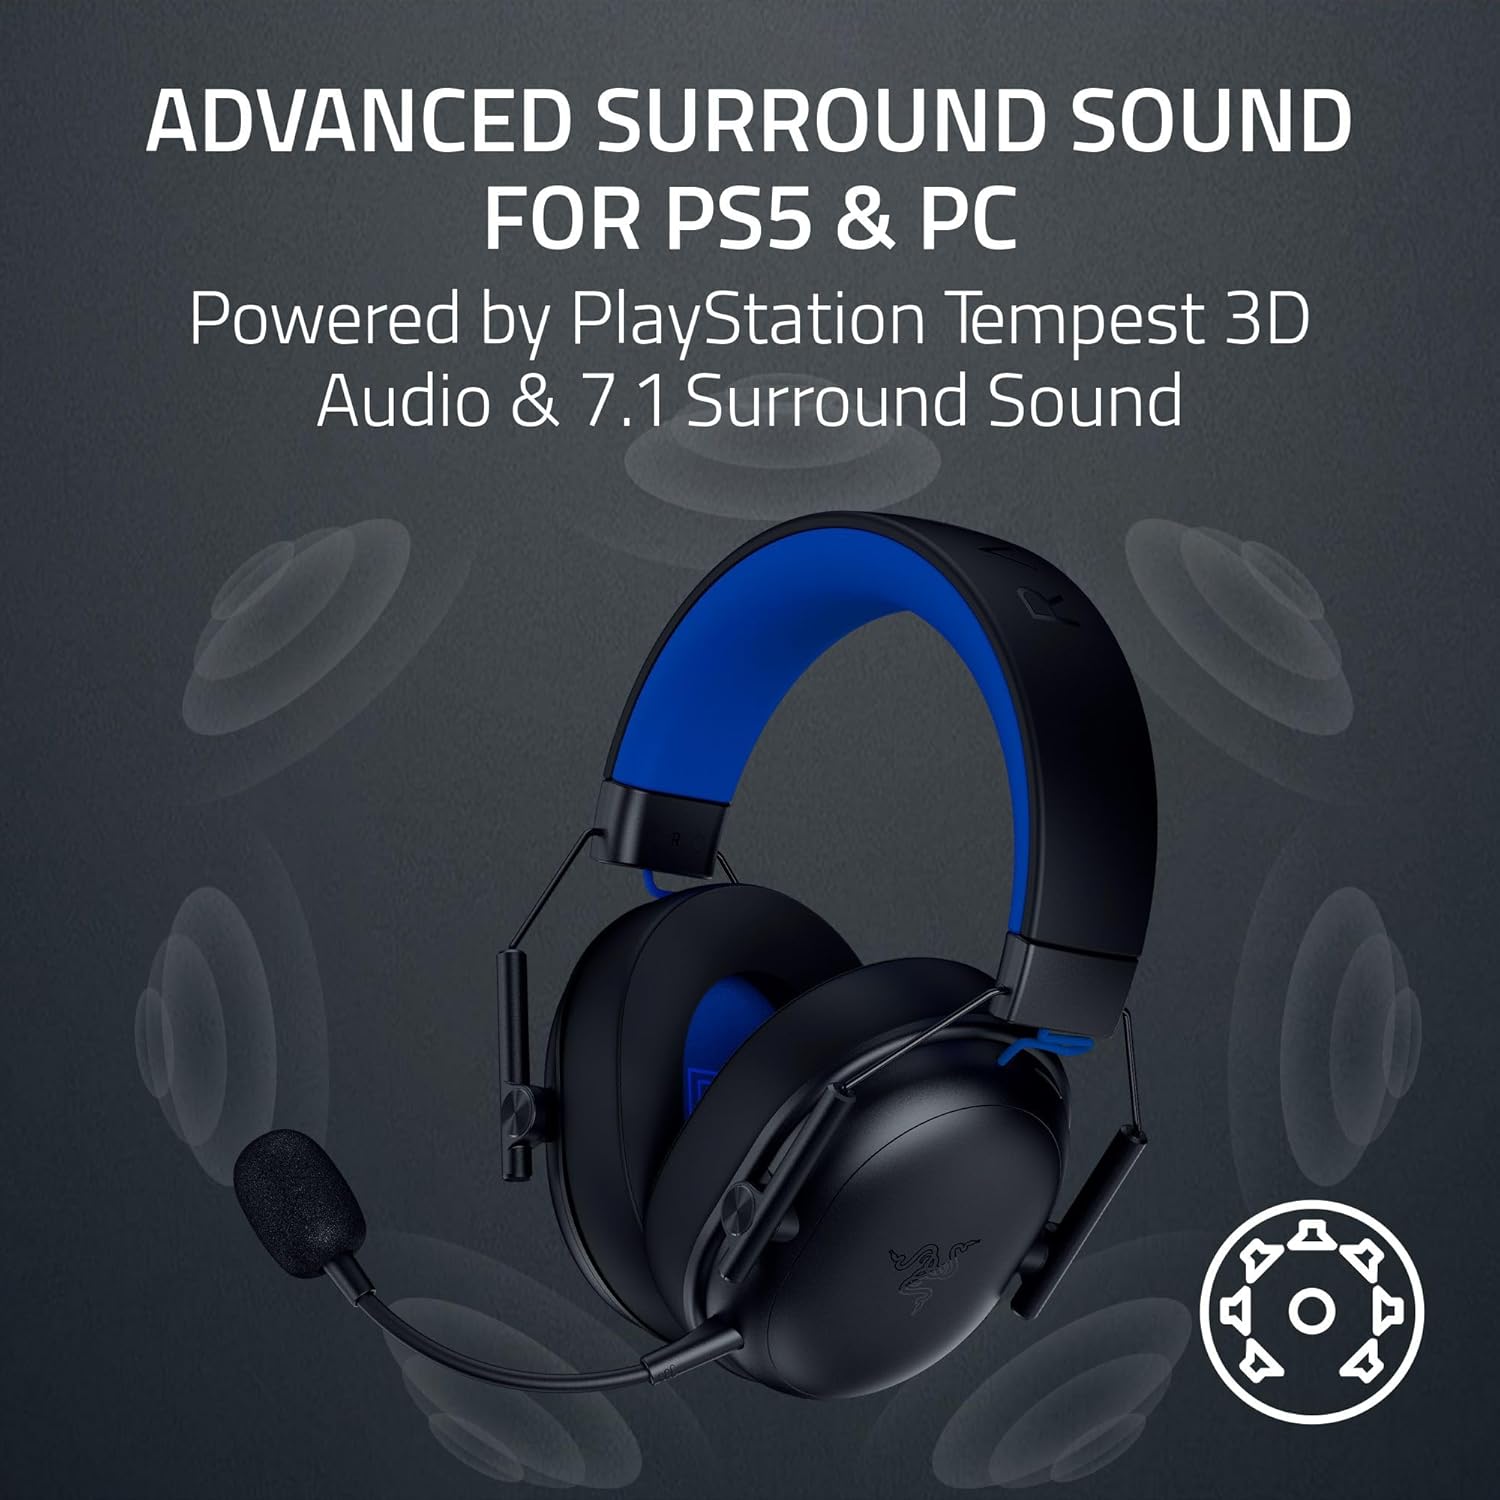
Razer BlackShark V3 X HyperSpeed Wireless Gaming Headset for PS5: 50mm Drivers – Cardioid Mic – 2.4 GHz, Bluetooth – Works with PC, Mac, Nintendo Switch, Smartphone – Long Battery Life – Black
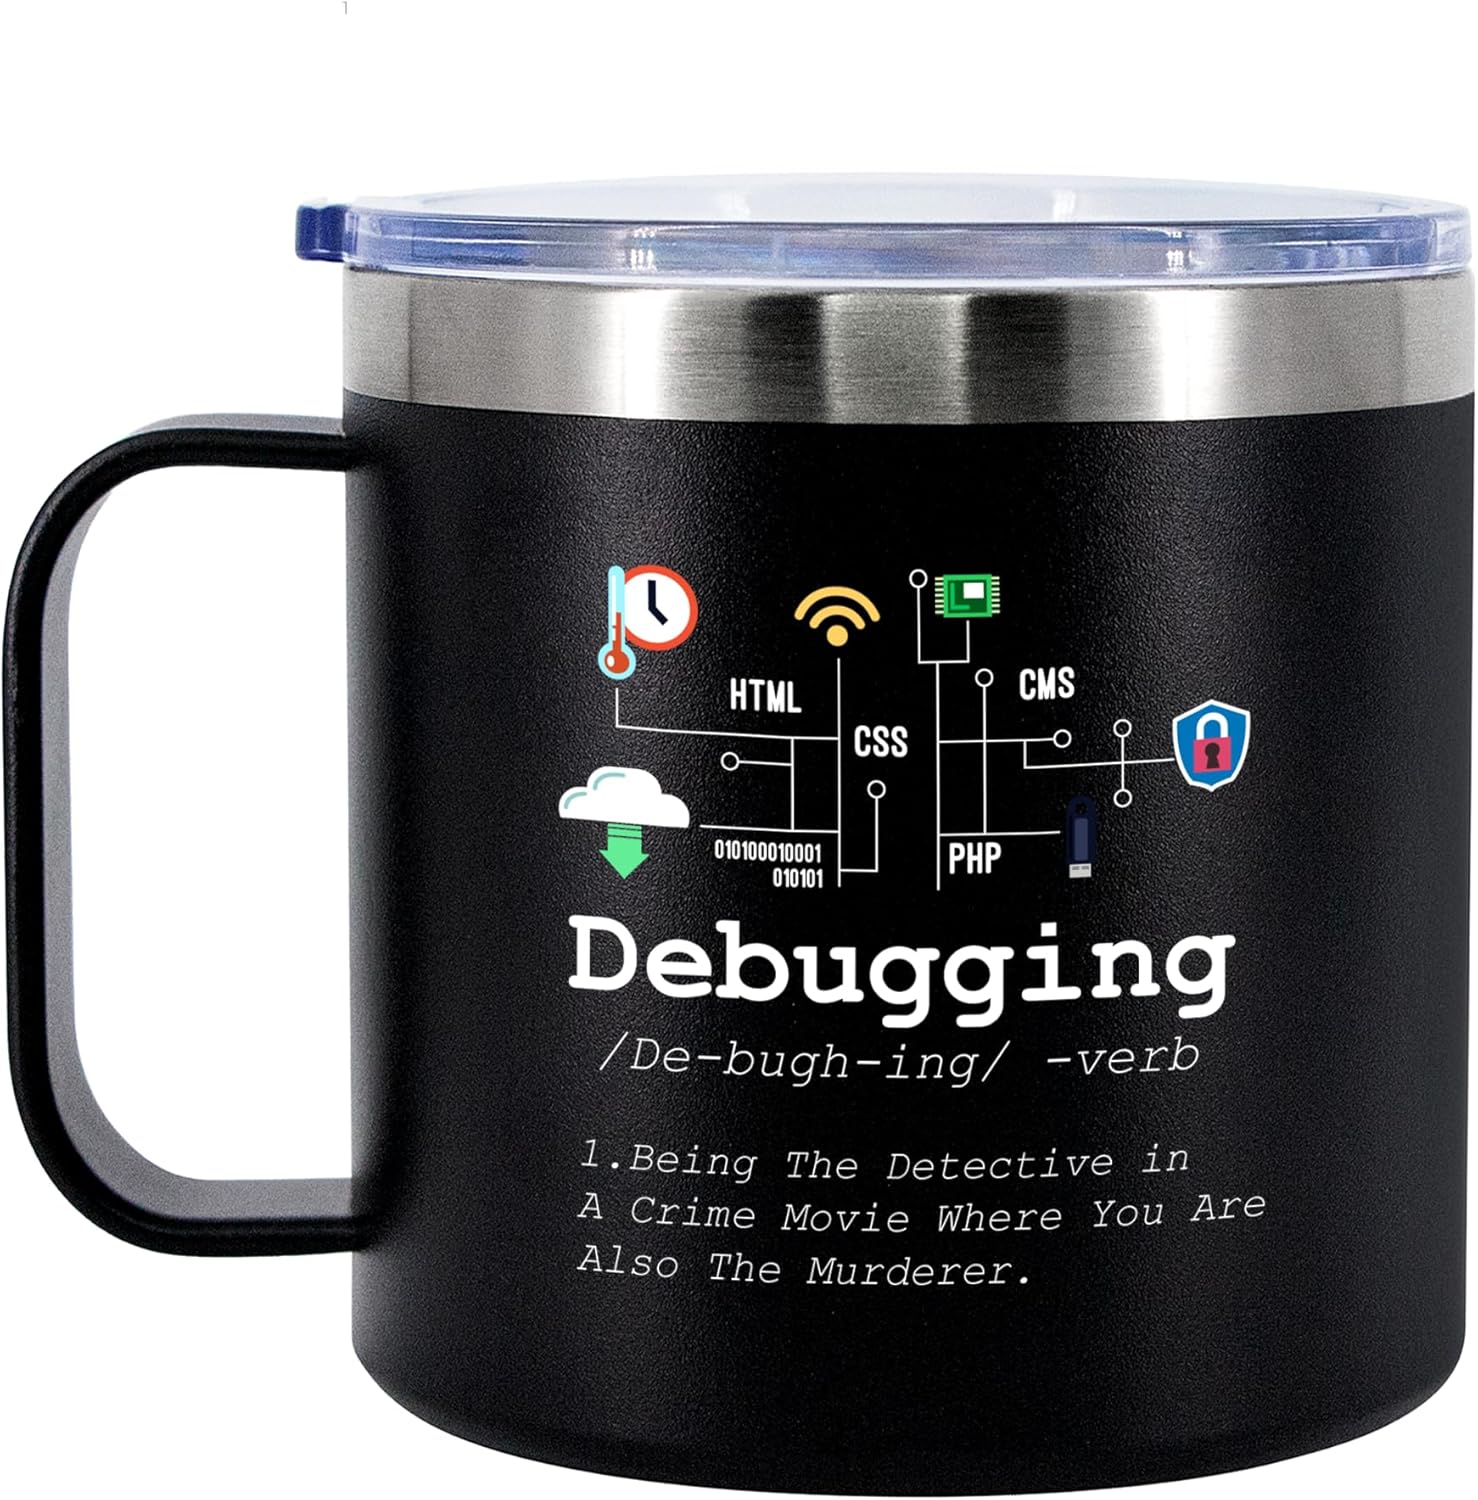
Panvola
Panvola Debugging Definition Computer Programmer Student Teacher Geek Coder Tech Support Programming IT Insulated Coffee Mug with Handle and Lid Camping Travel Thermal Mugs 14 oz Black
Scotch Thermal Laminating Pouches
Scotch Thermal Laminating Pouches, for Use with Thermal Laminators, 8.9 x 11.4 Inches, Letter Size Sheets, 100-Pack
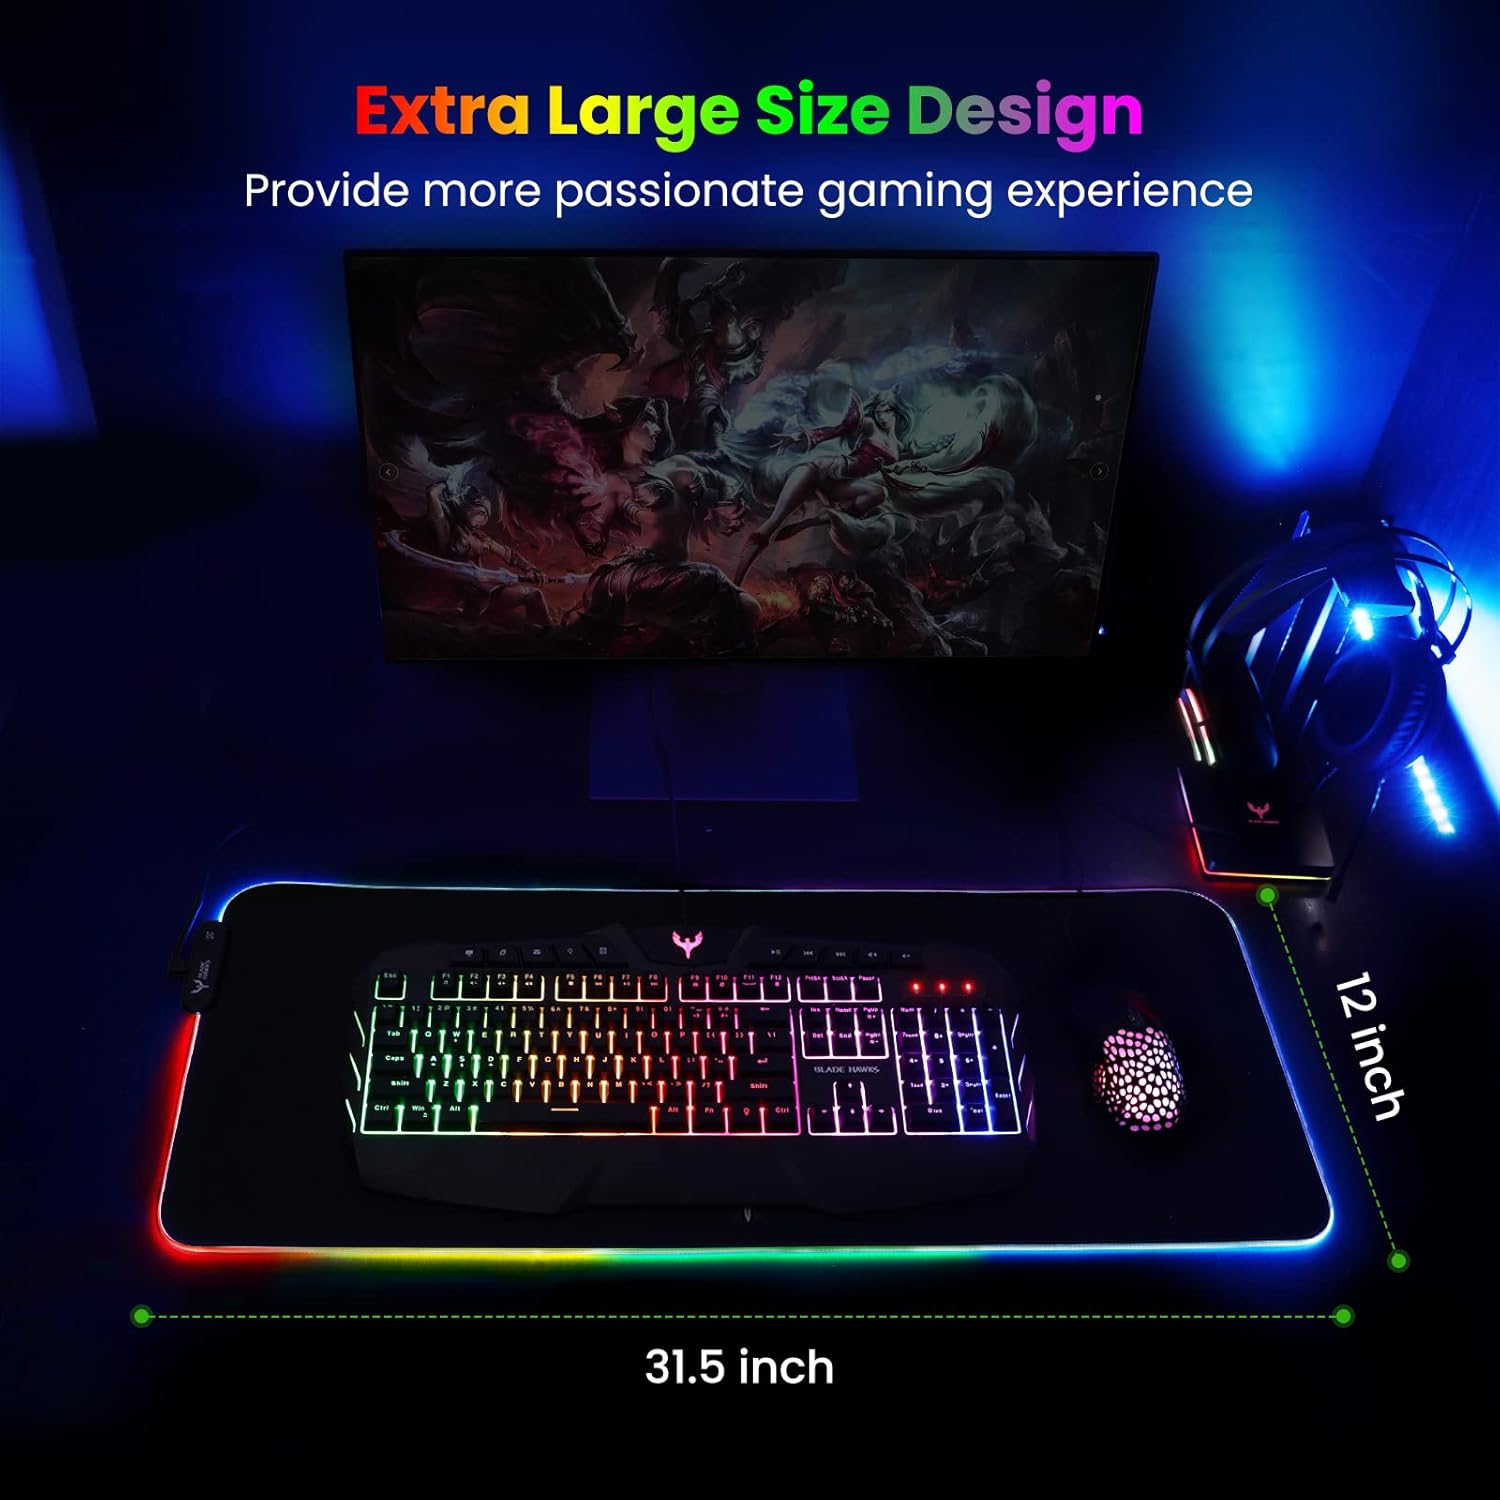
Mouse Pad
BladeHawks Extra Large RGB Gaming Mouse Pad-14 Light Modes, Extended Soft LED Mouse Pad, Anti-Slip Rubber Base, Computer Keyboard Mousepad Mat (31.5 x 12 Inch)