Why mod Valve games?
Valve’s games are famous for thriving mod communities. Mods can:
- Turn into standalone hits (e.g., Counter-Strike started as a Half-Life mod).
- Help you build a portfolio and get noticed by studios.
- Extend a game’s life and engage players through new content.
Overview: tools you’ll use
Before starting, get familiar with these tools:
- Source SDK / Source 2 tools (Valve’s official kits)
- Hammer Editor for level design (Source)
- Modeling tools: Blender, Maya, or 3ds Max (for meshes)
- Texture tools: Photoshop, GIMP, Substance Painter
- Version control: Git or Perforce (Perforce is common in game studios)
- Steam Workshop (for publishing and distribution)
Step-by-step: create a simple Source mod
1. Choose your mod type
Decide early: map pack, gameplay tweak, new weapon, total conversion, or cosmetic content. For beginners, a single-map mod or weapon mod is ideal.
2. Set up your environment
- Install the base game (e.g., Half-Life 2 or CS:GO) and Steam.
- Install Source SDK or the Source 2 tools via Steam (check Tools library).
- Create a workspace folder for assets, maps, scripts, and exports.
3. Build your first level (Hammer)
Open Hammer Editor and:
- Create a new map with simple geometry (rooms, corridors).
- Add game entities (player spawn, ammo, NPCs).
- Use light entities and basic textures to test mood and readability.
- Compile and test frequently (ideally after small changes).
4. Add custom assets (models & textures)
Model a simple prop in Blender → unwrap UVs → export to an engine-friendly format (e.g., .fbx). Create textures and export as .vmt/.vtf when working with Source (tools exist to convert textures).
5. Script gameplay
Use the engine’s scripting facilities (e.g., VScript in Source) to control events, AI behavior, or custom weapons. Keep scripts modular and documented.
6. Test locally and with friends
Run the mod locally, use developer console for logging, and invite a small group of players to give feedback. Iterate based on issues: collision, performance, gameplay balance.
7. Package and publish on Steam Workshop
- Create a Workshop item with clear title, description, and tags.
- Include high-quality preview images and a short trailer if possible.
- Provide installation instructions and credits.
- Publish and promote (Reddit, Discord, Twitter, modding communities).
Best practices & tips
- Start small: complete a tiny, polished feature rather than an unfinished giant mod.
- Keep performance in mind: test on lower-end hardware to ensure playability.
- Document your work: README, change-log, and proper metadata help users and press.
- Use version control: track changes and revert easily if needed.
- Leverage community feedback: early testers often find critical UX issues.
Example: making a custom weapon mod (short workflow)
- Model weapon in Blender → export mesh.
- Create weapon script defining damage, rate of fire, ammo type.
- Place weapon in test level and tune balance with playtests.
- Package model, script, icons, and publish to Workshop.
Publishing & promoting your mod
After publishing:
- Share on r/SourceEngine, r/LevelDesign, and game-specific subs (e.g., r/HalfLife).
- Create a short devlog or thread showing progress and screenshots.
- Engage with commenters, fix bugs, and publish updates — Workshop items with activity get more visibility.
Common pitfalls to avoid
- Poor optimization (high-poly models, uncompressed textures).
- Missing credits or unclear licensing for third-party assets.
- Publishing without playtesting — leads to negative reviews.
Resources & communities
Useful links to learn and get help:
FAQs (for FAQ schema)
Can beginners mod Source engine games?
Yes. Start with simple maps or props, follow tutorials, and publish small Workshop items to learn the pipeline.
Do I need coding skills to make mods?
Basic scripting helps (e.g., VScript), but many mods can be created with level design, models, and configuration without deep programming knowledge.
How do I publish on Steam Workshop?
Use the game’s Workshop tools (usually available in Steam Tools), create an item page with images and description, and upload your packaged mod following Valve’s guidelines.
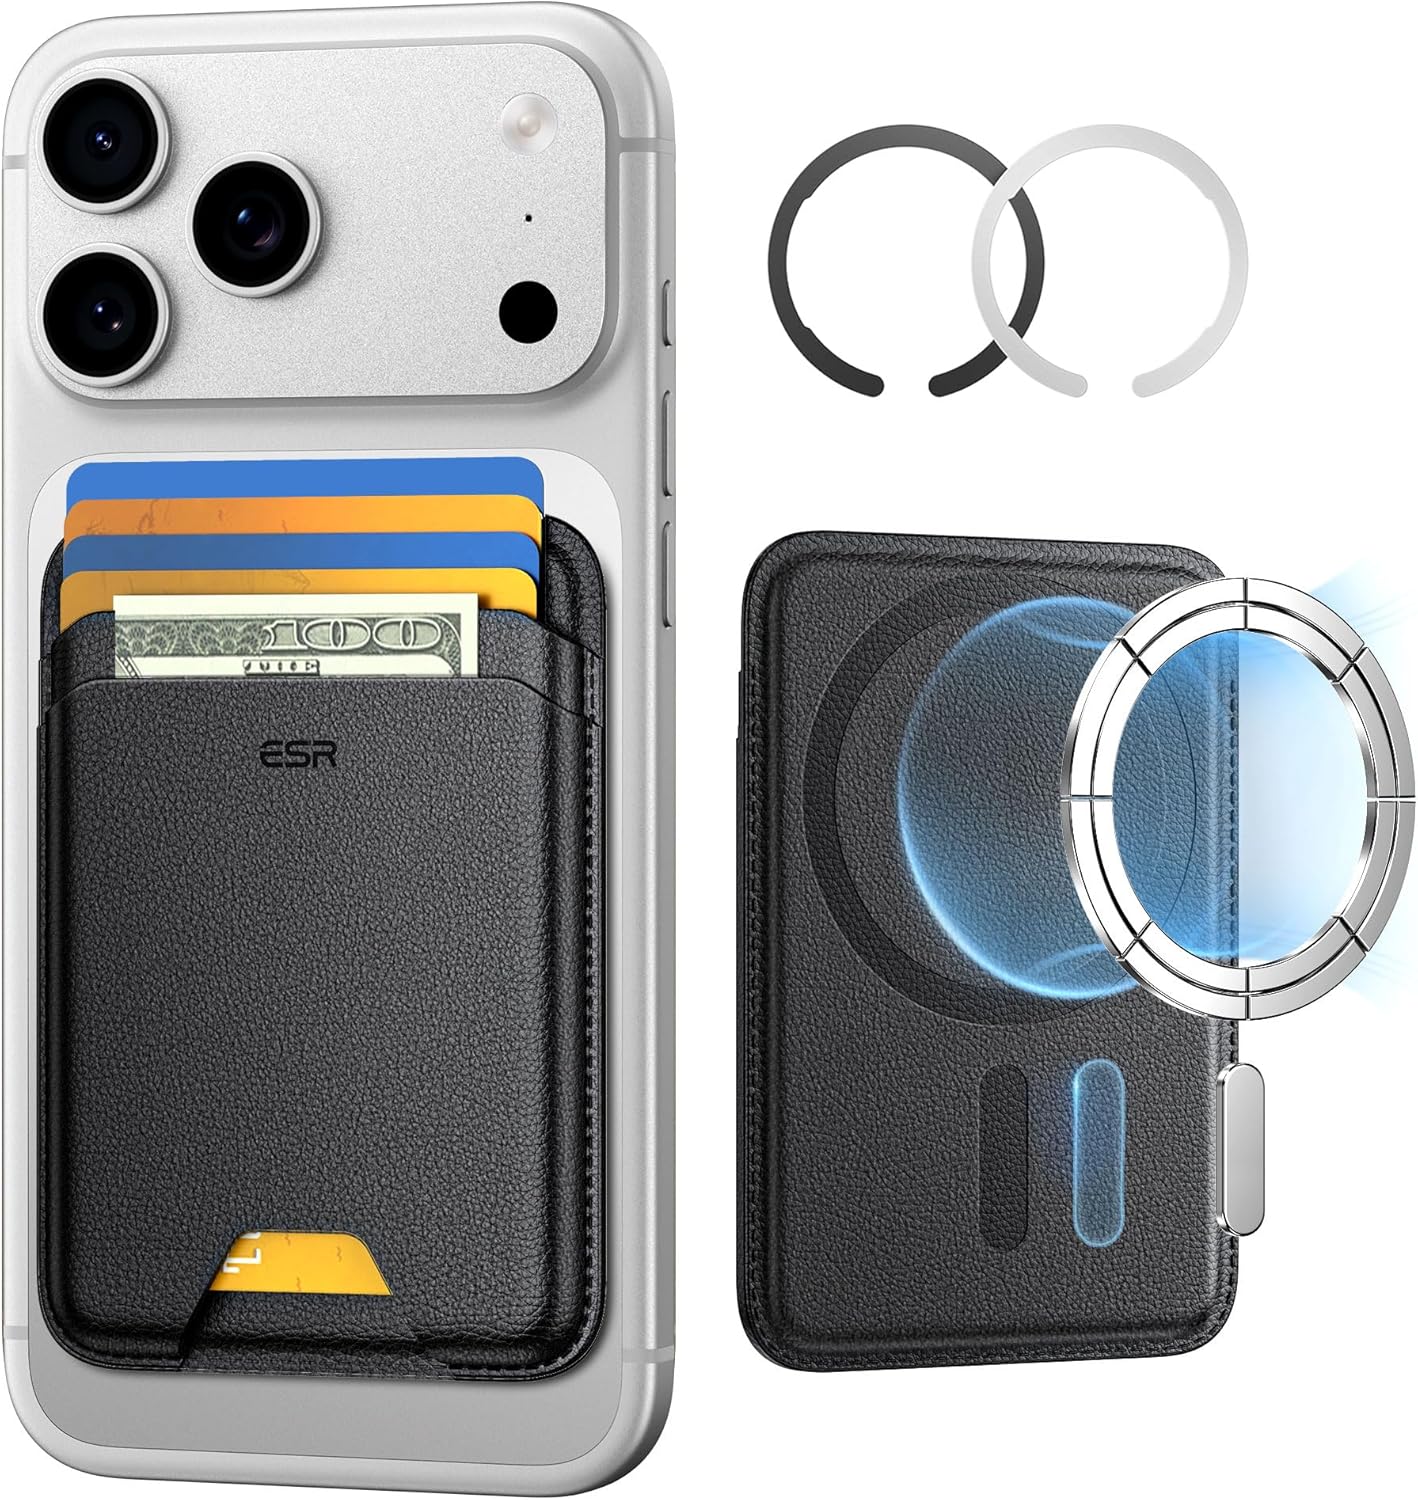
ESR for MagSafe Wallet
ESR for MagSafe Wallet, 5-Card Holder With RFID Blocking, MagSafe Sticker Included, Slim Magnetic Wallet for iPhone 17/16/15/14/13/12 Series and Selected Samsung Devices, Not for 13/12 Mini, Black
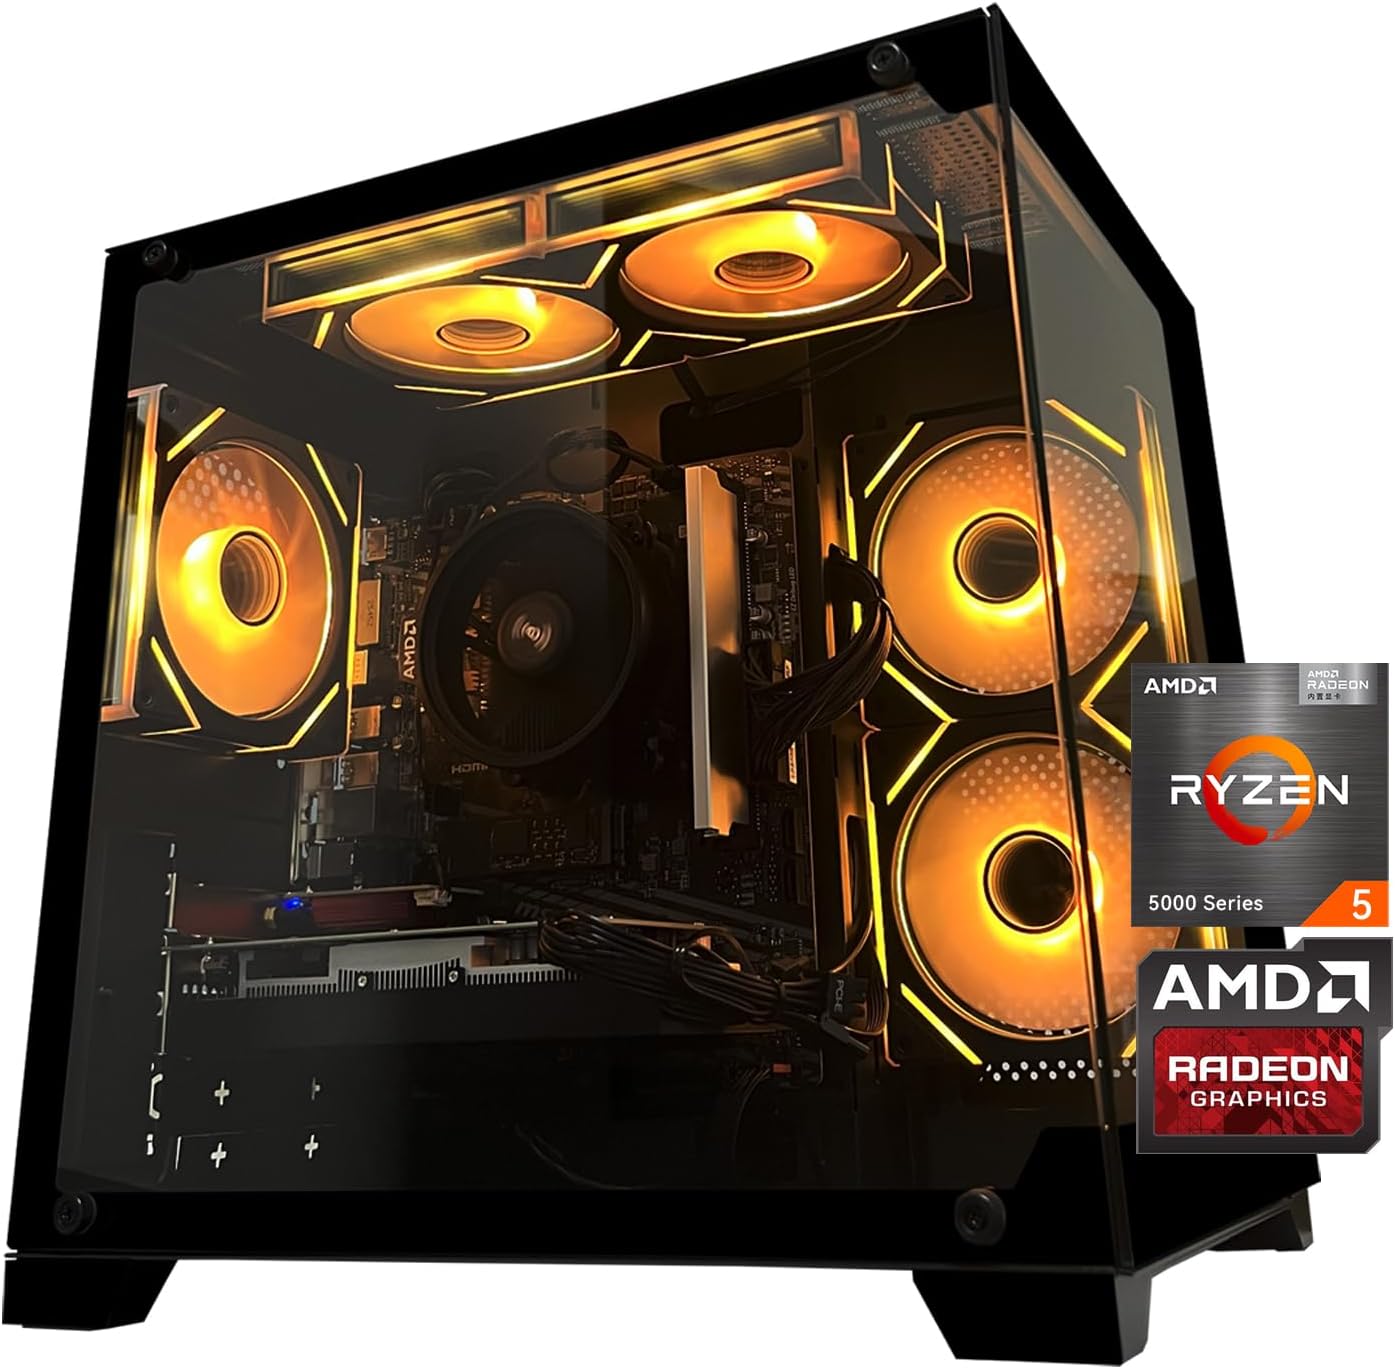
Gaming PC Desktop Computer, AMD
Gaming PC Desktop Computer, AMD Ryzen 5 5500, RX6500XT 4GB Graphics, 16GB DDR4 RAM, 512GB NVMe SSD, ARGB Fans, Game Design Office
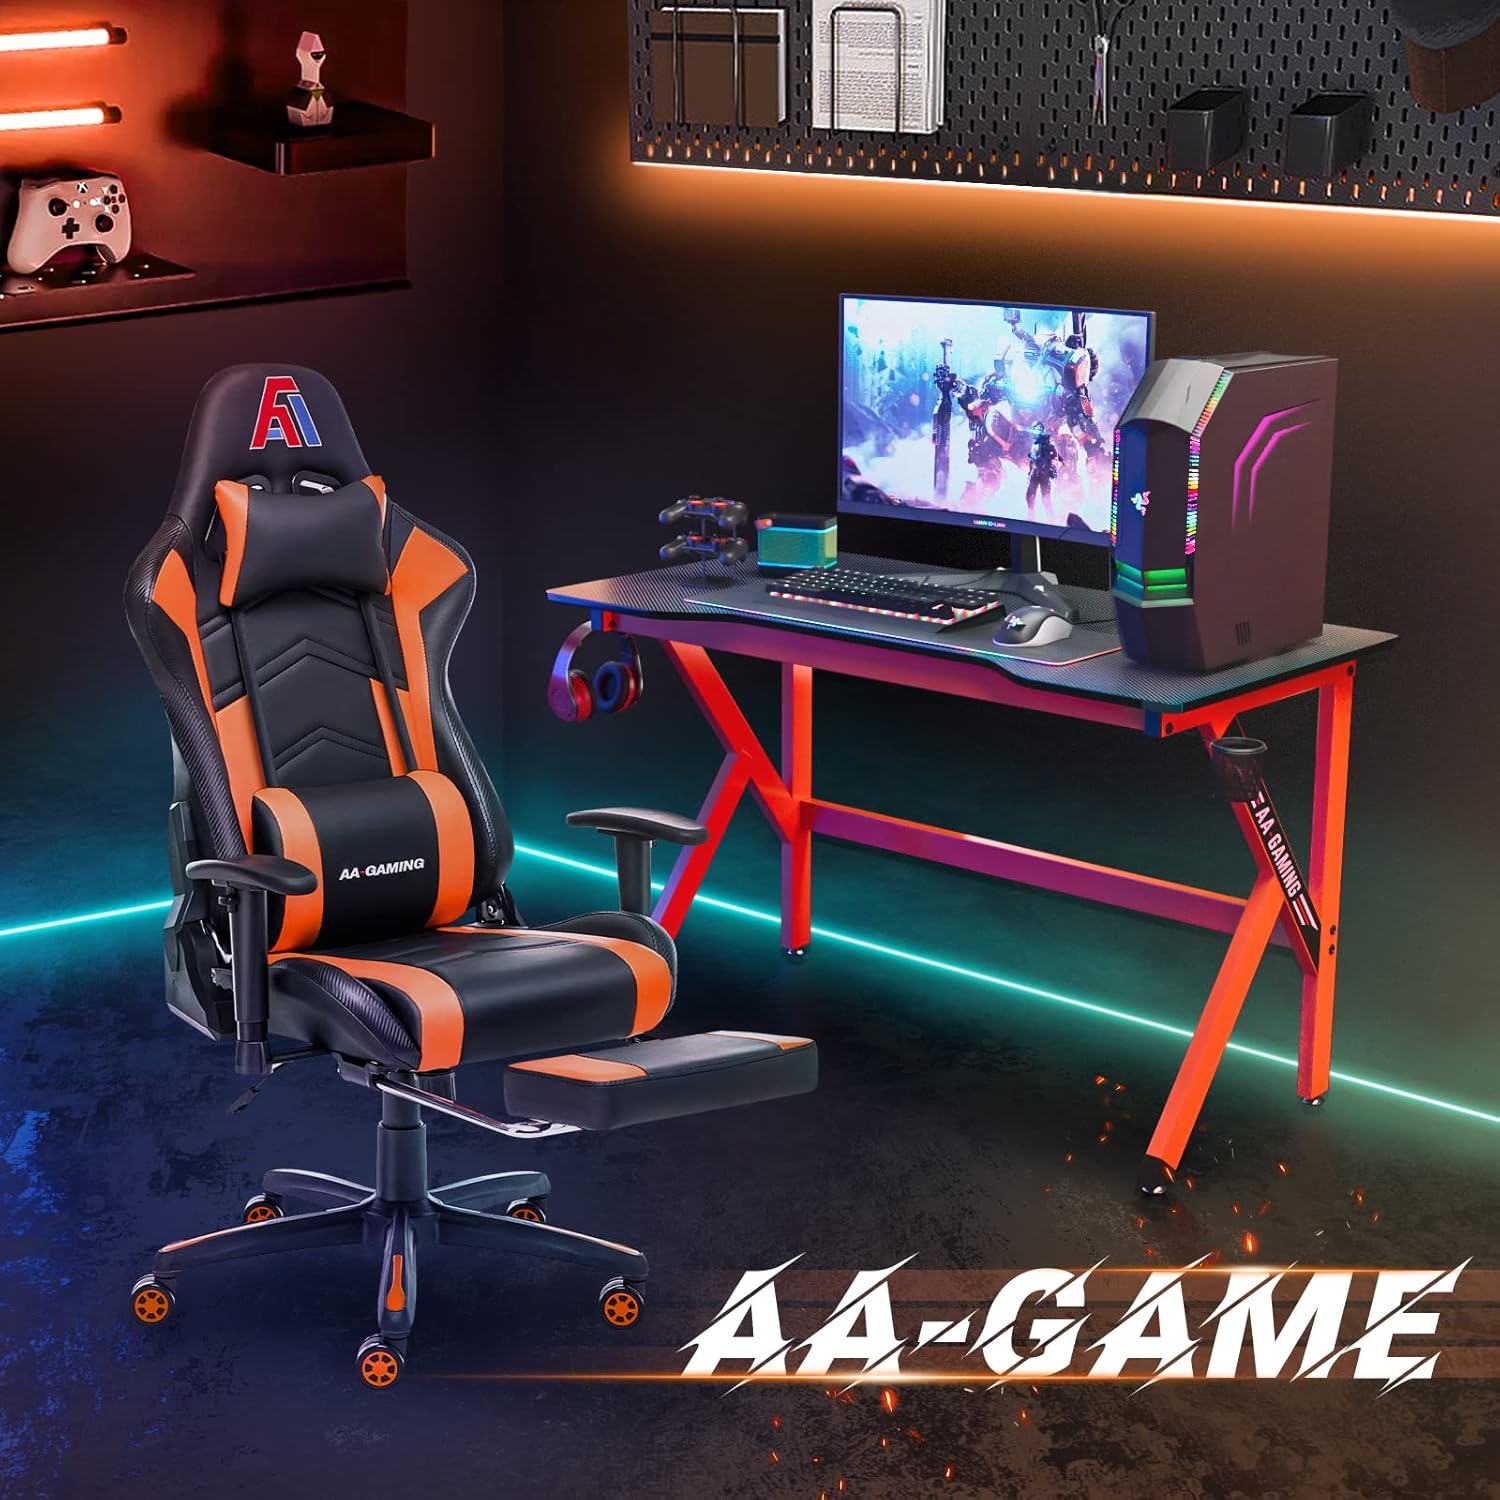
AA Products High Back Ergonomic Gaming Chair
AA Products Gaming Chair Ergonomic High Back Computer Racing Chair Adjustable Office Chair with Footrest, Lumbar Support Swivel Chair – BlackOrange

NUBWO U3 Gaming Headset
NUBWO U3 Gaming Headset with Microphone, Safe Volume Limited, Kids Headphones for Switch, Super Lightweight, Rich Sound, 3.5mm Jack for NS, PS4, PS5, Xbox, Tablet, iPad Computer, Red
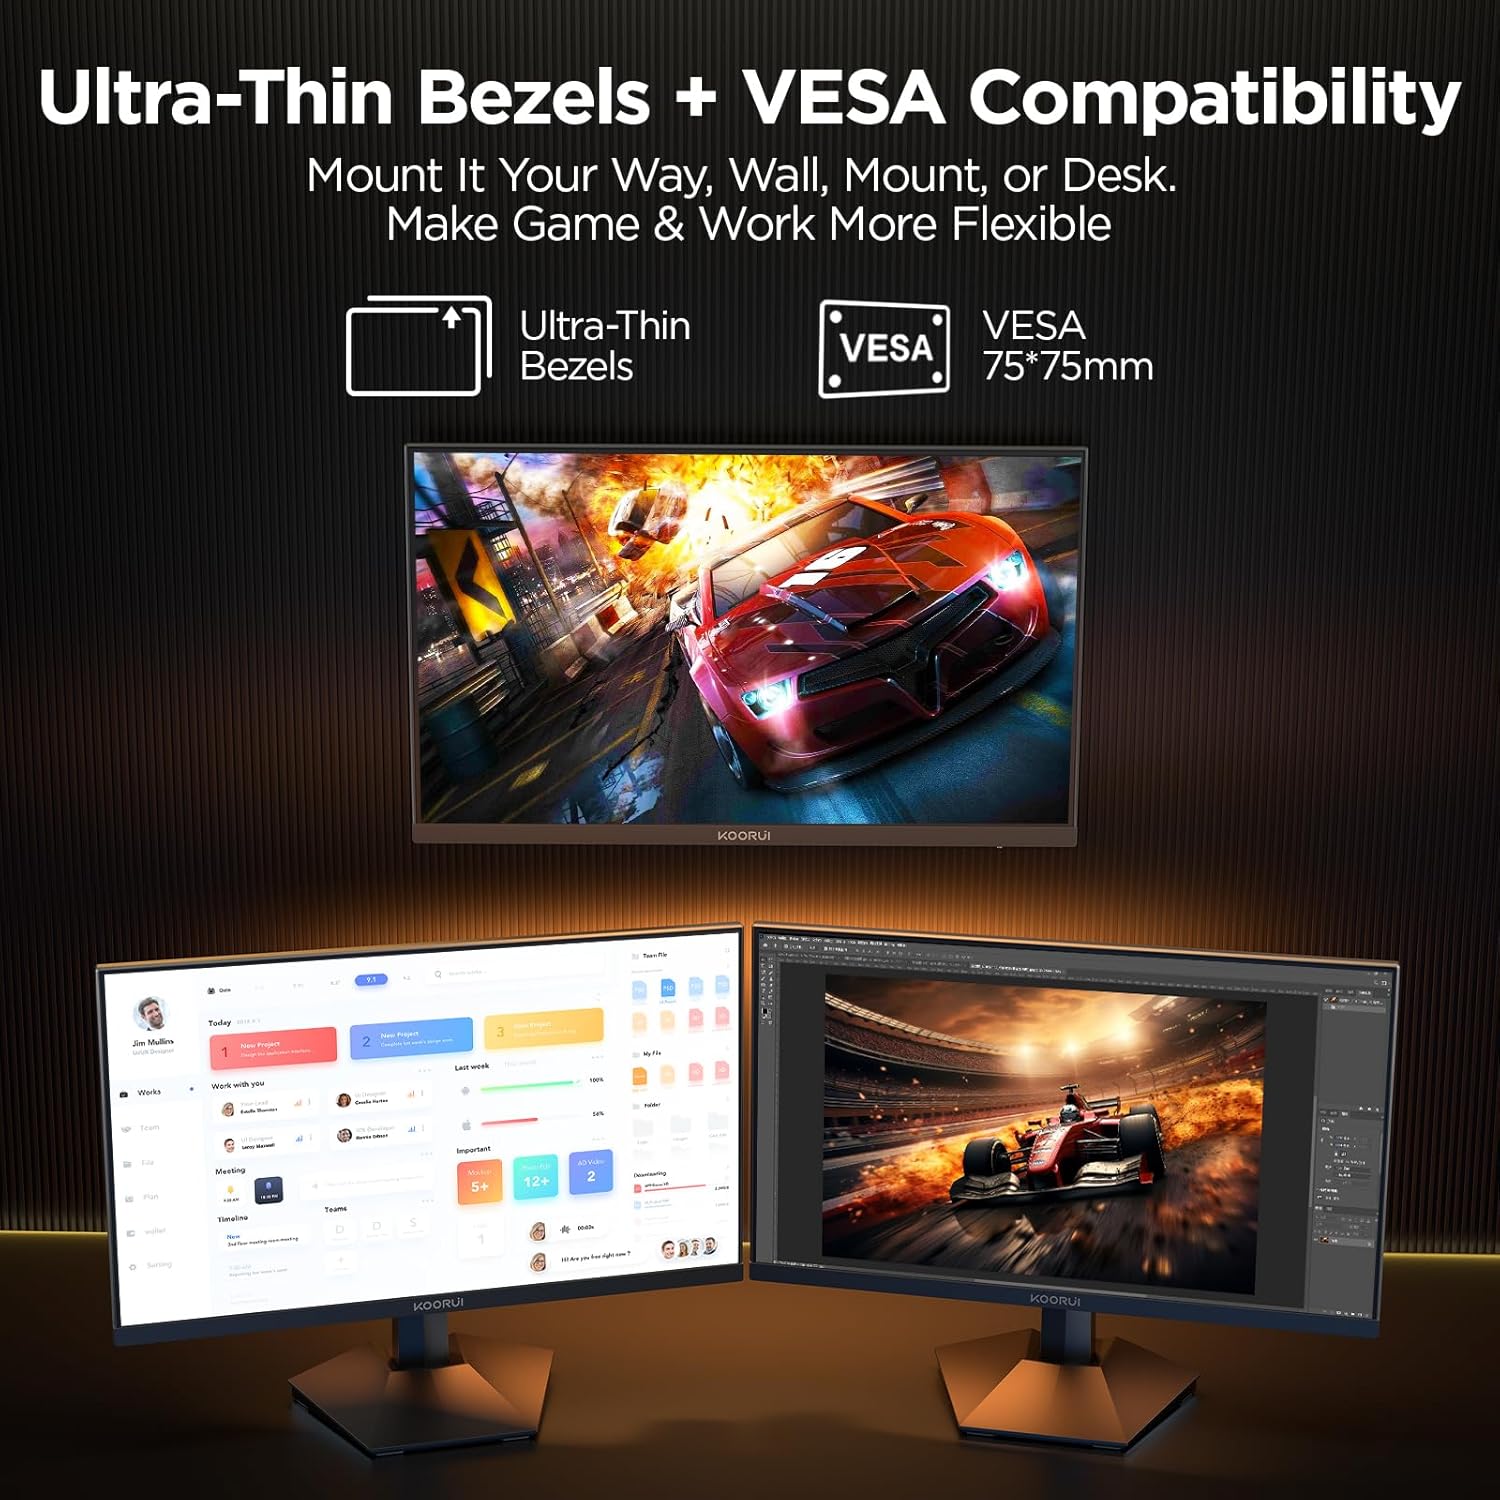
KOORUI
KOORUI 24.5 Inch Gaming Monitor 200Hz, 1ms, FHD(1920 * 1080p) IPS Display, HDR400, 90% DCI-P3 Color Gamut with Adaptive Sync, HDMI & DP Port, Black, G2511P

AULA F99 Wireless Mechanical Gaming Keyboard
AULA F99 Wireless Mechanical Keyboard,Tri-Mode BT5.0/2.4GHz/USB-C Hot Swappable Custom Keyboard,Pre-lubed Linear Switches,RGB Backlit Computer Gaming Keyboards for PC/Tablet/PS/Xbox